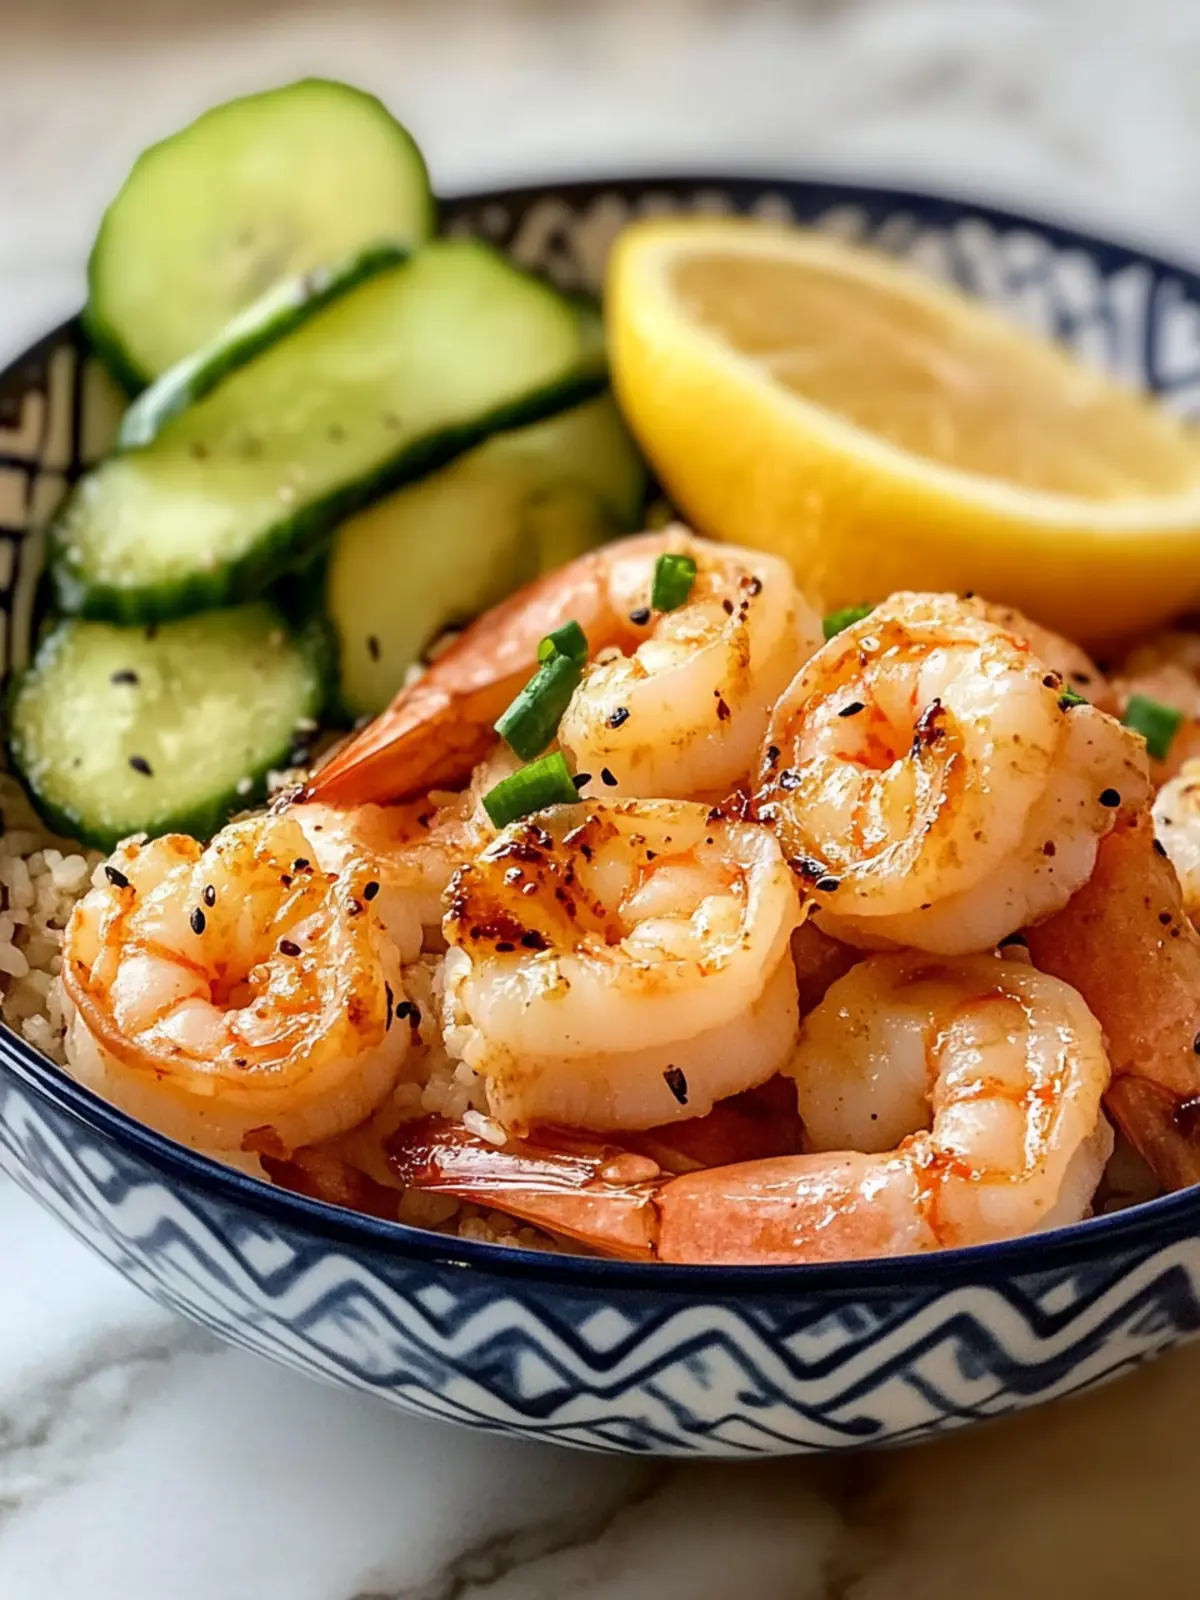
As the sun sets and the hustle of the day fades, the kitchen becomes my sanctuary—a place where the clattering of utensils merges with the tantalizing aroma of sizzling shrimp. It’s in these moments that I discovered the joy of creating flavors reminiscent of my favorite hibachi restaurant, but with a personal twist. This Quick and Easy Hibachi Shrimp with Creamy Sauce captures that vibrant hibachi experience right at home, all in under 30 minutes!
Imagine tender shrimp kissed by garlic and soy sauce, transformed into a delectable feast with a luscious, creamy sauce that strikes the perfect balance between sweet and spicy. Whether you’re winding down after a long day or looking to impress guests, this dish promises an engaging culinary adventure without the fuss. So grab your skillet, and let’s take your weeknight dinner from mundane to memorable!

Why is Classic Hibachi Shrimp a Must-Try?
Quick, Yet Flavorful: This dish comes together in just 30 minutes, making it a perfect option for busy weeknights.
Creamy Balance: The rich, spicy sauce adds complexity that elevates the shrimp to another level of deliciousness.
Versatile Ingredients: Easily substitute shrimp for chicken or tofu, tailoring it to your preferences.
Simple Techniques: You don’t need professional cooking skills—just a hot skillet and a willingness to experiment!
Crowd-Pleaser: Impress family and friends alike with this restaurant-quality dish made right at home.
For more inspiration, check out my tips on serving it with fried rice or steamed vegetables.
Classic Hibachi Shrimp Ingredients
For the Shrimp
• Shrimp – Tender protein that cooks quickly; use medium to large shrimp (31-40 or 21-30 count per pound), either fresh or frozen, ensuring they are peeled and deveined.
For the Cooking
• Avocado Oil – High smoke point oil for frying; can substitute with vegetable oil if needed.
• Soy Sauce – A flavor enhancer, providing saltiness and umami to the dish.
• Lemon Wedge – Adds brightness and acidity for a balanced flavor.
• Garlic Powder – Offers aromatic richness that elevates the overall taste.
For the Creamy Sauce
• Mayonnaise – Forms the base of the creamy sauce; Hellmann’s is recommended for the best flavor.
• Sugar – Promotes caramelization during cooking for that perfect golden crust on the shrimp.
• Sriracha – Adds heat to the sauce; adjust the quantity to suit your spice tolerance.
• Rice Vinegar – Adds necessary acidity to balance the richness of the sauce; may substitute with apple cider vinegar.
• Sesame Oil – Complements the flavors, giving that authentic hibachi shrimp taste.
Enjoy creating this vibrant and delicious Classic Hibachi Shrimp dish that transports you straight to your favorite hibachi restaurant!
How to Make Classic Hibachi Shrimp
Prepare the Sauce: In a medium bowl, whisk together the mayonnaise, sriracha, rice vinegar, and sesame oil until smooth and creamy. Set aside at room temperature to allow the flavors to meld together.
Heat the Oil: In a large skillet or a hibachi pan, heat 2.5 tablespoons of avocado oil over medium-high heat until shimmering, about 2-3 minutes. You want the oil hot enough to sear the shrimp.
Season the Shrimp: Pat the shrimp dry with a paper towel, then sprinkle them with garlic powder and sugar just before cooking. This will help achieve a delightful golden crust.
Cook the Shrimp: Add the shrimp in a single layer to the hot skillet and cook undisturbed for about 2 minutes until they’re golden. Flip them over, drizzle the soy sauce on top, and squeeze a lemon wedge over. Cook for an additional 1-2 minutes until the shrimp are opaque.
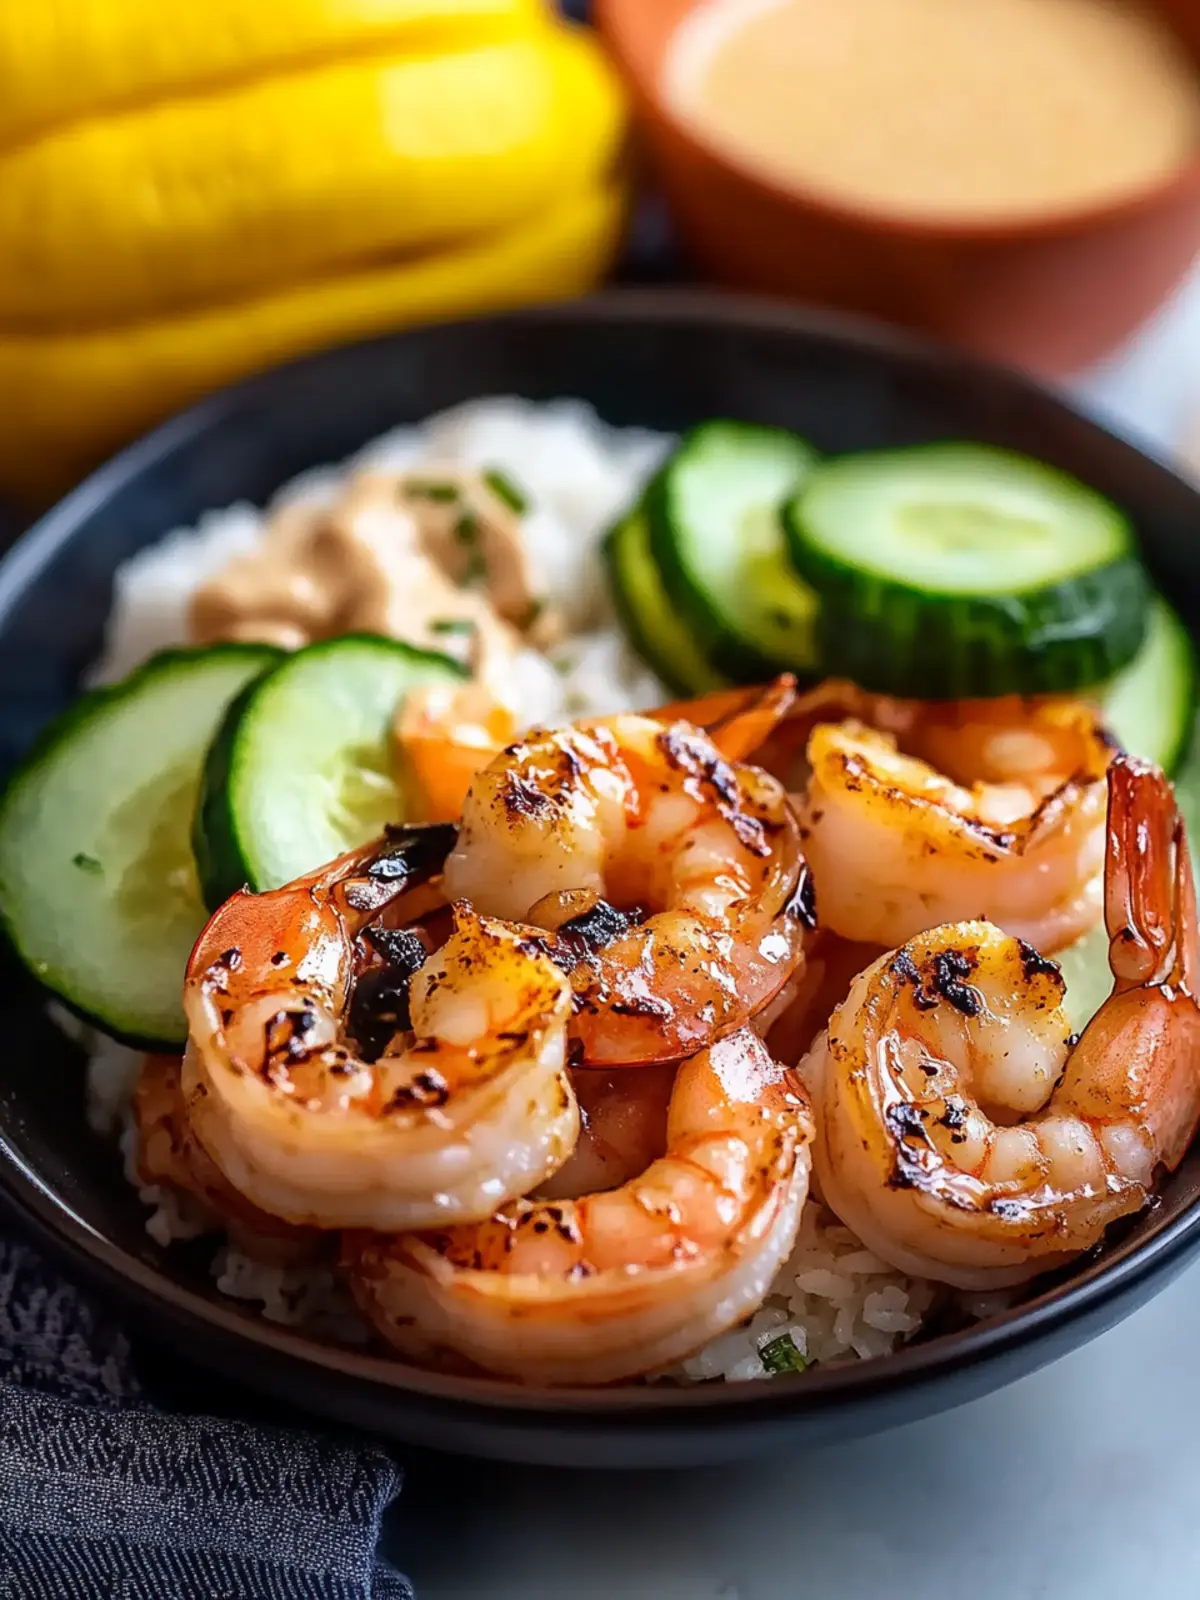
Serve: Transfer the perfectly cooked shrimp to a plate, either over a bed of rice or sautéed vegetables. Drench them in the creamy sauce or serve it on the side for dipping.
Optional: Garnish with chopped green onions for added freshness.
Exact quantities are listed in the recipe card below.
Storage Tips for Classic Hibachi Shrimp
Fridge: Store leftovers in an airtight container for up to 3 days to maintain freshness and flavor.
Freezer: If needed, freeze shrimp without the sauce for up to 2 months. To reheat, thaw overnight in the fridge, then quickly sauté on medium heat.
Creamy Sauce: The creamy sauce can be stored separately in the fridge for up to a week, allowing you to enjoy that delightful flavor long after your hibachi shrimp dinner.
Reheating: When reheating, gently warm the shrimp in a skillet over low heat to prevent them from becoming rubbery—add a splash of water to keep them moist.
Classic Hibachi Shrimp Variations
Feel free to personalize your hibachi shrimp adventure with these creative options that will tantalize your taste buds!
Chicken Substitute: Swap shrimp for boneless, skinless chicken breast, and cook until golden brown and cooked through for a hearty alternative.
Tofu Twist: For a plant-based delight, use firm tofu instead of shrimp. Simply press out excess water, cube, and sauté until crispy.
Extra Veggies: Add vibrant bell peppers, zucchini, or broccoli to the pan for a colorful medley that boosts flavor and nutrition.
Miso Magic: Stir in a teaspoon of miso paste to the creamy sauce for an umami bomb that will elevate your dish even further.
Coconut Cream: Replace half the mayonnaise with coconut cream for a rich, tropical flavor that adds delightful richness to your sauce.
Citrus Burst: Experiment with lime juice instead of lemon for a zesty twist that brightens the dish with a different citrus note.
Garlic Lovers: Toss in fresh minced garlic or shallots while cooking the shrimp to deepen the aromatic profile of your meal.
Spicy Kick: Enhance the heat with extra sriracha or add a sprinkle of red pepper flakes to the sauce, perfect for spice enthusiasts!
What to Serve with Classic Hibachi Shrimp?
Elevate your hibachi experience with some delightful side dishes and pairings that bring joy to every bite.
Fried Rice: A classic pairing, this savory dish soaked in soy sauce complements the rich flavors of shrimp perfectly.
Steamed Vegetables: Lightly steamed broccoli, carrots, and snap peas add a fresh crunch that balances the meal’s creaminess.
Cucumber Salad: Refreshing and light, a cucumber salad with sesame dressing offers a cool contrast to the spicy shrimp.
Pickled Ginger: This tangy delight not only adds a pop of flavor but also aids in digestion, enhancing your dining experience.
Sushi Rolls: Homemade sushi or even store-bought rolls provide an adventurous, fun element that pairs beautifully with hibachi shrimp.
Miso Soup: A warm bowl of miso soup serves as a comforting starter that prepares your palate for the bold flavors to come.
Imagine your table set with these delightful accompaniments, ready to turn any weeknight into a special occasion. Enjoy every moment!
Expert Tips for Classic Hibachi Shrimp
• Perfect Timing: Avoid overcooking shrimp; they should be pink and opaque after about 3-4 minutes of total cooking time for optimal tenderness.
• Heat Matters: Ensure your oil is hot before adding shrimp to prevent steaming and promote that wonderful caramelization.
• Dry is Best: For the best results, dry shrimp thoroughly before cooking to achieve a delightful golden crust reminiscent of authentic hibachi shrimp.
• Pre-Make Sauce: Creating the creamy sauce ahead of time allows the flavors to meld beautifully, reducing kitchen chaos during cooking.
• Taste Adjustments: Feel free to customize the sriracha level according to your heat preference; this quick dish can be tailored to suit everyone’s palate.
Make Ahead Options
These Classic Hibachi Shrimp are a fantastic option for meal prep enthusiasts! You can prepare the creamy sauce up to 3 days in advance, allowing the flavors to meld beautifully while saving you time on busy nights. Simply whisk together the mayonnaise, sriracha, rice vinegar, and sesame oil, then refrigerate in an airtight container. Additionally, you can season the shrimp with garlic powder and sugar up to 24 hours ahead; just store them in the fridge, covered, to maintain freshness. When ready to enjoy, cook the shrimp straight from the fridge for a quick and satisfying meal. You’ll achieve restaurant-quality results with minimal effort, making weeknight dinners a breeze!
Classic Hibachi Shrimp Recipe FAQs
How do I choose the right shrimp for this dish?
Absolutely! For the best results, I recommend using medium to large shrimp, specifically sizes 31-40 or 21-30 count per pound. Fresh shrimp will yield the best taste, but frozen shrimp can work just as well; just ensure they are peeled and deveined before cooking.
What’s the best way to store leftover hibachi shrimp?
Store any leftovers in an airtight container in the fridge for up to 3 days. This keeps the shrimp moist and flavorful. If you’re saving the creamy sauce separately, you can keep it in the fridge for up to a week, which lets its flavors continue to develop!
Can I freeze hibachi shrimp and the sauce?
Definitely! To freeze the shrimp, place them in a single layer on a baking sheet until frozen, then transfer to a freezer bag, where they can be stored without the sauce for up to 2 months. For reheating, thaw them overnight in the fridge before sautéing on medium heat. However, I recommend avoiding freezing the sauce since mayonnaise and freezing don’t always mix well.
What if my shrimp are overcooked?
Very! If you accidentally overcook your shrimp, don’t be too hard on yourself. They should ideally cook for a total of around 3-4 minutes, turning pink and opaque. If they become rubbery, consider slicing them up and tossing them with a bit of the creamy sauce to help mask the texture.
Are there any dietary considerations I should keep in mind?
Absolutely! If serving this dish to guests, keep allergies in mind; shrimp is a common allergen. For those with allergies or dietary restrictions, substituting shrimp with chicken or tofu is an excellent option that still keeps the essence of the dish intact. Just adjust cooking times accordingly to ensure those proteins are fully cooked.
How can I customize the spiciness of the creamy sauce?
You can easily tailor the heat by adjusting the amount of sriracha in the sauce to suit your taste! Start with a smaller amount, then whisk and taste, adding more as desired. This way, everyone can enjoy the meal without an unexpected kick!

Sizzle Up Classic Hibachi Shrimp in Just 30 Minutes
Ingredients
Equipment
Method
- In a medium bowl, whisk together the mayonnaise, sriracha, rice vinegar, and sesame oil until smooth and creamy. Set aside at room temperature to allow the flavors to meld together.
- In a large skillet or a hibachi pan, heat 2.5 tablespoons of avocado oil over medium-high heat until shimmering, about 2-3 minutes.
- Pat the shrimp dry with a paper towel, then sprinkle them with garlic powder and sugar just before cooking.
- Add the shrimp in a single layer to the hot skillet and cook undisturbed for about 2 minutes until they're golden.
- Flip them over, drizzle the soy sauce on top, and squeeze a lemon wedge over. Cook for an additional 1-2 minutes until the shrimp are opaque.
- Transfer the perfectly cooked shrimp to a plate, either over a bed of rice or sautéed vegetables. Drench them in the creamy sauce or serve it on the side for dipping.