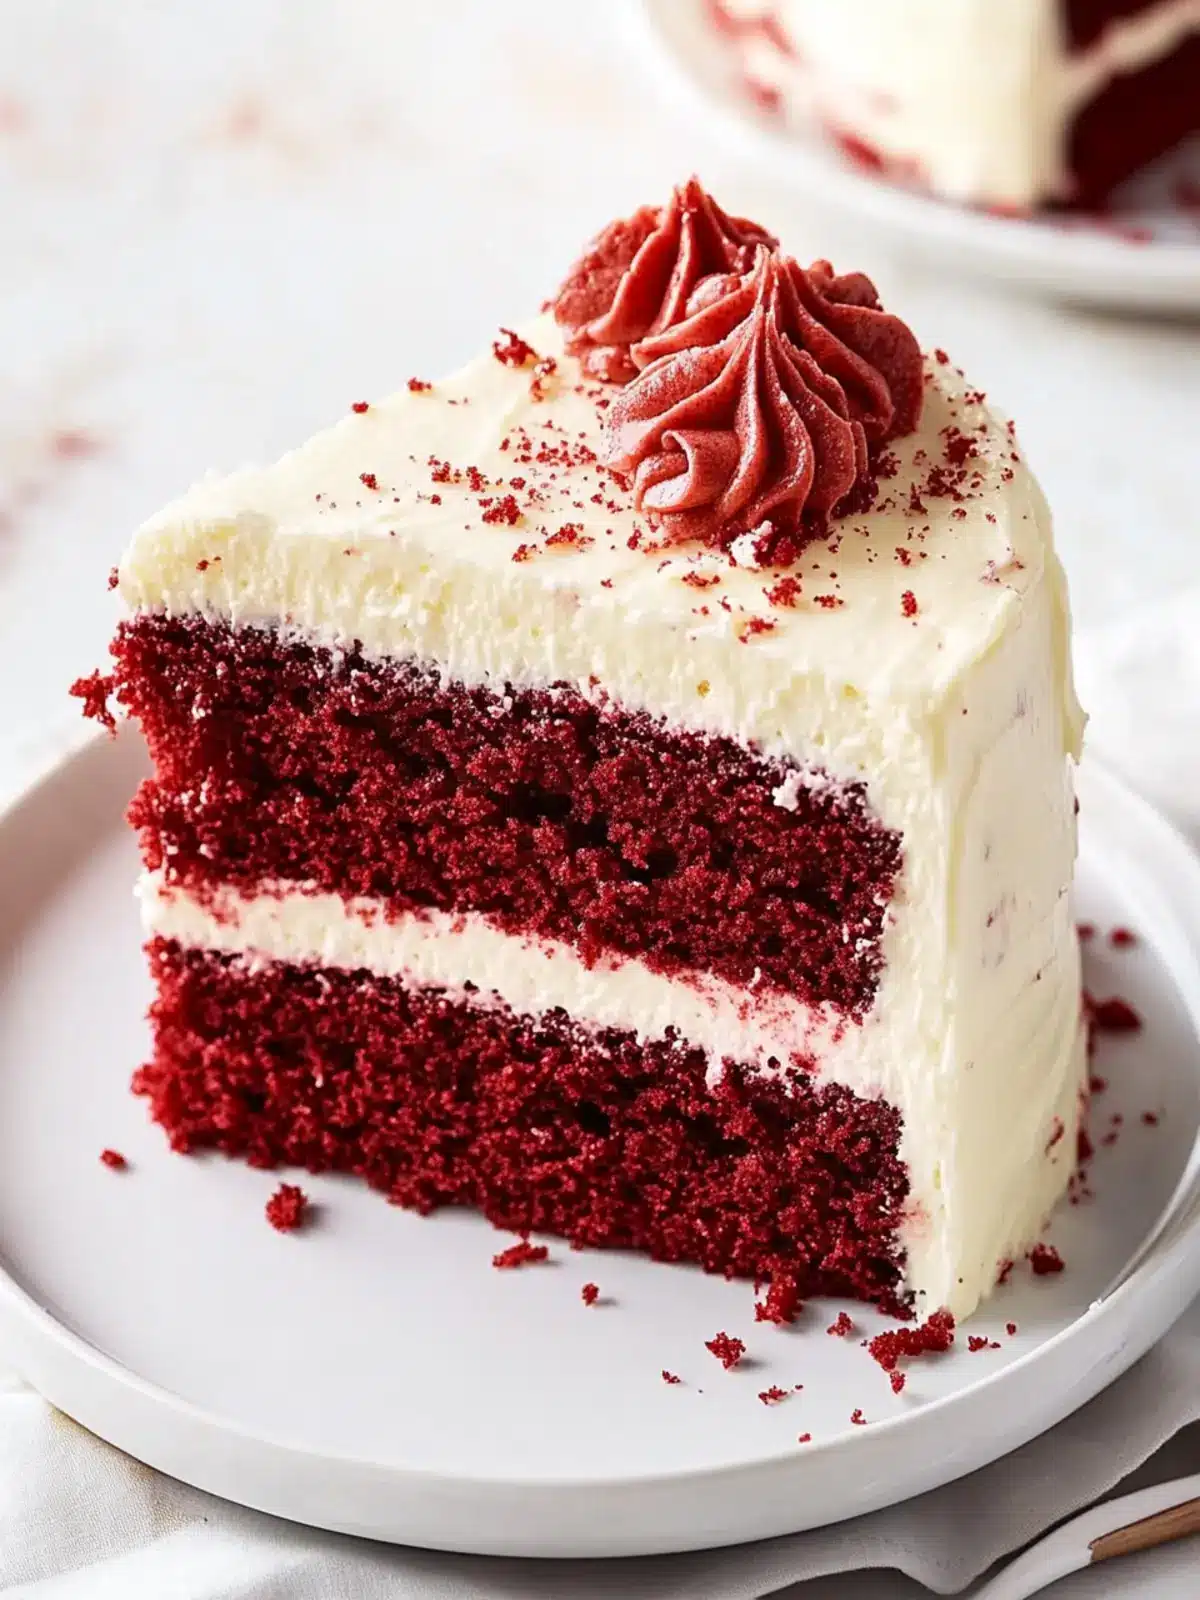
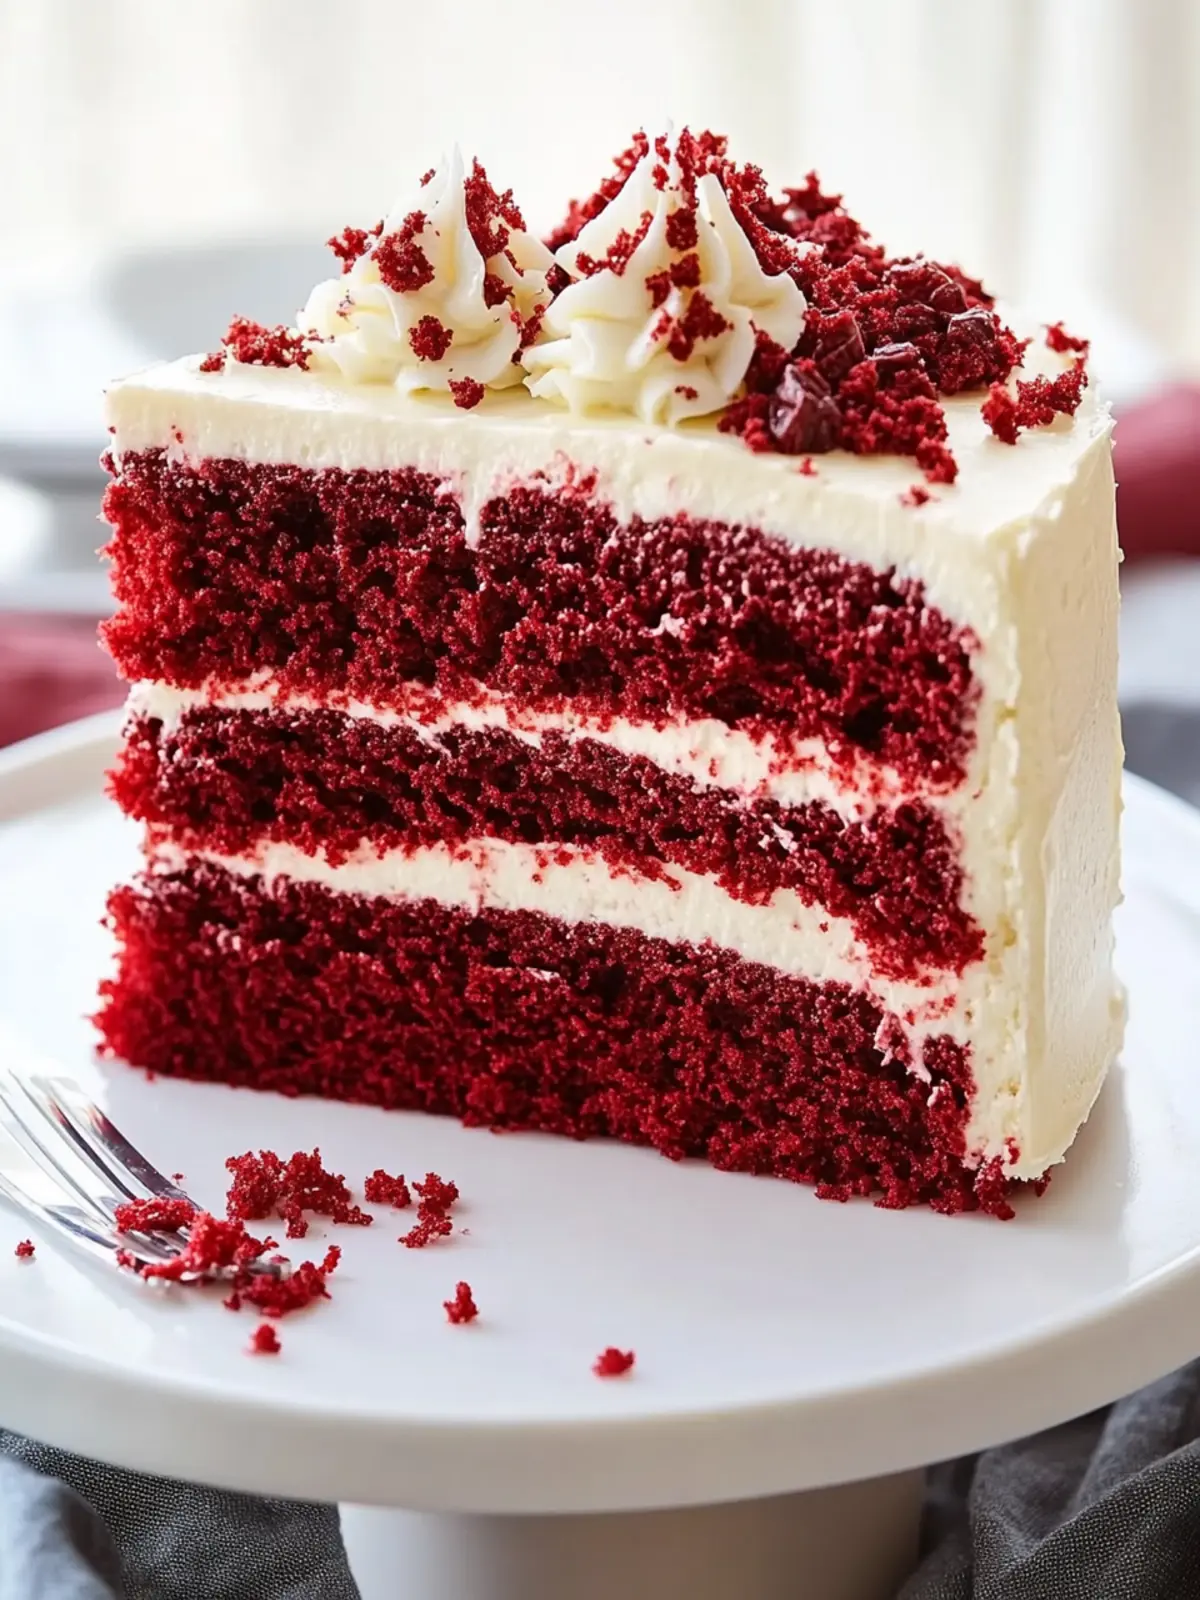
There’s something undeniably enchanting about a slice of Red Velvet Cake, isn’t there? The moment you cut into it, the deep crimson hue contrasts beautifully against the smooth, creamy white frosting, beckoning you to take a bite. I remember the first time I served this classic Southern dessert at a family gathering. As soon as my loved ones tasted that luscious, moist cake layered with tangy cream cheese frosting, their faces lit up with delight and nostalgia.
Whether you’re celebrating a special occasion or simply trying to elevate your weeknight dessert routine, this show-stopper is exactly what you need. Imagine indulging in that velvety texture paired with a hint of chocolate – it’s a flavor symphony that will have everyone asking for seconds. And the best part? It’s surprisingly easy to make, so you can impress without feeling stressed. Grab your mixing bowls, and let’s create a dessert that turns any moment into a celebration!

Why is Red Velvet Cake a Must-Try?
Decadent flavors: This cake boasts a rich chocolatey taste complemented by a tangy cream cheese frosting that leaves your taste buds craving more.
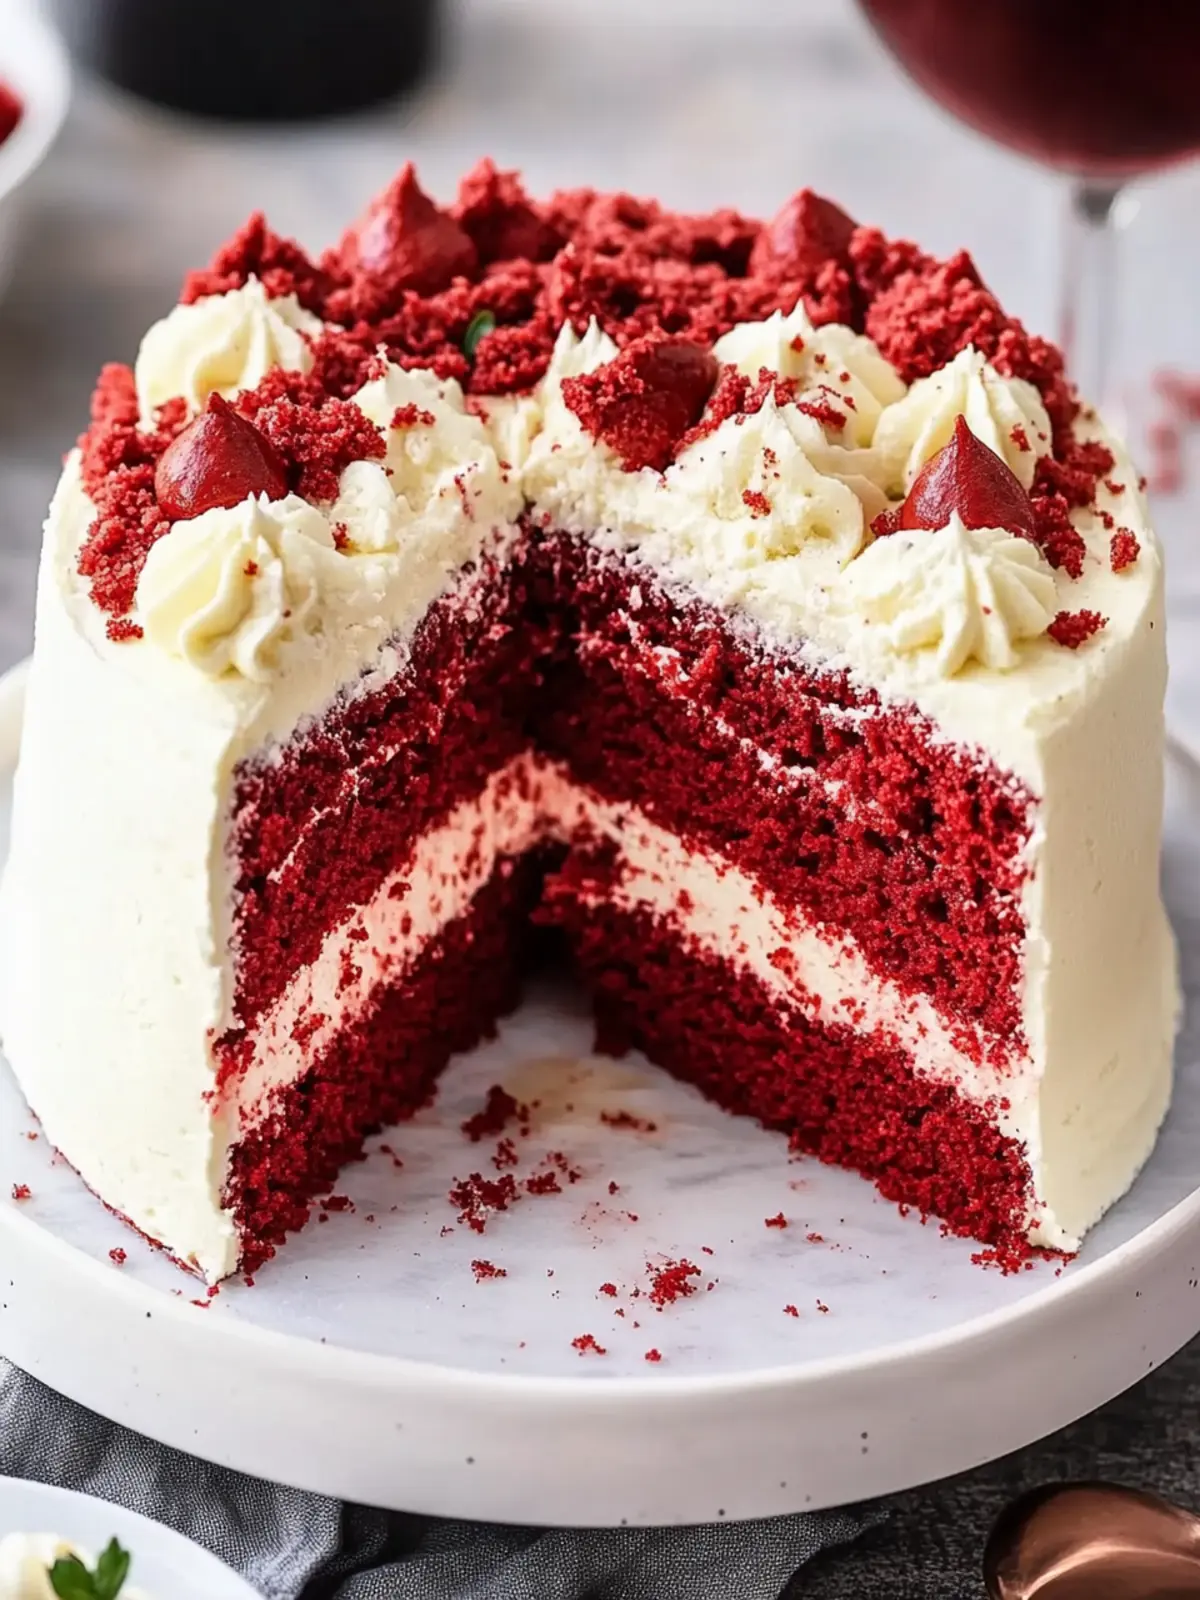
Stunning presentation: The vibrant red hue against the white frosting makes it a visually striking centerpiece for any gathering.
Perfect for any occasion: Whether it’s a birthday, holiday, or a simple weeknight treat, this cake is the ultimate crowd-pleaser.
Easy to make: With simple ingredients and straightforward steps, even novice bakers can whip it up without any fuss.
Versatile delight: Customize it with chocolate chips or flavored extracts for a unique twist; the possibilities are endless!
Red Velvet Cake Ingredients
• Get ready to bake this classic treat!
For the Cake
- Cooking Spray – Prevents sticking; butter can be used as an alternative.
- Unsalted Butter (1 cup or 2 sticks, softened) – Adds richness and moisture; ensure it’s at room temperature for easy mixing.
- Granulated Sugar (1 cup or 200 g) – Sweetener that aerates the batter; cane sugar is an excellent substitute.
- Large Eggs (2, room temperature) – Provides structure and moisture; room temperature ensures even mixing.
- Pure Vanilla Extract (1 tsp) – Enhances flavor; opt for high-quality extract for the best results.
- All-Purpose Flour (2 cups or 240 g) – Core structure of the cake; can be substituted with gluten-free all-purpose flour.
- Dutch-Processed Cocoa Powder (1/3 cup or 40 g) – Adds a mild chocolate flavor; unsweetened cocoa works too.
- Baking Soda (1 tsp) – Leavening agent for rise; make sure it’s fresh for optimal results.
- Kosher Salt (1 tsp) – Balances sweetness; feel free to use regular salt.
- Buttermilk (1 cup) – Adds moisture and tenderness; substitute with milk plus 1 tbsp of vinegar or lemon juice for a tangy touch.
- Distilled White Vinegar (1 tbsp) – Reacts with baking soda for leavening; can be omitted if necessary.
- Red Food Coloring (2 tbsp) – Provides the signature red hue; look for natural dye options if preferred.
For the Cream Cheese Frosting
- Cream Cheese (2 packages) – Creates a tangy and creamy topping; low-fat cream cheese can lighten the cake.
- Powdered Sugar (2 cups, sifted) – Sweetens the frosting; ensures a smooth consistency.
- Vanilla Extract (1 tsp) – Adds an extra flavor dimension; use high-quality for best results.
- Heavy Cream (2-4 tbsp) – Helps achieve the desired spreadable texture; can be substituted with milk.
This delightful Red Velvet Cake is sure to bring smiles to your table, transforming your celebrations into sweet memories!
How to Make Red Velvet Cake
Preheat Oven: Start by preheating your oven to 350°F (175°C). Prepare two round cake pans by greasing them with cooking spray or butter, then lining the bottoms with parchment paper for easy removal.
Cream Butter and Sugar: In a large mixing bowl, beat the softened unsalted butter and granulated sugar together on medium-high speed until the mixture is light and fluffy, roughly 3-5 minutes. This creates a lovely airy texture for your cake!
Add Eggs and Vanilla: Incorporate the large eggs one at a time, mixing well after each addition. Then, stir in the pure vanilla extract, ensuring everything is well combined and smooth.
Mix Dry Ingredients: In a separate bowl, whisk together the all-purpose flour, Dutch-processed cocoa powder, baking soda, and kosher salt. This helps to evenly distribute the leavening agent and cocoa powder in your cake batter.
Combine Wet and Dry: Gradually add half of the dry mixture to the butter mixture, gently mixing until just combined. Then, pour in the buttermilk, distilled white vinegar, and red food coloring. Continue mixing, adding the remaining dry ingredients until the batter is smooth and well incorporated.
Bake: Divide the batter evenly between the two prepared pans. Bake in the preheated oven for 25-30 minutes, or until a toothpick inserted in the center comes out clean. The cakes should have a slight bounce when gently pressed.
Cool: Once baked, allow the cakes to cool in their pans for about 15 minutes. Then, carefully transfer them to wire racks to cool completely before frosting.
Frost: Level the tops of the cakes using a serrated knife if necessary. Spread a generous layer of the cream cheese frosting between the layers, then frost the top and sides with more frosting. Make it as smooth or rustic as you prefer!
Optional: Decorate with red sprinkles or fresh berries for a festive touch.
Exact quantities are listed in the recipe card below.
Expert Tips for a Perfect Red Velvet Cake
- Room Temperature Ingredients: Ensure your eggs, butter, and buttermilk are at room temperature to help create a smooth batter and achieve a lighter texture.
- Do Not Overmix: Once you combine the wet and dry ingredients, mix gently until just combined. Overmixing can lead to a dense Red Velvet Cake.
- Fresh Ingredients Matter: Check the freshness of your baking soda and cocoa powder; expired ingredients can hinder the cake’s rise and flavor.
- Layering Technique: When frosting, make sure to let the cakes cool completely to prevent melting the cream cheese frosting, which could create a messy finish.
- Adjusting Color: If your cake isn’t red enough, don’t hesitate to add more red food coloring gradually until you reach your desired shade.
- Parchment Perfection: Always line your cake pans with parchment paper for effortless removal; this ensures your beautiful cake maintains its shape when it’s time to serve!
How to Store and Freeze Red Velvet Cake
Fridge: Store your sliced or whole Red Velvet Cake in an airtight container for up to 4 days to maintain its moisture and flavor.
Freezer: Wrap the un-frosted cake layers tightly in plastic wrap and then aluminum foil. They can be frozen for up to 4 months.
Reheating: If you want to enjoy leftover cake, let it thaw in the fridge overnight. For a warmed slice, gently microwave it for 10-15 seconds.
Frosting Storage: Keep any leftover cream cheese frosting in the fridge for up to 2 weeks, or freeze it for 6 months in a sealed container.
Red Velvet Cake Variations & Substitutions
Feel free to get creative with this recipe and make it truly your own with these delightful twists!
- Gluten-Free: Substitute all-purpose flour with a gluten-free blend to accommodate those with gluten sensitivities.
- Low-Sugar: Use a sugar substitute like coconut sugar or a stevia blend to reduce the sweetness without sacrificing flavor.
- Chocolate Lovers: Add 1/2 cup of semi-sweet chocolate chips into the batter for an extra chocolatey bite that’s simply irresistible.
- Nutty Twist: Incorporate 1/2 cup of finely chopped walnuts or pecans into the batter for added crunch and flavor.
- Zesty Variation: Mix in 1 tablespoon of freshly grated lemon zest into the cream cheese frosting for a refreshing twist that perfectly complements the cake.
- Moisture Boost: Swap 1/2 of the butter with applesauce for a lighter cake that still retains its rich flavor and moisture.
- Scented Frosting: Experiment with different flavored extracts such as almond or hazelnut in the frosting to create a unique flavor profile that will surprise and delight.
- Glazed Style: Instead of frosting, make a simple glaze with powdered sugar and milk to drizzle over the cake for a lighter finish that still adds sweetness.
With these variations, you can elevate your Red Velvet Cake to new heights, making it a flexible favorite for any occasion!
What to Serve with Red Velvet Cake?
There’s magic in creating a complete meal that leads to the star—the Red Velvet Cake—ensuring every bite is deliciously memorable.
Creamy Vanilla Ice Cream: A scoop of smooth vanilla ice cream perfectly complements the rich flavors of the cake, creating a delightful contrast. The cold creaminess balances the sweet, tangy frosting with every heavenly mouthful.
Fresh Berries: Slices of strawberries or raspberries add a bright, fresh element to your dessert plate. Their tartness cuts through the sweetness, enhancing the overall taste experience.
Coffee: A robust cup of coffee elevates your dessert with its warm bitterness, balancing the cake’s sweetness. Pairing this rich dessert with a steaming brew is a culinary hug for your soul.
Chocolate-Covered Strawberries: These luscious treats provide a double chocolate experience that indulgent guests will adore. The sweetness of the berries alongside the cake brings an extra layer of joy.
Whipped Cream: Light and fluffy, a dollop of fresh whipped cream is a classic topping that enhances the smoothness of the cake. It also adds a bit of whimsy to your dessert presentation.
Lemonade: A zesty twist with a refreshing lemonade helps cleanse the palate. Its citrusy brightness contrasts beautifully with the dense, sweet flavors of the Red Velvet Cake, making your meal feel light and celebratory.
Chocolate Martini: If you’re feeling a bit fancy, a chocolate martini can add a festive touch to your gathering. This indulgent drink mirrors the cake’s flavors, turning your dessert into a true celebration.
Coconut Macaroons: These chewy delights provide a tropical twist that pairs unexpectedly well with the moist cake. The nutty flavor of the coconut complements the chocolate undertones perfectly.
Caramel Sauce: Drizzling warm caramel sauce atop the cake can elevate the dessert into something truly decadent. The rich sweetness of the caramel enhances the overall experience, inviting everyone to come back for more.
Make Ahead Options
These classic Red Velvet Cake components are perfect for meal prep enthusiasts! You can prepare the cake layers up to 3 days in advance—just ensure they are completely cooled, then wrap them tightly in plastic wrap and refrigerate to keep them moist. The cream cheese frosting can also be made ahead; store it in an airtight container in the fridge for up to 1 week. When you’re ready to serve, simply frost the chilled cake layers, and enjoy the same delicious taste! This way, you can easily impress your guests with minimal last-minute effort while saving time for those busy moments.
Red Velvet Cake Recipe FAQs
What type of buttermilk should I use for my Red Velvet Cake?
Absolutely! For this recipe, you can use store-bought buttermilk, which is ideal for achieving that extra moist texture. If you don’t have any on hand, simply make your own by mixing 1 cup of milk with 1 tablespoon of white vinegar or lemon juice. Let it sit for about 5 minutes before using in your cake batter. This homemade version works like a charm!
How should I store my Red Velvet Cake after baking?
Very! To keep your cake fresh, store it in an airtight container in the fridge for up to 4 days. This helps retain its moistness while preventing it from drying out. If you’d like to keep it longer, you can wrap it well with plastic wrap and aluminum foil and place it in the freezer for up to 4 months. Just remember to thaw it in the fridge overnight before enjoying!
Can I freeze my Red Velvet Cake? If so, how?
Absolutely! Freezing your Red Velvet Cake is a great way to preserve it for later. First, allow the cake layers to cool completely after baking. Then, wrap each un-frosted layer tightly in plastic wrap followed by aluminum foil. This will protect it from freezer burn. It can be frozen for up to 4 months. When you’re ready to enjoy, simply let the layers thaw in the fridge overnight before frosting and serving.
What should I do if my Red Velvet Cake turns out too dense?
No worries! If your cake is dense, it often results from overmixing the batter after adding the dry ingredients. To achieve a lighter texture, mix them in until just combined. Additionally, ensuring your baking soda is fresh can help with proper leavening, leading to a fluffier cake. If you want to play it safe, consider sifting your dry ingredients together for better aeration, which can also make a difference.
Are there any dietary considerations for my Red Velvet Cake?
Yes! For those with gluten sensitivities, you can substitute regular all-purpose flour with a gluten-free all-purpose blend, ensuring it has xanthan gum included to help with texture. For dairy-free options, coconut milk or almond milk can substitute for buttermilk, and vegan cream cheese or butter can be used in the frosting. It’s all about making it work for you while still keeping that delightful taste!
What if my cake doesn’t have that vibrant red color?
Very common! If your cake isn’t as red as you’d like, don’t hesitate to add a bit more red food coloring until you’ve achieved your desired hue. Just go slow and keep mixing! Also, using natural food coloring may yield different results, so if you prefer a traditional vibrant red, stick with conventional food coloring for this recipe. Enjoy the process, and have fun with it!
Decadent Red Velvet Cake with Creamy Frosting Delight
Ingredients
Equipment
Method
- Preheat your oven to 350°F (175°C). Grease two round cake pans with cooking spray or butter, then line with parchment paper.
- In a large mixing bowl, beat the softened unsalted butter and granulated sugar together until light and fluffy, about 3-5 minutes.
- Incorporate the large eggs one at a time, mixing well after each, then stir in the pure vanilla extract.
- In a separate bowl, whisk together all-purpose flour, Dutch-processed cocoa powder, baking soda, and kosher salt.
- Gradually add half of the dry mixture to the butter mixture, then add the buttermilk, distilled vinegar, and red food coloring.
- Mix until smooth, then add the remaining dry ingredients until well incorporated.
- Divide the batter evenly between the prepared pans. Bake for 25-30 minutes, until a toothpick comes out clean.
- Allow cakes to cool in the pans for about 15 minutes, then transfer to wire racks to cool completely.
- Level the tops of the cakes if necessary, then spread a layer of cream cheese frosting between the layers and frost the top and sides.