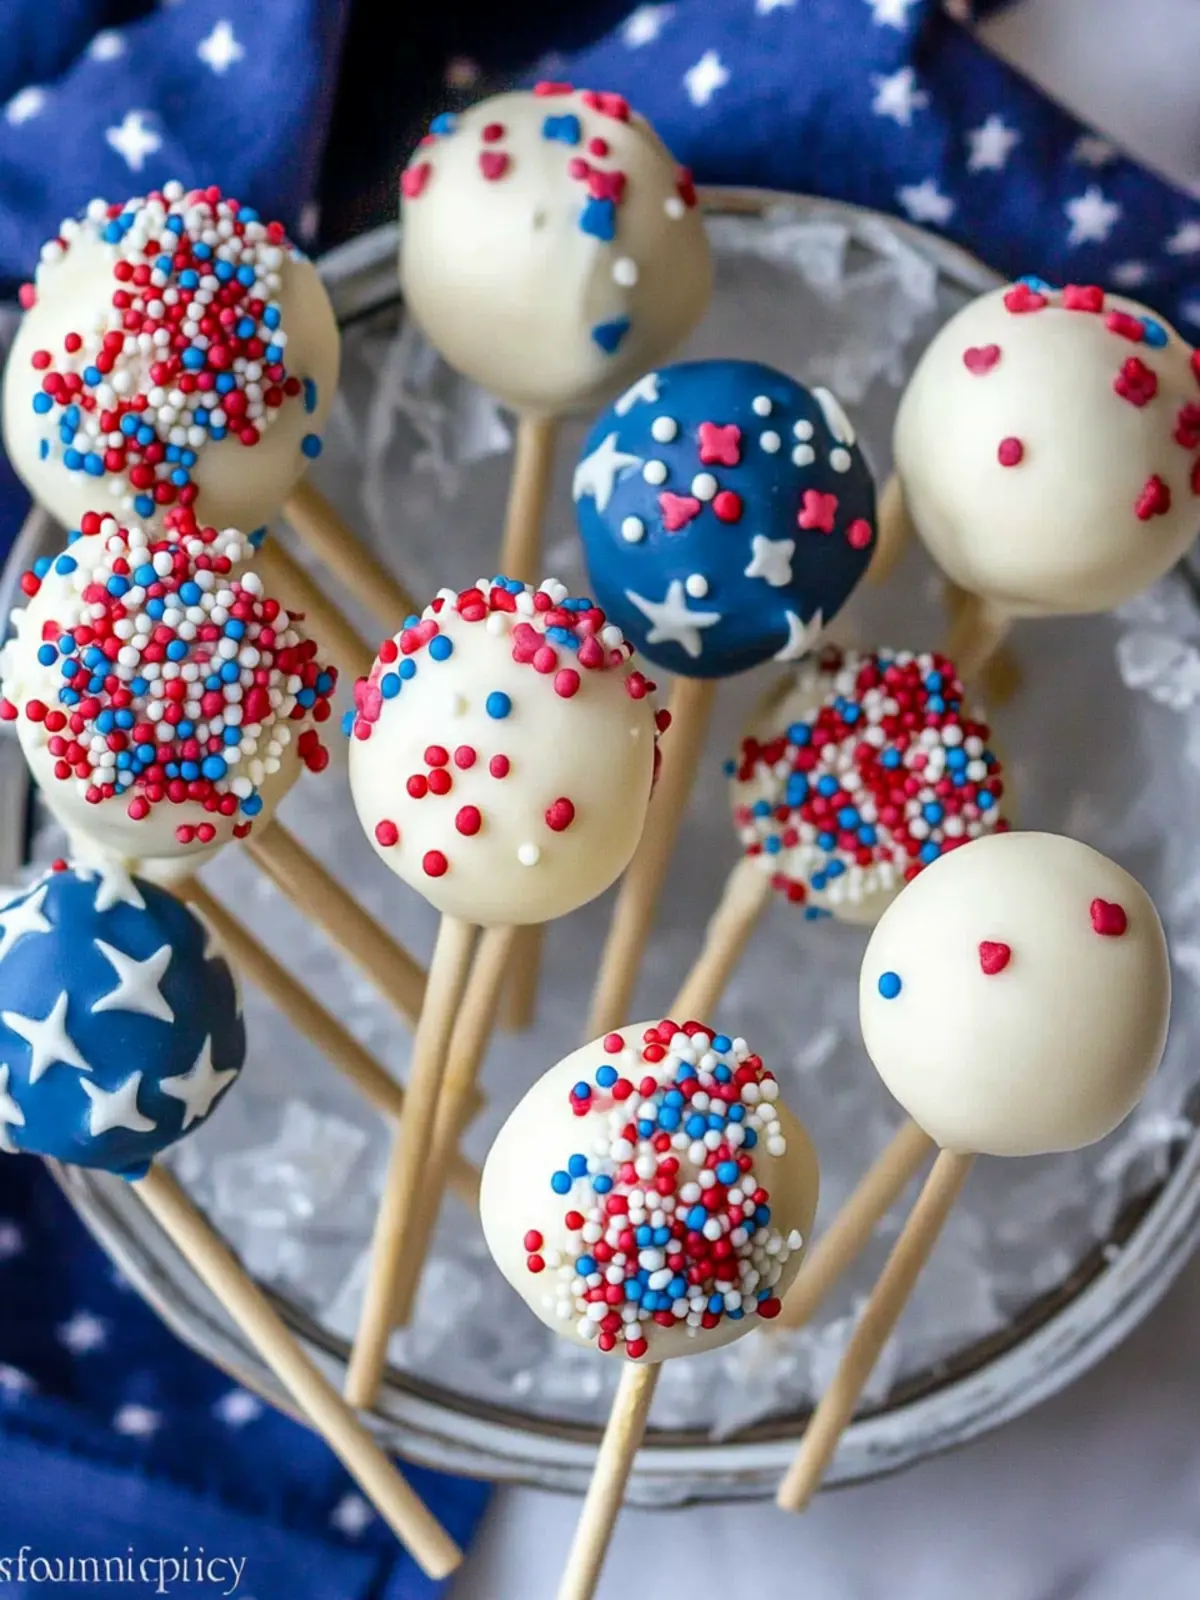
As the summer sun begins to warm up, there’s nothing quite like the excitement of gathering with friends and family to celebrate the 4th of July. You can almost taste the nostalgia in the air, mixed with sizzling barbecue and laughter. This year, I decided to channel that festive spirit into a fun and delightful treat: 4th of July Cake Pops. Picture vibrant red, white, and blue pops that not only steal the show but also add a touch of sweetness to your celebrations.
After a particularly hectic week, I wanted to create something special without adding to my stress. These cake pops are not just a feast for the eyes; they’re also incredibly simple to make. With just a few ingredients and a little creativity, you’ll have a crowd-pleaser that everyone will rave about. They’re perfect for sharing at cookouts or as a whimsical dessert that fits right in with that American flag theme. So let’s dive into this easy recipe that promises to bring a smile to your face and a pop of flavor to your holiday festivities!

Why choose this 4th of July cake pops recipe?
Fun and Festive: These cake pops are a delightful way to celebrate the holiday, adding a splash of color and cheer to your dessert table.
Easy-to-Make: With just a box of cake mix and cream cheese frosting, you’ll whip these up in no time!
Crowd-Pleasing: Perfect for all ages, everyone will adore these sweet bites packed with nostalgia and flavor.
Versatile Sprinkles: Feel free to customize with different sprinkles to match your decor or your family’s preferences!
Creative Presentation: The lollipop sticks make these treats easy to grab and enjoy, adding a special touch to your 4th of July festivities.
You’ll impress your guests, so check out our simple tips for hosting a memorable barbecue, and let these cake pops make your celebration even sweeter!
4th of July Cake Pops Ingredients
Get ready to delight your guests with these festive treats!
For the Cake Balls
• Box cake mix – choose your favorite flavor for a unique twist on classic cake pops.
• Eggs – this will help bind your cake mix together, creating a moist texture.
• Vegetable oil – adds richness and moisture to your cake balls.
• Water – necessary for mixing; follow the instructions on your cake mix for the right amount.
For the Coating
• White melting wafers – these will create a smooth and shiny finish for your cake pops.
• Coconut oil or shortening – add this to the melted wafers for a smoother consistency and easier dipping.
For the Decoration
• Cream cheese frosting – use store-bought or homemade to add that delicious sweetness and creaminess.
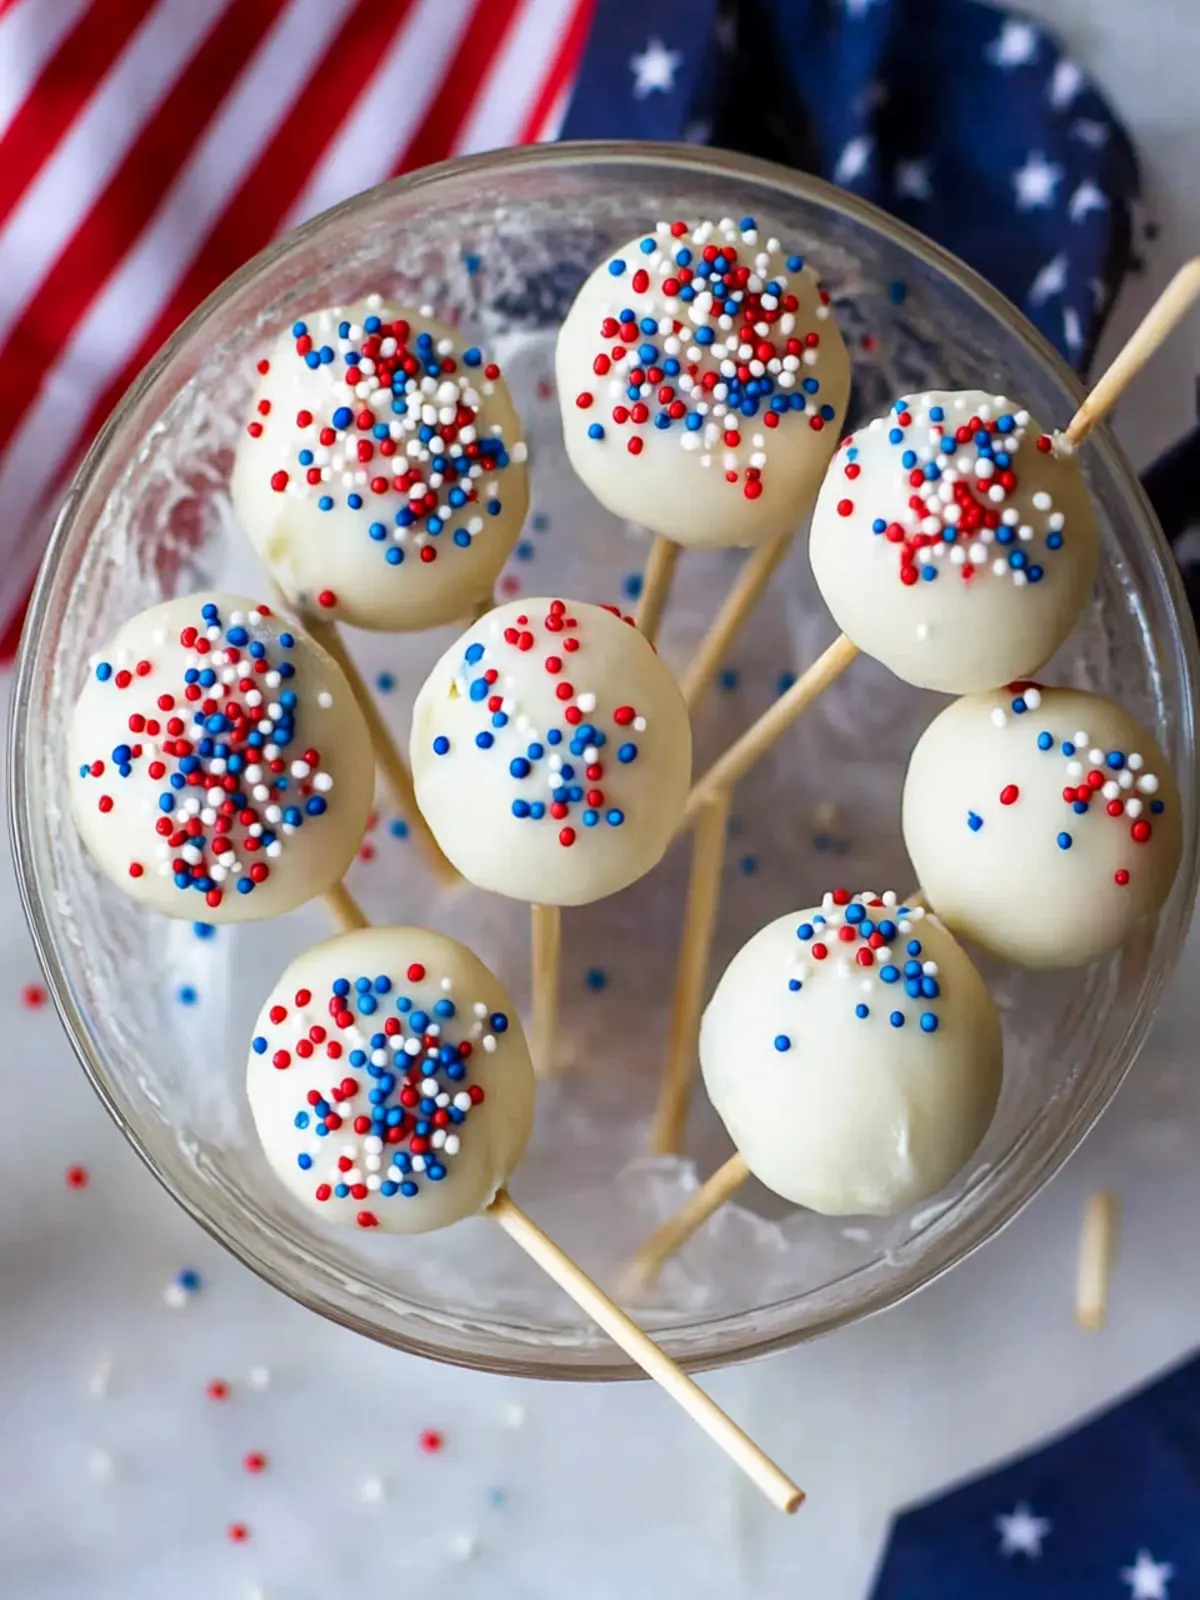
• Patriotic sprinkles – sprinkle these festive bits on top to showcase your 4th of July spirit.
• Lollipop sticks – these are essential for the fun, grab-and-go presentation of your cake pops.
With these ingredients, you’ll be well on your way to crafting the perfect 4th of July cake pops recipe that will wow your guests!
How to Make 4th of July Cake Pops
Prepare the Cake: Begin by following the directions on the cake mix box. Once baked, allow it to cool completely before crumbling it into a large bowl. Add the cream cheese frosting and mix until fully combined and moist.
Form Cake Balls: Take at least 1 tablespoon of the mixture and roll it into a ball. Place each ball on a lined cookie sheet. Continue until you’ve formed all the mixture into balls, ensuring they’re well-rounded.
Chill the Balls: Pop the cookie sheet into the freezer for about 15 minutes. This helps the cake balls firm up, making them easier to handle when dipping.
Melt the Coating: Meanwhile, melt the white melting wafers according to the package instructions. Once melted, stir in the coconut oil or shortening to achieve a smoother consistency. Work quickly before the mixture cools.
Insert Sticks: Carefully poke a lollipop stick into the center of each cake pop. For extra stability, you can dip the end of the stick in melted chocolate before inserting it into the cake ball.
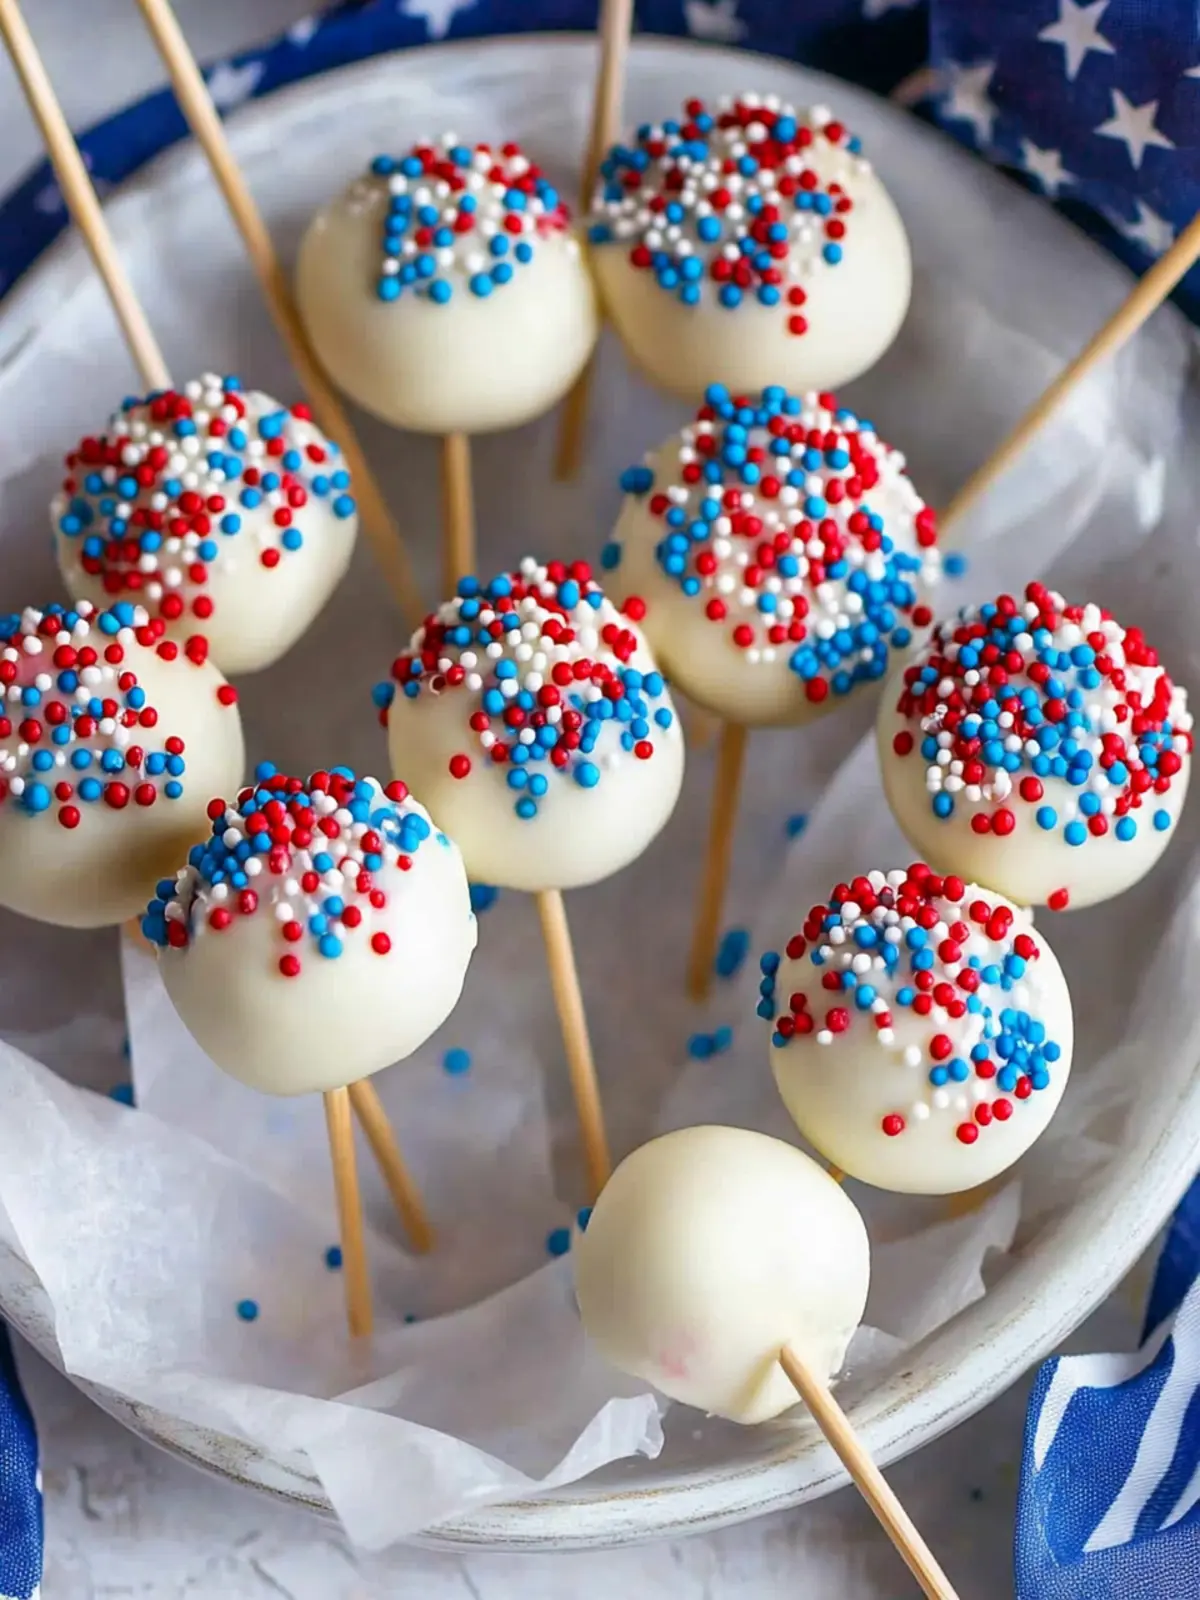
Dip and Decorate: Dip each cake ball into the melted coating, ensuring it’s fully covered. Before the coating sets, sprinkle on your patriotic sprinkles for that festive touch!
Let Dry: Stand the cake pops upright in your drying station (like a Styrofoam block or a container filled with rice) and let them dry until the coating hardens completely.
Optional: Drizzle some extra melted chocolate on top for a decorative touch!
Exact quantities are listed in the recipe card below.
Make Ahead Options
These 4th of July cake pops are a fantastic treat that can be prepped in advance, saving you time for all the holiday festivities! You can easily make the cake balls up to 24 hours ahead of time by preparing them according to the recipe, rolling them into balls, and refrigerating them in an airtight container. To maintain their quality, place parchment paper between layers to prevent sticking. When you’re ready to finish, simply remove the cake balls from the fridge, insert the lollipop sticks, and dip them into the melted coating as directed. This allows you to enjoy a stress-free, delicious dessert that’s just as delightful when finished up to a day later!
What to Serve with 4th of July Cake Pops?
As you prepare to wow your guests with these festive treats, don’t forget the delightful sides and beverages that will complete your holiday spread.
Classic BBQ Ribs: Juicy and smoky, ribs offer a savory contrast to the sweetness of cake pops, adding depth to your celebration.
Patriotic Fruit Salad: A mix of strawberries, blueberries, and whipped cream brings freshness and a splash of color, reminding everyone of the flag.
Creamy Coleslaw: This crunchy, tangy side balances the sweetness of dessert and pairs perfectly with grilled meats at your summer cookout.
Grilled Veggie Skewers: Colorful chunks of zucchini, bell peppers, and cherry tomatoes give a healthy and vibrant addition to your outdoor feast.
Lemonade Sparklers: Refreshing lemonade served with sparkling soda gives a fizzy lift and complements the cake pops beautifully.
Chocolate Dipped Pretzels: Salty and sweet, these treats provide a satisfying crunch and make for a fun munch between sweets.
Firecracker Brownies: Decadent and fudgy brownies topped with vibrant red, white, and blue frosting create a delightful sugary duo with your cake pops.
Vanilla Ice Cream: A classic pairing, creamy ice cream balances the festive sweetness of the cake pops and is perfect for a summer dessert table.
Each of these delectable options harmonizes with the charm of your 4th of July cake pops recipe, creating a memorable meal for all your loved ones!
4th of July Cake Pops Variations
Feel free to get creative with these sweet little treats, making them uniquely yours!
Gluten-Free: Substitute the regular cake mix with a gluten-free version for everyone to enjoy without worries.
Vegan: Use a vegan cake mix and replace eggs with flaxseed meal for a plant-based delight. The result is still a heavenly flavor that everyone will love.
Chocolate Lovers: Swap the white melting wafers for dark or milk chocolate for a rich, indulgent taste. You can even sprinkle crushed cookies on top for a crunch!
Fruit-Flavored: Add a few drops of your favorite extract, like almond or raspberry, to the cake mix for a burst of flavor. A twist of fruitiness makes these pops even more delightful!
Decadent Fudge: Drizzle some melted fudge over the cake pops after dipping. This adds an extra layer of chocolatey goodness that’s hard to resist!
Nutty Crunch: Roll the dipped cake pops in crushed nuts or toffee bits for a crunchy texture. This adds such a lovely contrast to the soft cake inside!
Heat It Up: Mix in a pinch of cayenne pepper to the melted coating for a sweet-spicy kick. It’s a fun twist that might surprise everyone!
Seasonal Sprinkles: Change out the patriotic sprinkles for seasonal ones to make these all year round! Think pastel for Easter or spooky colors for Halloween—versatile fun all year!
Let your imagination run wild with these variations to make your 4th of July cake pops recipe truly unique!
How to Store and Freeze 4th of July Cake Pops
Room Temperature: Keep cake pops in an airtight container at room temperature for up to 3 days. This preserves their freshness and flavor for your holiday gatherings.
Fridge: If you’re making them ahead of time, store cake pops in the refrigerator in a sealed container for up to a week. Allow them to come to room temperature before serving for the best taste.
Freezer: Cake pops can be frozen for up to 3 months. Just wrap each one tightly in plastic wrap and then place in a freezer-safe bag. Thaw in the fridge before enjoying!
Reheating: There’s no need to reheat cake pops, as they are best enjoyed chilled or at room temperature. Just take them out and let your guests indulge in the tasty treat!
Expert Tips for 4th of July Cake Pops
Cooling is Key: Ensure your cake is completely cool before crumbling. This prevents mushy cake pops and helps them hold their shape.
Perfectly Formed Balls: Use a small cookie scoop for uniform size, making it easier to create a consistent look for your cake pops.
Chill for Firmness: Don’t skip the chilling step! Freezing the cake balls for 15 minutes solidifies them, making the dipping process smoother and mess-free.
Avoid Chocolate Clumps: Stir your melting wafers continuously while melting to prevent clumps. Adding coconut oil or shortening ensures a velvety coating when finished.
Quick Sprinkling: Work swiftly after dipping to add sprinkles before the chocolate sets. This keeps them in place and ensures a beautiful presentation.
These tips will help you craft the perfect 4th of July cake pops recipe that will impress your guests!
4th of July Cake Pops Recipe FAQs
What type of cake mix works best for this recipe?
Absolutely! You can use any flavor of cake mix that you love. Vanilla or classic yellow cake mixes are popular choices for cake pops, but chocolate, strawberry, or even red velvet can add a fun twist. Remember, the flavor of your cake will shine through, so choose one that excites your taste buds!
How long can I store my 4th of July cake pops?
For optimal freshness, keep your cake pops in an airtight container at room temperature for up to 3 days. If you’re prepping them ahead of time, they can last in the refrigerator for up to a week. Just be sure to let them come to room temperature for the best flavor.
Can I freeze my cake pops? If so, how?
Yes, you absolutely can freeze your cake pops! Start by wrapping each pop tightly in plastic wrap, ensuring no air gets in. Then place them in a freezer-safe bag or container. They will stay fresh for up to 3 months. When you’re ready to enjoy them, simply thaw them in the fridge overnight.
What should I do if my cake pops are falling apart?
Very understandable! If your cake pops aren’t holding their shape, make sure the cake balls are chilled enough before you start dipping. Freezing them for 15 minutes is key. Additionally, if your frosting is too dry, add a bit more to help bind the mixture together. On the flip side, if they’re too moist, try adding more crumbled cake to the mix.
Can I make these cake pops safe for allergies?
Absolutely! You can customize these cake pops to fit various dietary needs. Use gluten-free cake mix to accommodate gluten sensitivities, and opt for dairy-free frosting and melting wafers for a dairy-free version. Be sure to check the labels for any potential allergens and make swaps as necessary to keep your guests safe and happy!
Delicious 4th of July Cake Pops Recipe That Wow Your Guests
Ingredients
Equipment
Method
- Prepare the Cake: Begin by following the directions on the cake mix box. Once baked, allow it to cool completely before crumbling it into a large bowl. Add the cream cheese frosting and mix until fully combined and moist.
- Form Cake Balls: Take at least 1 tablespoon of the mixture and roll it into a ball. Place each ball on a lined cookie sheet. Continue until you’ve formed all the mixture into balls.
- Chill the Balls: Pop the cookie sheet into the freezer for about 15 minutes to firm up the cake balls.
- Melt the Coating: Melt the white melting wafers according to package instructions, then stir in coconut oil or shortening for a smoother consistency.
- Insert Sticks: Poke a lollipop stick into the center of each cake pop, optionally dipping the end in melted chocolate for extra stability.
- Dip and Decorate: Dip each cake ball into the melted coating. Before the coating sets, sprinkle on your patriotic sprinkles.
- Let Dry: Stand the cake pops upright in a drying station and let them dry until the coating hardens.