As I prepared for my last gathering, I found myself in a delightful crunchity dilemma: what to serve that would please both the healthy eaters and the snack enthusiasts among us? That’s when the classic relish tray sprang to mind—a vibrant, inviting spread that promises something for everyone!
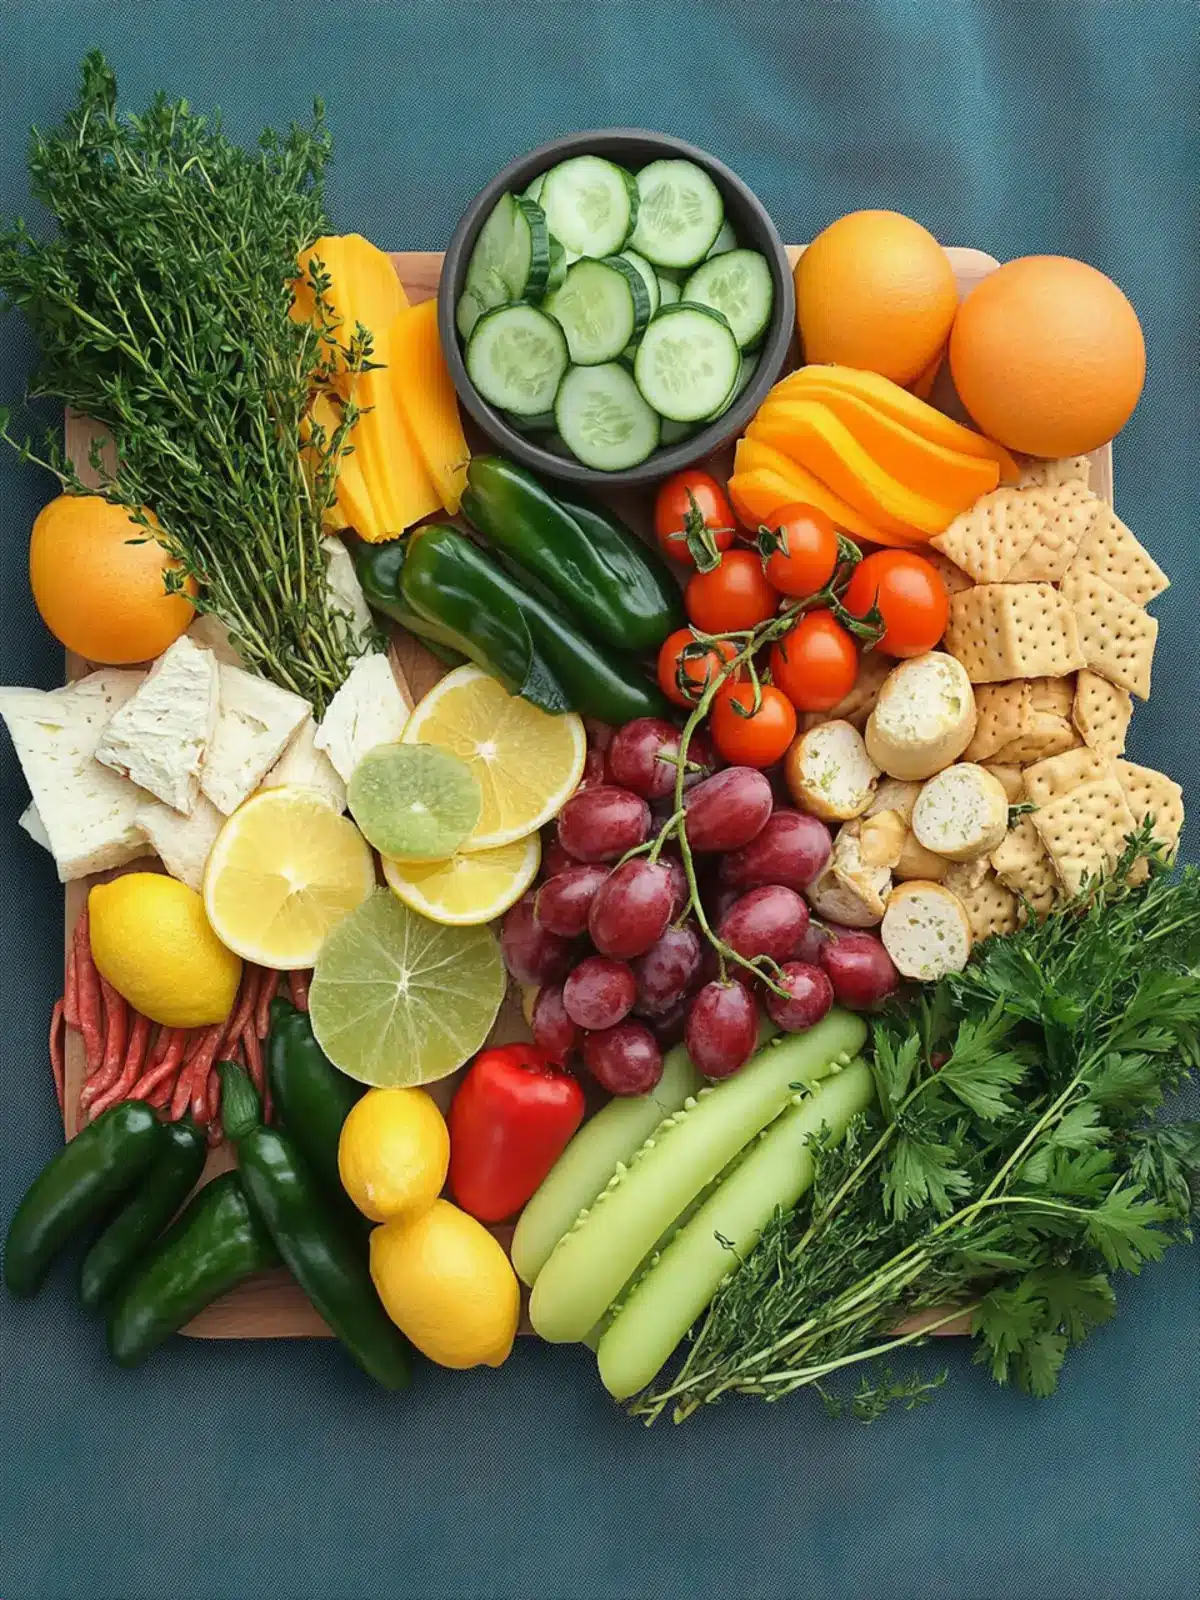
Picture a colorful array of crisp vegetables mingling with tangy pickles and savory cheeses, all artfully arranged to make a stunning centerpiece. It’s the kind of playful dish that transports me back to family picnics and summer potlucks, where snacking is not just encouraged; it’s the main event.
In just 20 minutes, using fresh produce and your favorite dips, you can whip up this effortlessly chic platter that will have guests chatting and munching throughout the evening. So grab your largest platter, and let’s create a relish tray that steals the show!

Why is a relish tray a crowd-pleaser?
Versatile and Customizable: You can mix and match your favorite veggies, cheeses, and pickles, ensuring everyone finds something they love.
Prep in Minutes: With just 20 minutes of prep, you’ll have a stunning display that looks like you spent all day on it.
Healthy and Delicious: Packed with fresh produce, this platter is a guilt-free option to satisfy savory cravings.
Perfect for Gatherings: Ideal for parties, picnics, or casual family dinners, a relish tray encourages communal snacking and lively conversation!
Nostalgic Charm: This classic dish brings back memories of sunny days and shared meals, making it a delightful addition to any occasion.
Relish Tray Ingredients
Create the perfect palate-pleaser with these essentials!
For the Vegetables
• Celery – cut into 3–4-inch pieces for a satisfying crunch.
• Carrots – peeled and cut similarly to celery; they add vibrant color.
• Cucumber – sliced into rounds for refreshing bites.
• Radishes – halved if large, bringing a spicy kick to the mix.
• Cherry tomatoes – juicy and sweet, a favorite for all ages.
• Bell pepper strips – add a colorful crispness to your relish tray.
• Broccoli or cauliflower florets – great for dipping and packing nutrients.
• Green onions or scallions – their mild flavor complements the other veggies.
For the Pickles & Olives
• Dill pickle spears or chips – these tangy bites are a must for any relish tray.
• Sweet gherkins or bread-and-butter pickles – offer a contrast in sweetness.
• Cornichons (optional) – these bite-sized French pickles add an extra zing.
• Green olives – Castelvetrano or “queen” olives provide rich, briny goodness.
• Black olives – a classic choice that everyone enjoys.
• Pickled peppers, pepperoncini – add a spicy and savory element to the platter.
• Pickled onions or okra (optional) – provide a unique flavor twist.
• Marinated mushrooms – their earthiness enhances the mix.
• Pickled beets – for a pop of color and earthy sweetness.
For the Protein & Cheese
• Pepperoni or salami (optional) – brings a heartiness that pairs beautifully with cheese.
• Cheese cubes (cheddar, Colby jack, Swiss) – choose your favorites for a creamy touch.
For Serving
• Lemon wedges – a zesty addition that brightens up the whole platter!
How to Make a Relish Tray
Choose your platter: Start by selecting the right base for your masterpiece—a large oval platter, sheet pan, or divided tray will do nicely.
Wash and dry: Rinse all your vegetables under cold water, ensuring they are fresh and clean. Pat them dry with a towel, making it easier for your relish tray to shine.
Cut the veggies: Slice your vegetables into grab-and-go sticks or spears, keeping them similar in size for uniformity while arranging.
Drain pickles and olives: Pour out excess liquid from your pickles and olives, gently patting them dry to avoid sogginess on the tray.
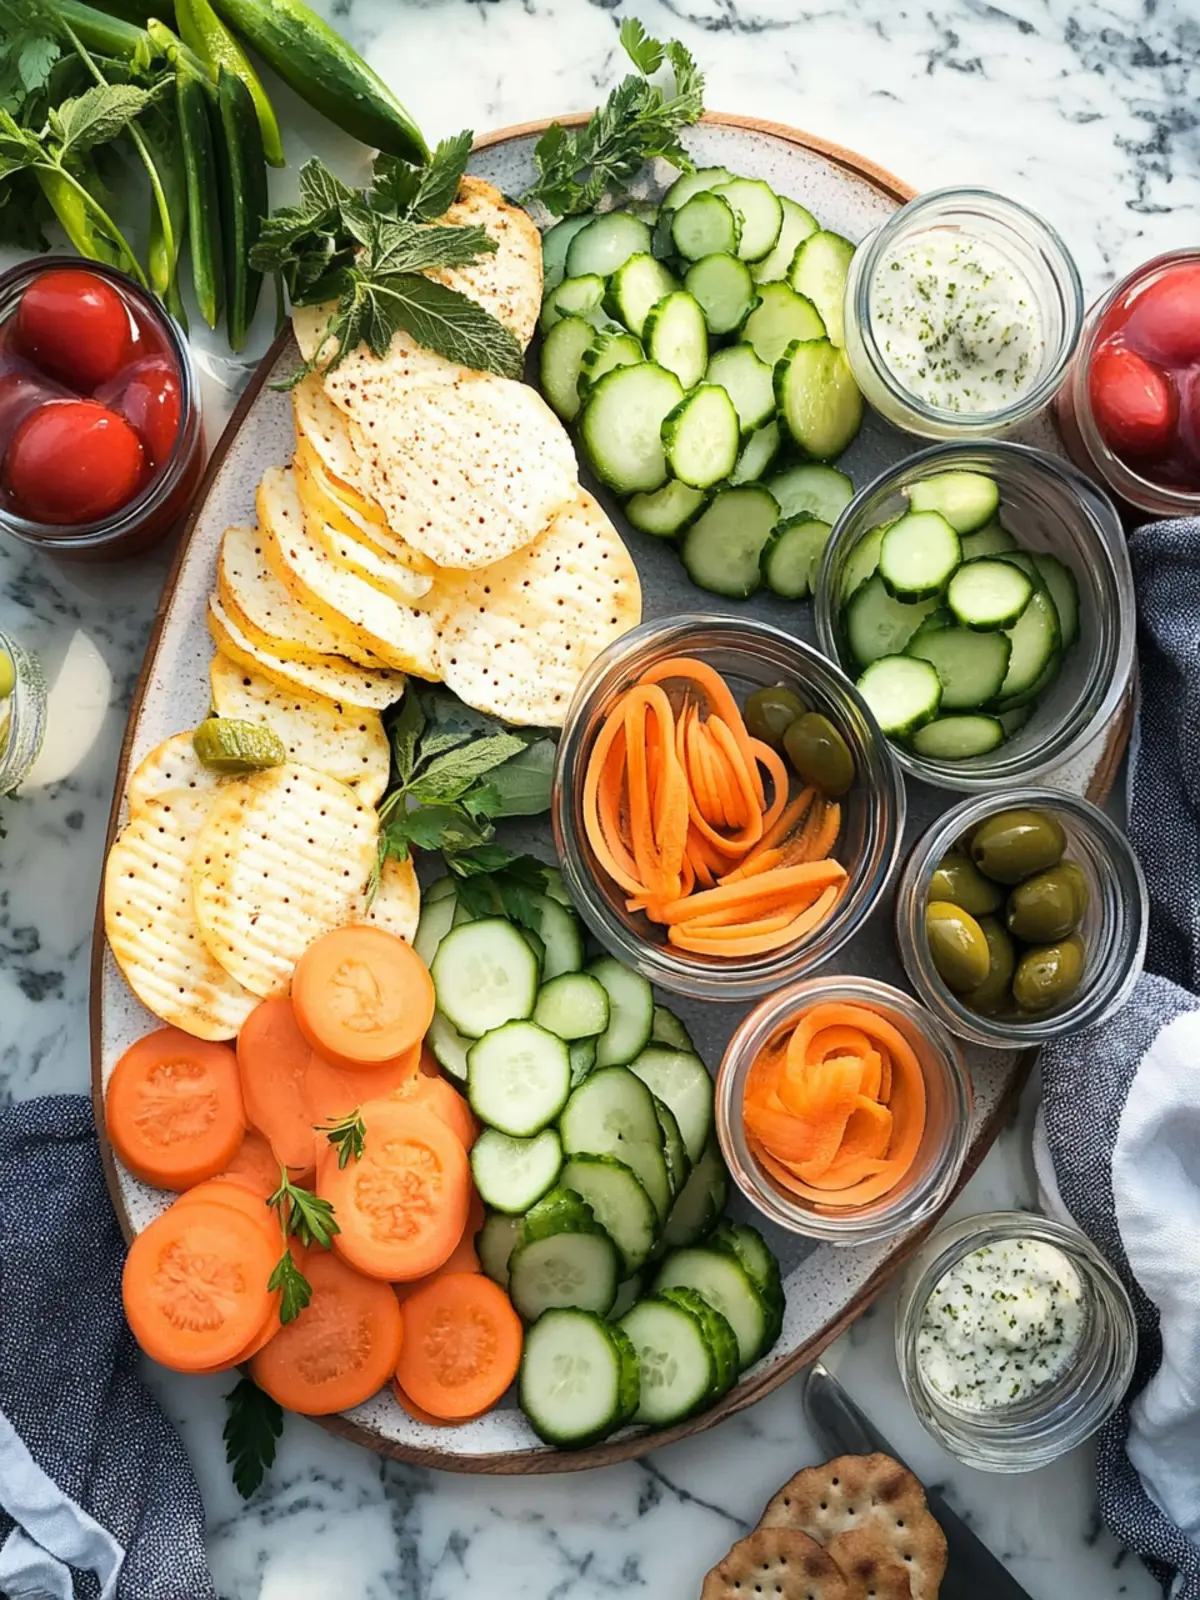
Set the dip: Place your chosen dip in a small bowl and position it either in the center or at one side of your platter for easy access.
Arrange in sections: Neatly arrange your ingredients in sections, grouping each item in its own little mound around the dip to create an eye-catching layout.
Mix for color: Position wetter items toward the edges of the platter, and play around with colors for an attractive and classic look that invites everyone to dig in.
Garnish & serve: Add fresh herb sprigs for a pop of freshness and include a small spoon or fork for guests to help themselves to olives and pickles easily.
Optional: Consider adding colorful edible flowers for an extra touch of elegance.
Exact quantities are listed in the recipe card below.
How to Store and Freeze Relish Tray
Fridge: Store leftover relish tray components in an airtight container for up to 3 days. Keep the vegetables and pickles separate to maintain their crunch.
Freezer: Avoid freezing the relish tray itself, as vegetables will lose their crispness. However, you can freeze leftover dips in a sealable bag for up to 2 months.
Reheating: When ready to enjoy, simply thaw dips in the fridge overnight and stir before serving. Fresh veggies should be consumed promptly for the best taste.
Room Temperature: If serving at a gathering, keep the relish tray at room temperature for no longer than 2 hours to ensure food safety and freshness.
Make Ahead Options
These delightful relish trays are perfect for make-ahead meal prep, saving you precious time on the day of your gathering! You can prepare the vegetables—like celery, carrots, and cucumber—up to 24 hours in advance. Simply wash, dry, and cut them into sizes you enjoy, then store them in airtight containers in the fridge to keep them crisp. You can also drain and refrigerate the pickles and olives a day ahead to ensure they are flavorful and ready to serve. When it’s time to assemble your relish tray, just arrange everything on your chosen platter, add dip in the center, and voilà! You’ll have a stunning, fresh centerpiece that tastes just as delicious as if you made it all in one go.
Relish Tray Variations
Explore a world of flavors and textures by customizing this classic delight to suit your taste and occasion!
Herb-Infused Oil: Drizzle the tray with a homemade herb-infused olive oil for added depth. It elevates the flavors while making the presentation more appealing.
Spicy Kick: Add sliced jalapeños or spicy pickled vegetables for those who crave heat. It’s a fantastic twist that will electrify your taste buds!
Fruit Addition: Incorporate sliced apples or pears for a sweet contrast. The crispness balances the savory elements and adds a refreshing note that guests will love.
Vegan Twist: Swap out the cheeses and meats for plant-based alternatives like nut cheese or marinated tofu. Everyone can enjoy the platter guilt-free without sacrificing flavor.
Nutty Crunch: Sprinkle some toasted nuts, like almonds or walnuts, over the tray for an unexpected crunch. Their earthiness brings a delightful variety to each bite.
Mediterranean Flair: Replace olives with marinated artichokes and sun-dried tomatoes. This brings a rich Mediterranean twist that complements the existing flavors beautifully.
Cheesy Layer: Try adding a layer of different cheeses, such as brie or feta crumbles, for more richness. This variation invites a creamy and tangy experience everyone will adore.
Colorful Garnish: To impress, garnish with edible flowers or bright microgreens. Not only do they add a touch of elegance, but they also enhance the visual appeal of your presentation!
Tips for the Best Relish Tray
• Fresh Ingredients: Always choose the freshest vegetables and cheeses for a vibrant and flavorful relish tray. Freshness elevates the overall taste!
• Even Sizing: Cut fruits and veggies into even sizes to encourage easy snacking and a visually appealing layout. This also helps with portion control.
• Drain Excess Liquid: Make sure to drain your pickles and olives thoroughly. This prevents sogginess and keeps your relish tray looking inviting!
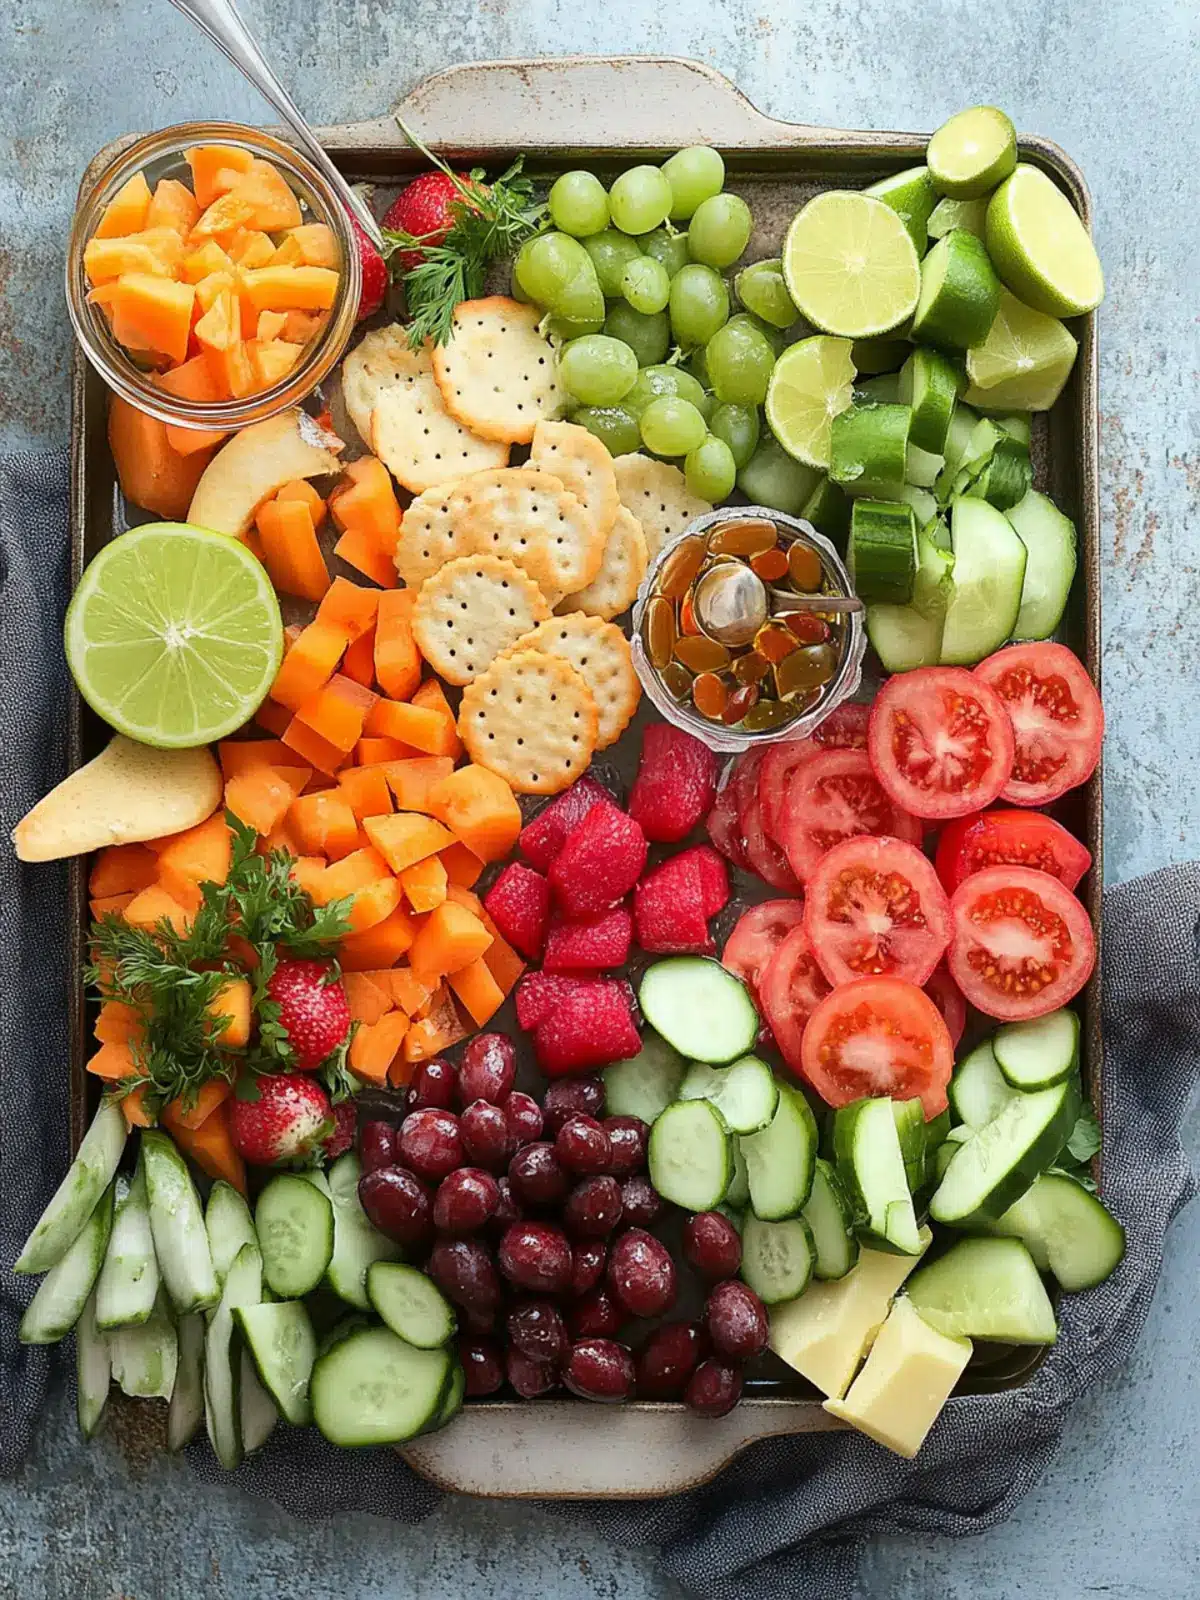
• Color Coordination: Mix colorful items for a stunning presentation. Group similar hues together for an appealing and appetizing display that will impress your guests.
• Diverse Dips: Consider offering a variety of dips! Hummus, ranch, or a tangy vinaigrette can elevate your relish tray and cater to different flavor preferences.
• Clever Arrangement: Arrange your ingredients in sections around the dip. This not only enhances the look but also makes it easier for guests to reach their favorites without crowding.
What to Serve with Classic Relish Tray?
Building a meal around a colorful classic brings joy and vibrant flavors to the table.
Savory Dips: Rich hummus or creamy ranch dip pairs perfectly, adding a delicious layer to your crunchy bites.
Cheese Platter: Complement your relish tray with a selection of artisan cheeses; the creaminess balances the tangy crunch.
Fresh Fruits: Juicy melon, sweet berries, or apple slices offer a refreshing contrast to the savory flavors.
Crusty Bread: Serve with slices of artisan bread or crackers for a satisfying crunch and a hearty texture to accompany the mixed delights.
Sparkling Water: A chilled, bubbly beverage enhances the crunch and freshness of all those lovely components, making each bite even more delightful.
Mini Sandwiches: Lightweight finger sandwiches filled with fresh ingredients give your guests a delightful option to enjoy alongside the relish tray.
Red Wine: A light red wine can beautifully complement the array of flavors, enhancing conversations as guests linger over their bites.
Classic Relish Tray Recipe FAQs
How do I choose the right vegetables for my relish tray?
Absolutely! Select fresh, crisp vegetables that are at their peak ripeness. Look for vibrant colors and firm textures—avoid any with dark spots or wilting leaves. Carrots should be bright orange, cucumbers firm and smooth, and bell peppers shiny. A variety of shapes and colors makes for an eye-catching display!
How can I store leftovers from my relish tray?
You can store leftover components in an airtight container for up to 3 days. Keep the vegetables and pickles separated to help maintain their crunch. Consider placing damp paper towels in the container with the veggies; they’ll absorb excess moisture and help keep things fresh!
Can I freeze any part of the relish tray?
I often advise against freezing the entire relish tray as the vegetables lose their crispness when thawed. However, you can freeze leftover dips in a sealable bag for up to 2 months. When you’re ready to enjoy them, just thaw the dip in the fridge overnight and give it a good stir before serving for the best flavor.
What should I do if my vegetables start to wilt?
If you notice your vegetables wilting, place them in a glass of cold water, just like you would for flower stems. Let them sit for about 30 minutes to revive them. You can add ice cubes to keep the water cold and have them ready to include in your platter when fresh again!
Are there any allergens I should be aware of with this relish tray?
Definitely consider allergies when preparing your relish tray! Olives and certain pickles may contain preservatives, so check the labels. Use organic or homemade dips if you’re serving guests with dietary restrictions. If unsure, it’s always best to ask your guests about their preferences and potential allergies in advance!
Create a Stunning Relish Tray for Your Next Gathering
Ingredients
Equipment
Method
- Choose your platter: Start by selecting the right base for your masterpiece—a large oval platter, sheet pan, or divided tray will do nicely.
- Wash and dry: Rinse all your vegetables under cold water, ensuring they are fresh and clean. Pat them dry with a towel, making it easier for your relish tray to shine.
- Cut the veggies: Slice your vegetables into grab-and-go sticks or spears, keeping them similar in size for uniformity while arranging.
- Drain pickles and olives: Pour out excess liquid from your pickles and olives, gently patting them dry to avoid sogginess on the tray.
- Set the dip: Place your chosen dip in a small bowl and position it either in the center or at one side of your platter for easy access.
- Arrange in sections: Neatly arrange your ingredients in sections, grouping each item in its own little mound around the dip to create an eye-catching layout.
- Mix for color: Position wetter items toward the edges of the platter, and play around with colors for an attractive and classic look that invites everyone to dig in.
- Garnish & serve: Add fresh herb sprigs for a pop of freshness and include a small spoon or fork for guests to help themselves to olives and pickles easily.