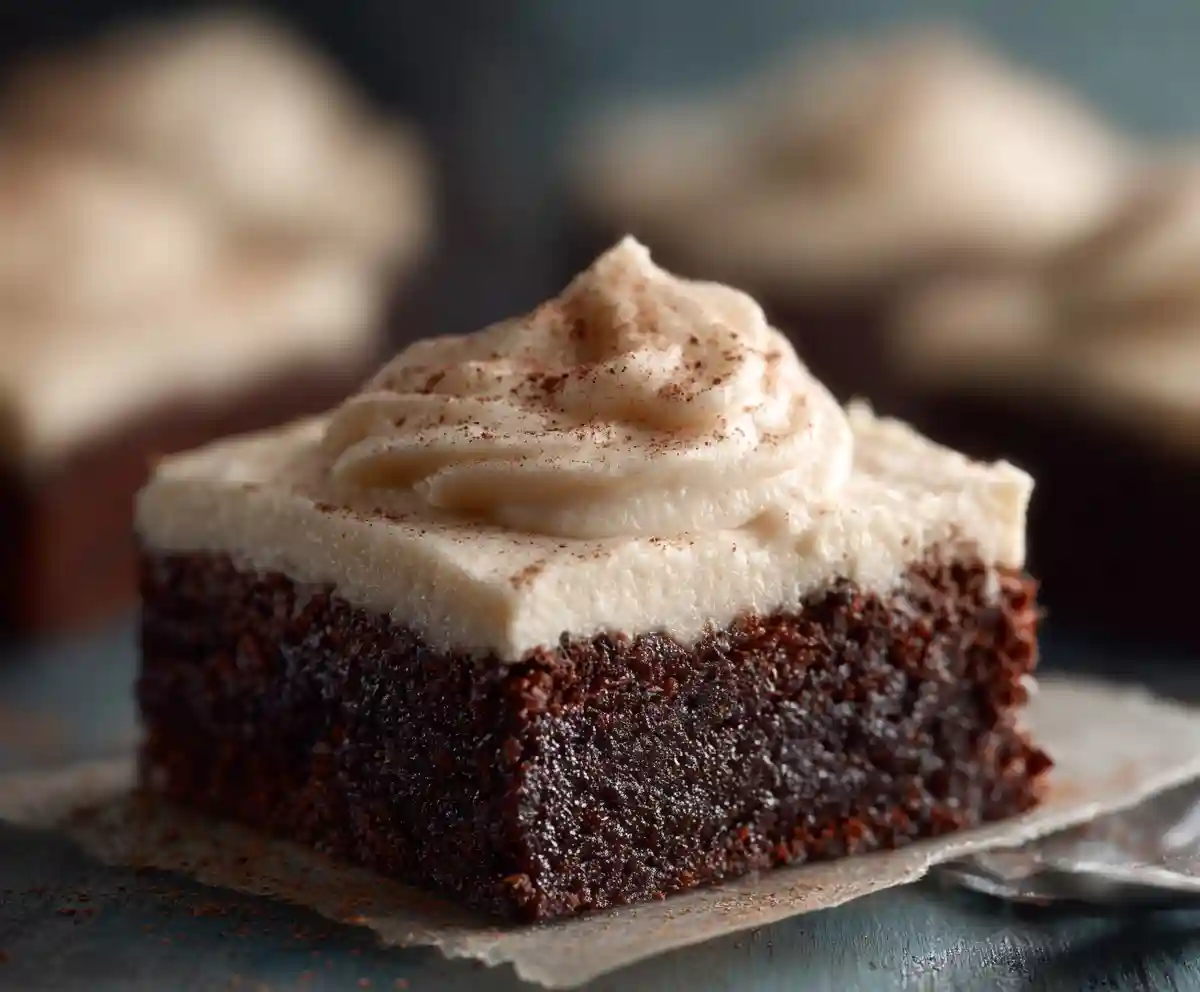
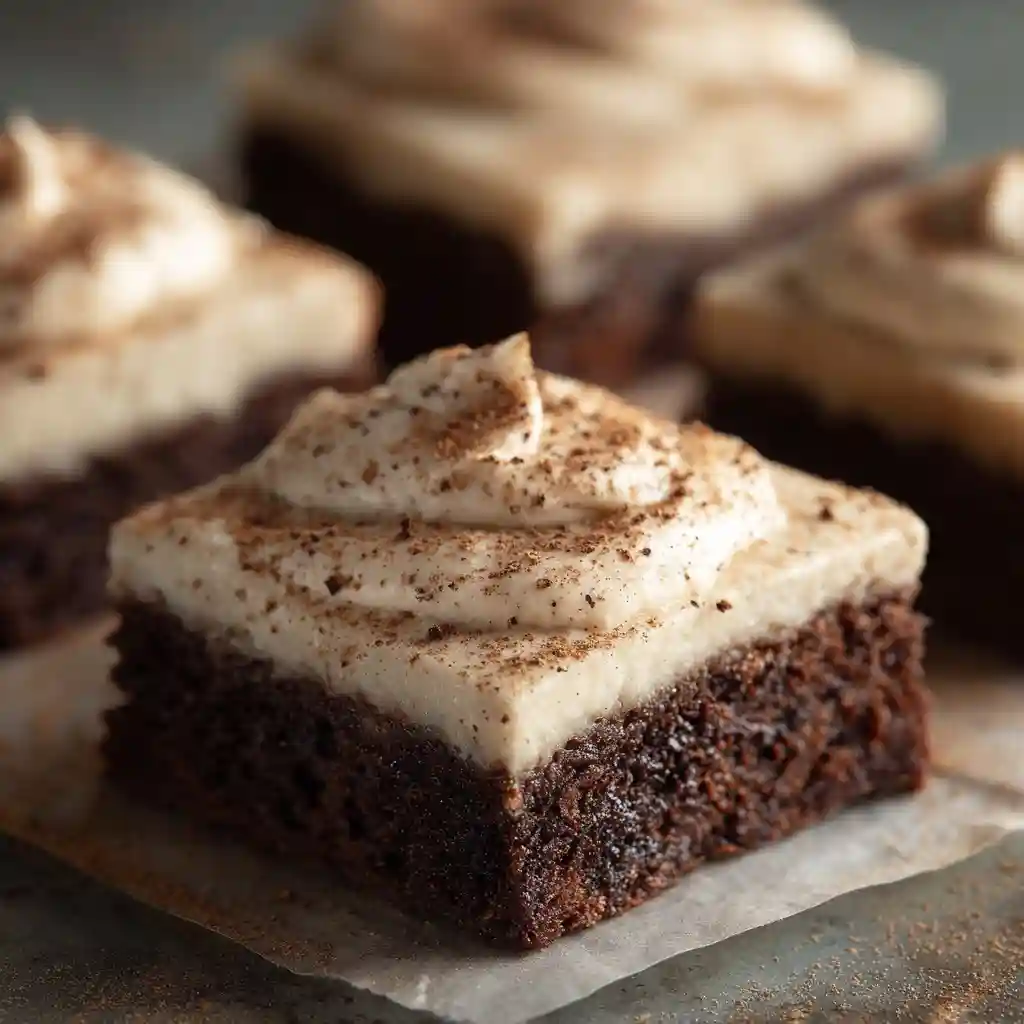
Coffee Brownies are the dream dessert for anyone who craves that rich, fudgy chocolate bite with a bold espresso twist. These brownies don’t just flirt with coffee flavor—they embrace it. With a deep cocoa base and a luscious coffee-infused frosting, this recipe elevates the classic brownie into something truly gourmet. Whether you’re serving them at a dinner party, gifting a homemade treat, or sneaking a late-night bite, these Coffee Brownies deliver indulgence in every square. Moist, flavorful, and perfectly balanced between bitter and sweet, they’re the kind of baked good that never stays on the plate for long.
Why You’ll Love This Recipe

There’s a lot to love about these Coffee Brownies, and once you try them, you’ll understand why they’re a favorite among chocolate and coffee lovers alike:
- Bold flavor pairing: Rich cocoa and robust coffee create a harmonious, grown-up flavor.
- Perfect texture: Fudgy, chewy centers with a velvety frosting that melts in your mouth.
- Easy ingredients: Made with pantry staples and simple techniques.
- Customizable: Add nuts, chocolate chips, or a touch of cinnamon for your own twist.
- Make-ahead friendly: They taste even better the next day—and freeze beautifully!
Whether you’re baking for a brunch, a bake sale, or your own sweet tooth, these brownies won’t disappoint.
Ingredients
Here’s everything you’ll need to make these decadent Coffee Brownies from scratch, including that luscious frosting:
For the Brownies
- ½ cup all-purpose flour
- ⅓ cup unsweetened cocoa powder
- 1 cup granulated sugar
- 1 stick (½ cup) unsalted butter
- 2 large eggs
- 1 teaspoon vanilla extract
- 2 teaspoons coffee extract or 1 tablespoon instant coffee
- ¼ teaspoon baking powder
- ¼ teaspoon salt
For the Coffee Frosting
- ⅓ cup unsalted butter, softened
- 2 cups powdered sugar
- 1½ teaspoons instant coffee granules
- 2–4 tablespoons heavy whipping cream (adjust for consistency)
📝 Tip: For deeper flavor, substitute espresso powder for instant coffee granules.
Instructions
Follow these step-by-step directions to make your Coffee Brownies come out fudgy, flavorful, and beautifully frosted:
Make the Brownies
- Preheat your oven to 350°F (175°C). Line an 8-inch square baking pan with parchment paper or spray with non-stick cooking spray.
- Melt the butter in the microwave or on the stovetop. Let it cool slightly, then transfer to a mixing bowl.
- Whisk in the sugar, eggs, vanilla, and coffee extract (or dissolved instant coffee). Mix until smooth and creamy.
- Sift in the dry ingredients: flour, cocoa powder, baking powder, and salt. Stir just until combined—don’t overmix.
- Pour the batter into the prepared pan and spread evenly.
- Bake for 30–35 minutes, or until a toothpick inserted into the center comes out with a few moist crumbs.
- Cool completely in the pan before frosting.
Make the Frosting
- Dissolve the instant coffee granules in 2 tablespoons of heavy cream. Set aside.
- Beat the butter in a bowl until light and fluffy.
- Add powdered sugar gradually, beating continuously until smooth.
- Slowly mix in the coffee cream, one tablespoon at a time, until you reach a spreadable consistency. Add more cream if needed.
- Frost the cooled brownies, slice into squares, and serve!
Recipe Details & Nutrition
Recipe Details
- Prep Time: 15 minutes
- Cook Time: 30–35 minutes
- Total Time: 45–50 minutes
- Servings: 9 generous squares or 12 smaller pieces
- Difficulty: Easy
Estimated Nutrition (Per Serving)
Approximate values based on 12 servings:
- Calories: 290
- Total Fat: 15g
- Saturated Fat: 9g
- Cholesterol: 55mg
- Sodium: 95mg
- Carbohydrates: 38g
- Sugar: 30g
- Protein: 3g
- Caffeine Estimate: ~10–15mg (varies based on coffee used)
🧠 Note: Nutrition facts may vary based on specific brands and portion sizes.
Tips & Variations
Take your Coffee Brownies to the next level with these helpful tips and tasty twists:
✅ Tips for Success
- Don’t overbake: For fudgy brownies, pull them out when a toothpick has just a few moist crumbs.
- Cool completely before frosting: This prevents the frosting from melting into the brownies.
- Use high-quality cocoa: It enhances the depth of flavor when paired with coffee.
- Adjust frosting consistency: Add more cream if it’s too thick, or more powdered sugar if it’s too thin.
🔄 Variations to Try
- Espresso Kick: Swap instant coffee with espresso powder for a bolder flavor.
- Mocha Brownies: Stir in ½ cup chocolate chips or chunks for a double-chocolate hit.
- Nutty Crunch: Fold in chopped walnuts or pecans before baking for texture.
- Salted Finish: Sprinkle a pinch of flaky sea salt over the frosted brownies for contrast.
🥄 Want to pair it with something creamy? Serve alongside homemade vanilla ice cream or whipped cream.

Coffee Brownies with Coffee Frosting
Ingredients
Equipment
Method
- Preheat oven to 350°F (175°C). Line an 8-inch square baking pan with parchment paper or grease well.
- Melt butter and let cool slightly. In a mixing bowl, whisk together butter, sugar, eggs, vanilla, and coffee extract (or dissolved instant coffee).
- Sift in flour, cocoa powder, baking powder, and salt. Stir until just combined—do not overmix.
- Pour batter into prepared pan and smooth the top.
- Bake for 30–35 minutes, or until a toothpick inserted into the center comes out with a few moist crumbs.
- Let brownies cool completely in the pan before frosting.
- For the frosting, dissolve coffee granules in 2 tablespoons heavy cream. Set aside.
- Beat butter until fluffy. Gradually mix in powdered sugar.
- Slowly add the coffee cream mixture until desired consistency is reached.
- Frost the cooled brownies, slice, and serve!
Notes
– For a crunch, fold in chopped walnuts or chocolate chips.
FAQs
Here are answers to some common questions about making the perfect Coffee Brownies:
Q: Can I make these without coffee?
Yes! You can omit the coffee entirely for classic chocolate brownies. Just replace the coffee extract with an equal amount of milk or water.
Q: What’s the best substitute for instant coffee?
Espresso powder works great for a stronger flavor. You can also brew strong coffee and reduce the liquid in the batter slightly to compensate.
Q: Can I make these gluten-free?
Absolutely! Use a 1:1 gluten-free flour blend that contains xanthan gum for best results.
Q: How do I store frosted brownies?
Store them in an airtight container at room temperature for up to 3 days, or refrigerate for up to a week. They also freeze well—wrap individually and freeze for up to 3 months.
Q: Can I double the recipe?
Yes, just double all ingredients and bake in a 9×13-inch pan. Check for doneness around 35–40 minutes.
Conclusion
There’s no better way to satisfy your chocolate and caffeine cravings than with a fresh batch of Coffee Brownies. Moist, rich, and topped with a silky coffee frosting, these brownies strike the perfect balance of indulgence and sophistication. Whether you’re a casual baker or a seasoned pro, this recipe is sure to become a regular in your dessert rotation.