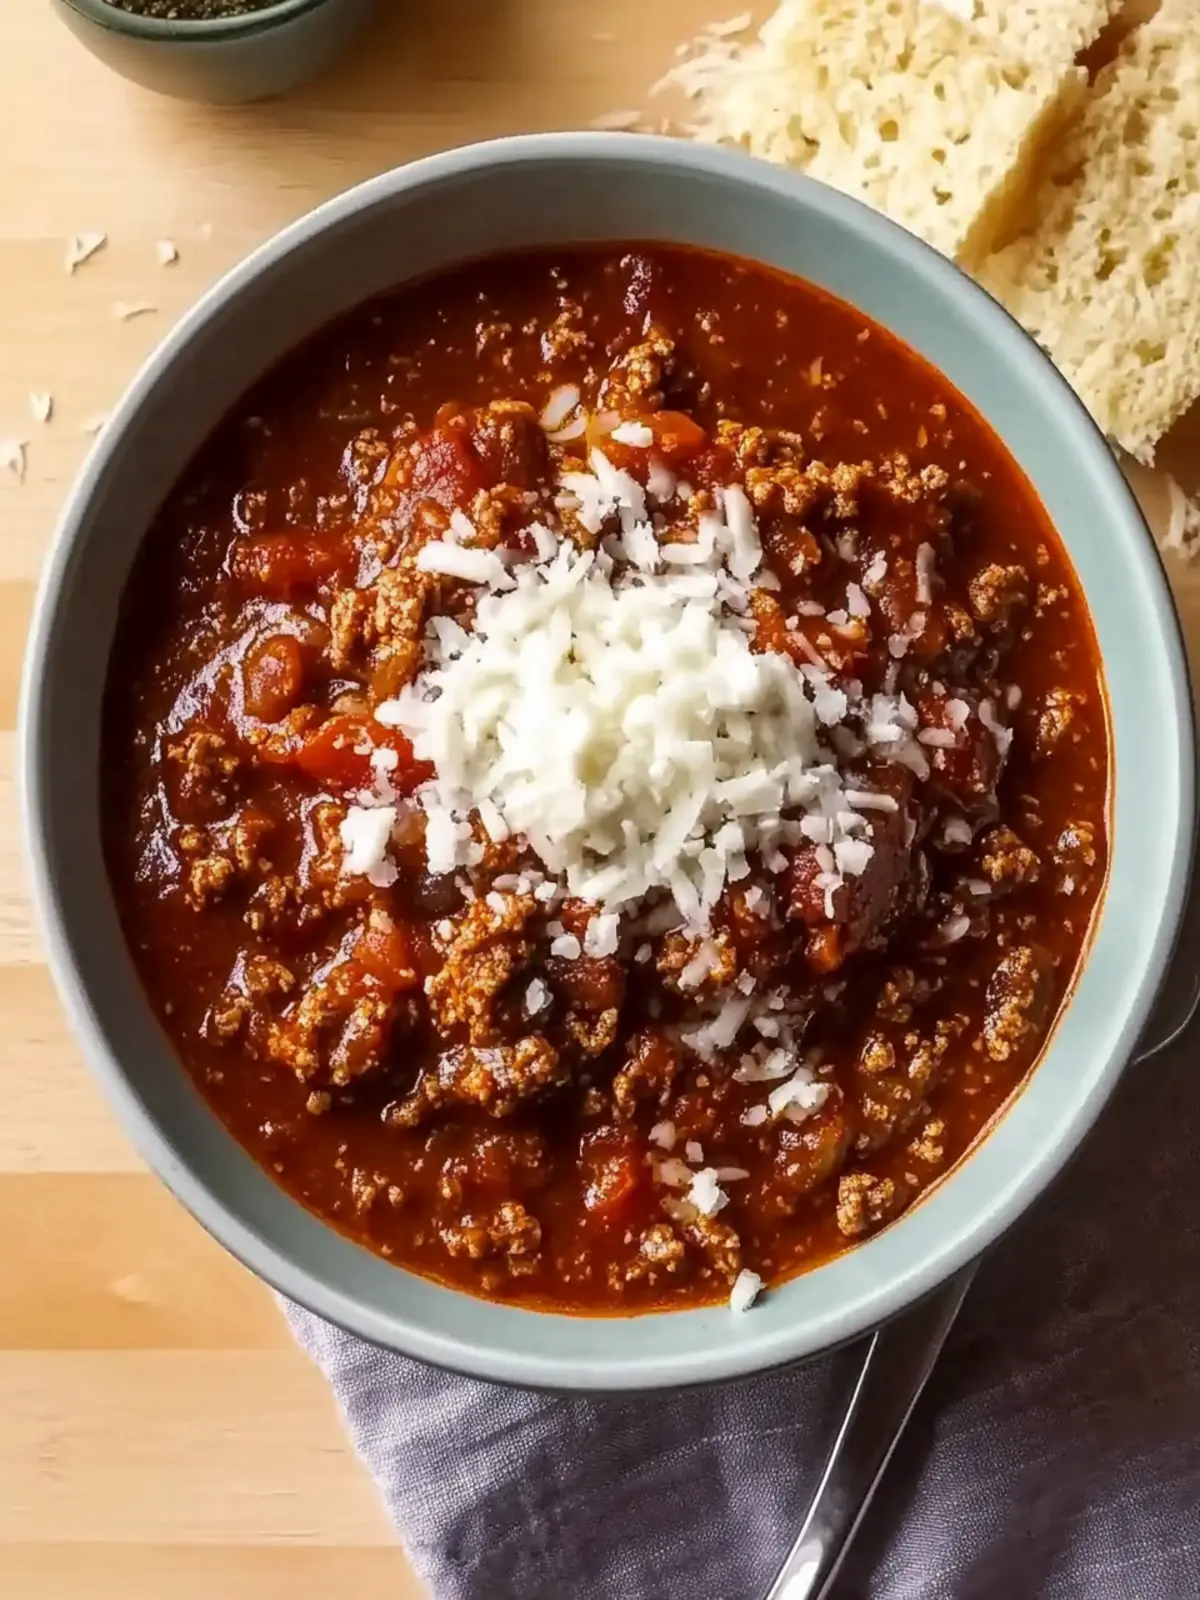
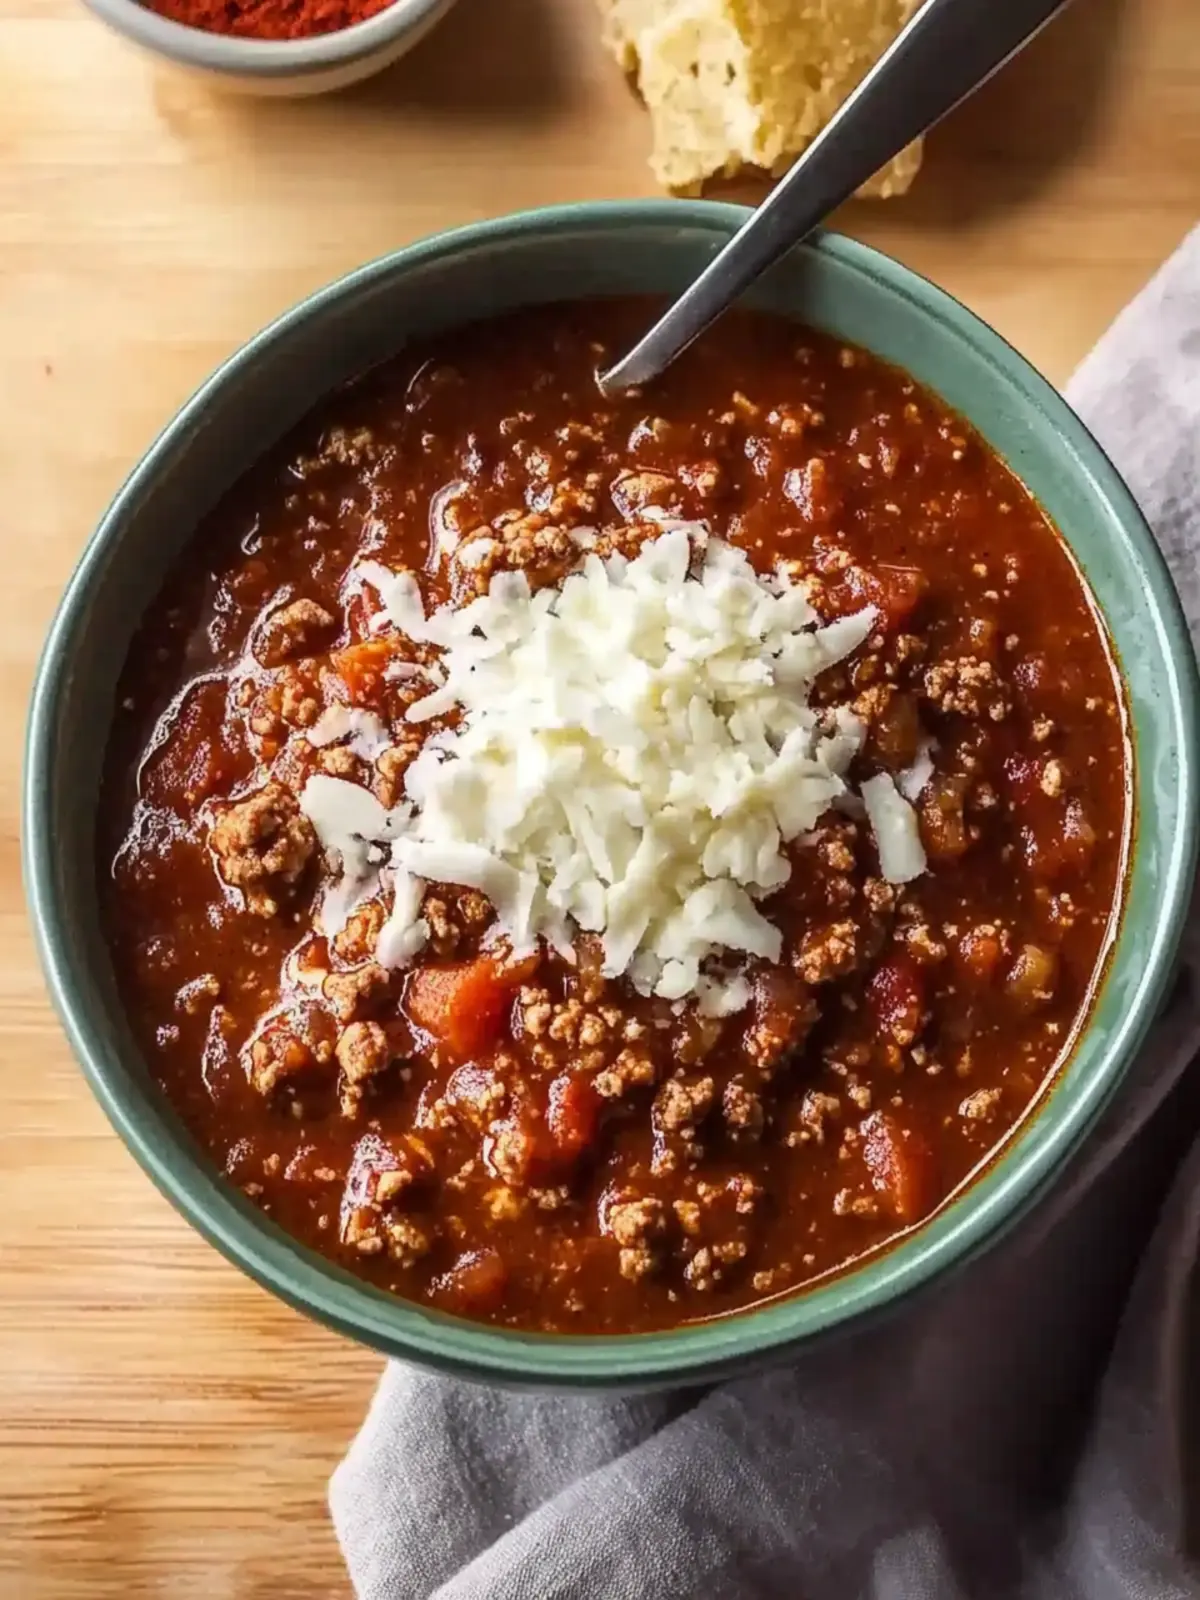
There’s nothing quite like the hearty embrace of a warm bowl of homemade Lone Star Chili, especially when the weather begins to cool and the leaves start to flutter down from the trees. The rich, savory aroma wafting through your kitchen will create an inviting atmosphere, drawing friends and family to gather around the table. This traditional Texas-style chili, with its delightful blend of spices and tender ground beef, captures the essence of comfort food without the fuss.
As I simmer the beef and spices, the anticipation builds—this isn’t just a meal; it’s an experience. And the best part? You don’t have to spend hours in the kitchen to create something that feels special. In just one hour, you can whip up a pot of chili that’s sure to impress. Whether you enjoy it on its own or serve it over cornbread or crispy tortilla chips, this crowd-pleasing dish is destined to become a staple in your home. Let’s dive into the recipe that’s set to elevate your chili game!

Why is Homemade Lone Star Chili a Must-try?
Hearty flavor: This chili is packed with rich, savory notes that will warm you from the inside out. Simple preparation: With just a handful of pantry staples, you can create a truly impressive dish without spending hours in the kitchen. Crowd-pleaser: Perfect for gatherings, this chili satisfies even the heartiest appetites. Versatile: Customize it to your liking! Add toppings like cheese and jalapeños or serve it over cornbread for a delicious twist. Explore how to elevate your comfort food experience with this classic recipe that brings everyone together!
Homemade Lone Star Chili Ingredients
For the Chili Base
- Tomato Sauce – Adds moisture and acidity; use your favorite brand for a delicious flavor boost.
- Ground Beef (80/20 blend) – Provides richness and moisture; substitute with ground turkey for a lighter option.
- Onion (diced) – Introduces sweetness and depth; yellow or white onion works beautifully.
- Garlic Clove – Freshly minced for great aroma; garlic powder can be a handy substitute in a pinch.
- Cayenne Pepper – Brings the heat; adjust to your preference for a milder or spicier kick.
- Cornmeal – Thickens the chili; masa harina makes a great alternative for added flavor.
- Ground Cumin – Delivers earthy notes; freshly ground is ideal for the best taste.
- Diced Tomatoes and Green Chilies (Rotel brand) – Provides a mixture of flavor and heat; fresh tomatoes and jalapeños allow for customization.
- Salt – Enhances all the flavors; taste and adjust as needed during cooking.
For Cooking
- Olive Oil – Essential for browning the meat; any neutral oil will work in case of a shortage.
- Beer – Adds a rich depth of flavor; consider Mexican lager, or use beef broth for a non-alcoholic version.
This Homemade Lone Star Chili is not just a recipe; it’s a culinary adventure waiting to unfold!
How to Make Homemade Lone Star Chili
Heat Oil: In a large pot, add olive oil and warm it over medium-high heat until shimmering. This step ensures a beautiful browning process for your meat.
Brown Beef: Add the ground beef to the pot. Brown for 5-7 minutes, breaking it apart until there’s minimal pink remaining. Transfer to a plate, leaving the flavorful fat in the pot.
Sauté Onions: In the same pot, toss in the diced onion. Sauté for 4-5 minutes until it softens and caramelizes, releasing its sweetness. Then, add minced garlic and cook for 30 seconds until fragrant.
Add Spices: Stir in the chili powder, ground cumin, and cayenne pepper. Cook for about 1 minute until the spices become aromatic and lively.
Deglaze with Beer: Return the browned beef to the pot and pour in your chosen beer. This deglazes the pan, lifting those delicious brown bits stuck to the bottom.
Combine Tomatoes: Add the diced tomatoes, tomato sauce, and a sprinkle of salt. Stir everything together until well mixed, creating that hearty chili base.
Simmer: Let the chili simmer uncovered over medium-low heat for 1 hour. Stir occasionally to ensure it doesn’t stick to the bottom.
Taste and Adjust: After 45 minutes, taste your chili and adjust any salt or spices to suit your preference. This final tweak helps bring all the flavors together beautifully.
Thicken: Stir in the cornmeal and cook for an additional 2-3 minutes. This will thicken the chili, but feel free to adjust the consistency with extra liquid if desired.
Optional: Top with shredded cheese and diced jalapeños for an extra kick.
Exact quantities are listed in the recipe card below.
Make Ahead Options
Preparing your Homemade Lone Star Chili in advance is a fantastic way to save time during busy weeknights! You can chop the onions and mince the garlic up to 24 hours ahead, storing them in an airtight container in the refrigerator to keep them fresh. Additionally, the chili can be fully cooked and refrigerated for up to 3 days; in fact, the flavors will deepen as it sits! Just reheat on the stove over low heat, adding a splash of water or broth if needed to restore the desired consistency. This not only saves valuable time but ensures your chili remains just as delicious as the first day!
What to Serve with Homemade Lone Star Chili?
Create a festive table to accompany the comforting warmth of this chili that brings friends and family together.
Warm Cornbread: The sweetness of cornbread balances the savory spices in the chili, providing a delightful texture contrast. A slice slathered in butter is a must!
Crispy Tortilla Chips: Perfect for scooping, these chips offer a satisfying crunch that complements the thick, hearty chili. You can even sprinkle cheese on top for a delicious twist!
Mexican Rice: This fluffy, seasoned rice adds a touch of vibrant flavor and helps to soak up every drop of that rich chili goodness. It’s a perfect side for a filling meal!
Shredded Cheese: Top your chili with a sprinkle of cheese—sharp cheddar or pepper jack works beautifully. The melty texture enhances every bite and adds an extra layer of flavor.
Diced Onions: Fresh onions add a crisp, refreshing crunch that brightens each spoonful of the chili, cutting through its richness wonderfully.
Pickled Jalapeños: For an added punch, top the chili with pickled jalapeños. Their tangy heat elevates the dish and excites your taste buds!
Light Lager: A chilled, light lager complements the spices of the chili without overwhelming the palate, making it a refreshing beverage pairing.
Chocolate Brownies: End on a sweet note with rich chocolate brownies. Their fudgy texture and decadent taste provide a lovely contrast to the spicy warmth of the chili.
Every side dish brings its own unique flavor, creating a full, comforting meal that everyone will love!
Storage Tips for Homemade Lone Star Chili
- Fridge: Store your homemade Lone Star Chili in an airtight container for up to 4 days. The flavors develop even further after a day in the fridge, creating a more delightful experience.
- Freezer: If you’re planning to make it ahead, freeze the chili in suitable containers for up to 3 months. Allow it to cool completely before sealing to maintain its texture.
- Reheating: When you’re ready to enjoy, reheat the chili on the stove over medium heat, stirring occasionally. Alternatively, use a microwave for quick servings, ensuring it’s heated through.
- Thawing: For frozen chili, thaw it overnight in the refrigerator before reheating. This ensures a more even heating and helps maintain flavor.
Homemade Lone Star Chili Variations
Feel free to make this recipe your own with these fun and flavorful twists!
Dairy-Free: Omit cheese and sour cream toppings, and use coconut yogurt for creaminess. Enjoy a guilt-free indulgence!
Spicy Kick: Add fresh diced jalapeños during cooking or top with pickled jalapeños for a spicy crunch. This brings a delightful heat to each bite.
Extra Veggies: Toss in bell peppers or zucchini for added nutrition and color. These veggies will soften beautifully and enrich the chili.
Smoky Flavor: Mix in smoked paprika or chipotle peppers for an intense, smoky profile. It will transform the dish to a new flavor dimension!
Low-Carb: Swap out cornmeal for crushed pork rinds or just skip thickening altogether. It’s a great choice for a keto-friendly option!
Bean Lovers: Although traditional chili is bean-free, feel free to add kidney or black beans for extra texture and protein. A heartier version that many will enjoy!
Vegan Delight: Use lentils or plant-based meat to replace the ground beef. This variation packs all the flavor without any animal products.
Herb Infusion: Stir in some fresh cilantro or parsley before serving for a bright, herbal lift. It adds freshness and a vibrant finish to your warm bowl of chili.
Tips for the Best Homemade Lone Star Chili
Don’t Overcrowd the Pan: When browning the ground beef, ensure there’s enough space in the pot. Overcrowding leads to steaming instead of browning, which can affect the flavor.
Perfectly Seasoned: After simmering for about 45 minutes, taste your chili. This is your chance to adjust salt and spices to create that perfect balance of flavors in your homemade Lone Star Chili.
Cornmeal Consistency: Stir in the cornmeal towards the end of cooking to avoid clumps. This creates a smooth texture without any gumminess.
Use Fresh Flavor: Freshly minced garlic and ground cumin can elevate the taste significantly. Aim for freshness to get the best flavor in your chili.
Let It Rest: Allow the chili to sit for about 10-15 minutes after cooking. This helps the flavors meld, making the dish even better when served!
Customizable Heat: Adjust the cayenne pepper according to your spice tolerance. A little can go a long way, so start small and build up until it suits your palate.

Homemade Lone Star Chili Recipe FAQs
How do I choose ripe ingredients for my Homemade Lone Star Chili?
Absolutely! For the best flavor, select ripe tomatoes—look for ones that are firm and have a deep color with no dark spots. When picking your onion, choose ones that feel heavy for their size, with no soft spots. Fresh garlic should be firm and dry, without any green shoots peeking through.
How should I store leftover Homemade Lone Star Chili?
After cooking, store your chili in an airtight container and keep it in the fridge for up to 4 days. The flavors will deepen, making it even more delicious the next day. Just remember to let it cool completely before sealing it away to preserve that rich taste!
Can I freeze my Homemade Lone Star Chili?
Yes, indeed! Freeze your chili in suitable containers for up to 3 months. First, let it cool completely. Then, portion the chili into freezer-safe bags or containers, removing as much air as possible. When you’re ready to enjoy, thaw it overnight in the refrigerator and reheat on medium heat, stirring occasionally until heated through.
What should I do if my chili is too thick or too thin?
If your chili turns out too thick, you can add a splash of beer or beef broth and let it simmer for a few minutes to combine the flavors. Conversely, if it’s too thin, sprinkle in a little more cornmeal and simmer for an additional 2-3 minutes while stirring to thicken it up. This should help you achieve the perfect consistency.
Are there any dietary considerations I should keep in mind with Homemade Lone Star Chili?
Yes, definitely! If you’re cooking for someone with dietary restrictions, consider using ground turkey or plant-based meat as a healthier alternative to beef. Additionally, check for garlic or onion allergies, and feel free to omit or substitute these ingredients as needed. Always adjust spices to suit your guests’ palates, ensuring everyone enjoys a comforting bowl of chili!
Hearty Homemade Lone Star Chili Perfect for Any Gathering
Ingredients
Equipment
Method
- In a large pot, add olive oil and warm it over medium-high heat until shimmering.
- Add the ground beef to the pot. Brown for 5-7 minutes, breaking it apart until there's minimal pink remaining. Transfer to a plate, leaving the flavorful fat in the pot.
- In the same pot, toss in the diced onion. Sauté for 4-5 minutes until it softens. Add minced garlic and cook for 30 seconds.
- Stir in the chili powder, ground cumin, and cayenne pepper. Cook for about 1 minute.
- Return the browned beef to the pot and pour in your chosen beer.
- Add the diced tomatoes, tomato sauce, and a sprinkle of salt. Stir everything together.
- Let the chili simmer uncovered over medium-low heat for 1 hour.
- After 45 minutes, taste the chili and adjust any salt or spices.
- Stir in the cornmeal and cook for an additional 2-3 minutes.