There’s something truly enchanting about the process of caramelizing onions. As they start to soften and release their natural sugars, the entire kitchen is filled with an irresistible aroma that beckons you to take a closer look. You might find yourself unexpectedly captivated by these humble bulbs, transforming into a silky, golden ambrosia that enhances everything from hearty stews to delicate pasta dishes.
After a long day craving comfort food, I turned to caramelized onions as my secret ingredient. They add depth and a touch of sweetness that turns a simple meal into something extraordinary. With just a bit of patience, you’ll be rewarded with a rich, savory layer that mingles beautifully with every bite. Perfectly caramelized onions can be your culinary charm, whether piled atop a steak or stirred into mashed potatoes. Get ready to discover how this magical ingredient can elevate your home-cooked meals to restaurant-quality delights!

Why love caramelized onions in your cooking?
Transformative Flavor: Caramelized onions add a deep, sweet richness to any dish, making them a must-have in your kitchen.
Easily Versatile: Whether you’re stirring them into soups, topping a steak, or mixing them into pasta, their adaptability knows no bounds.
Simple Process: While they require time, the method itself is straightforward and perfect for any home cook.
Impressive Aroma: The aroma fills your home with warmth, enticing family and friends to gather around the dinner table.
Make-Ahead Magic: Prepare a batch in advance and store them; they’ll be ready to elevate your meals on busy days! Enjoy these delicious flavors and take your cooking to the next level.
Caramelized Onions Ingredients
Get ready to create magic with caramelized onions!
For the Sauté
• Olive Oil – A healthy fat that enhances the flavor; you can substitute with butter for a rich taste.
• Sea Salt – Essential for drawing out moisture and flavor; feel free to adjust to your liking.
For the Onions
• Yellow Onions – The star of the show, offering a sweet profile; try Vidalia onions for extra sweetness or red onions for a milder touch.
With these simple ingredients, you’re just steps away from crafting the ultimate caramelized onions that will boost your home cooking to delightful new heights!
How to Make Caramelized Onions
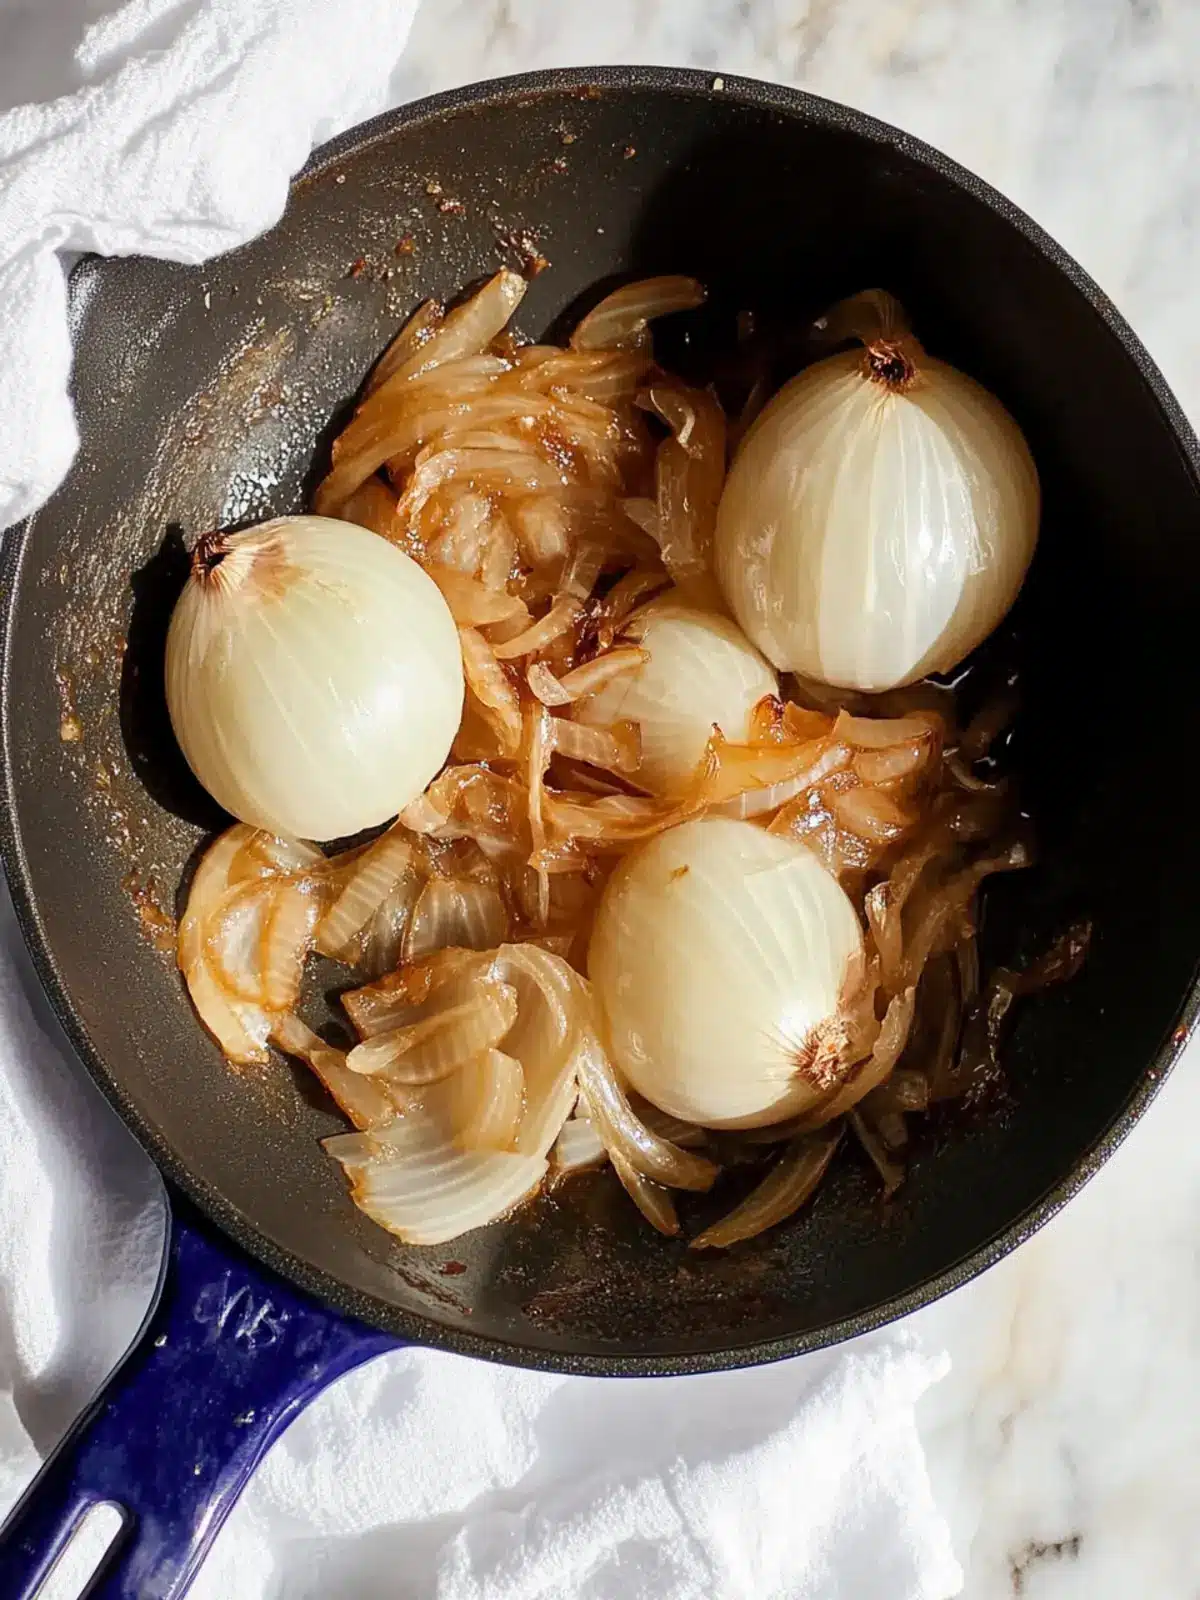
Prepare Onions: Start by slicing 4 medium yellow onions evenly. Make sure to separate the layers gently so each slice can cook uniformly. This ensures you get that delectable caramelization.
Sauté Onions: Heat 2 tablespoons of olive oil in a 12-inch cast-iron skillet over medium heat. Add the sliced onions and let them cook for about 5 minutes, stirring frequently until they begin to soften and glisten.
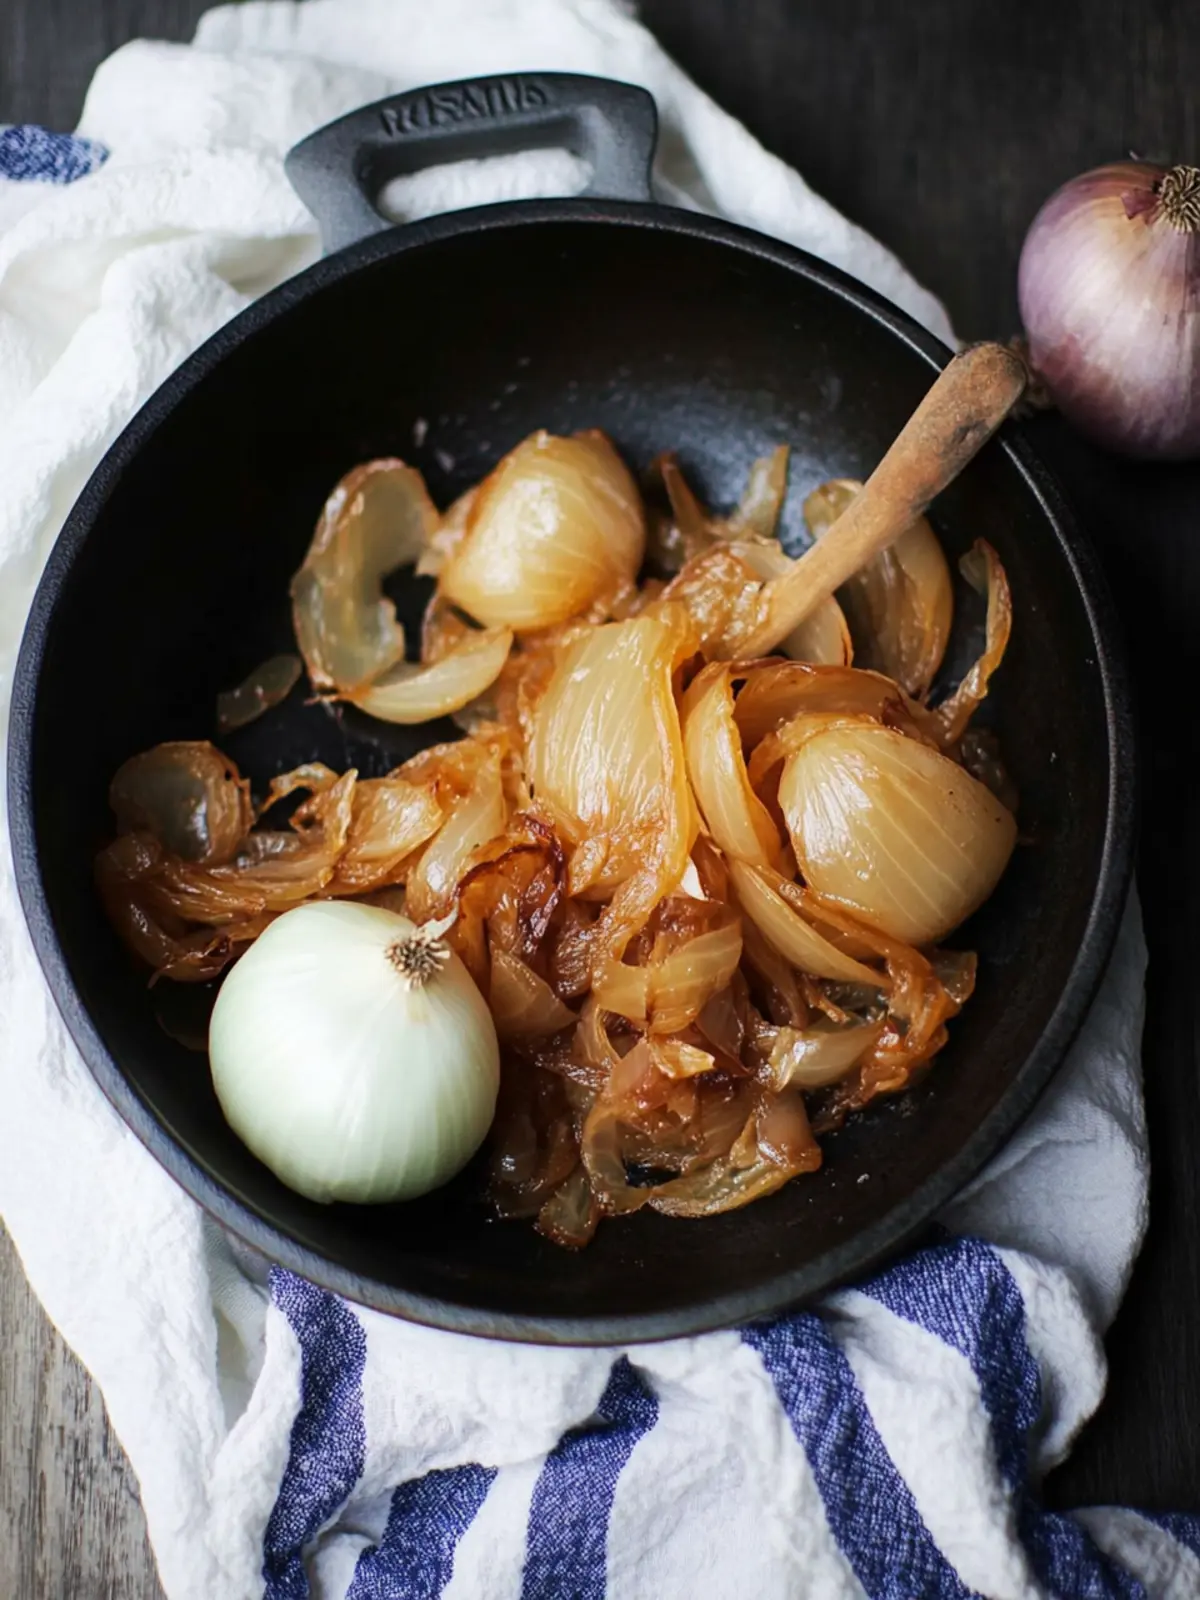
Caramelize Onions: Reduce the heat to medium-low and sprinkle in ½ teaspoon of sea salt. Allow the onions to cook slowly for 50 to 80 minutes, stirring occasionally. If they begin to stick or burn, simply lower the heat or add a splash of water.
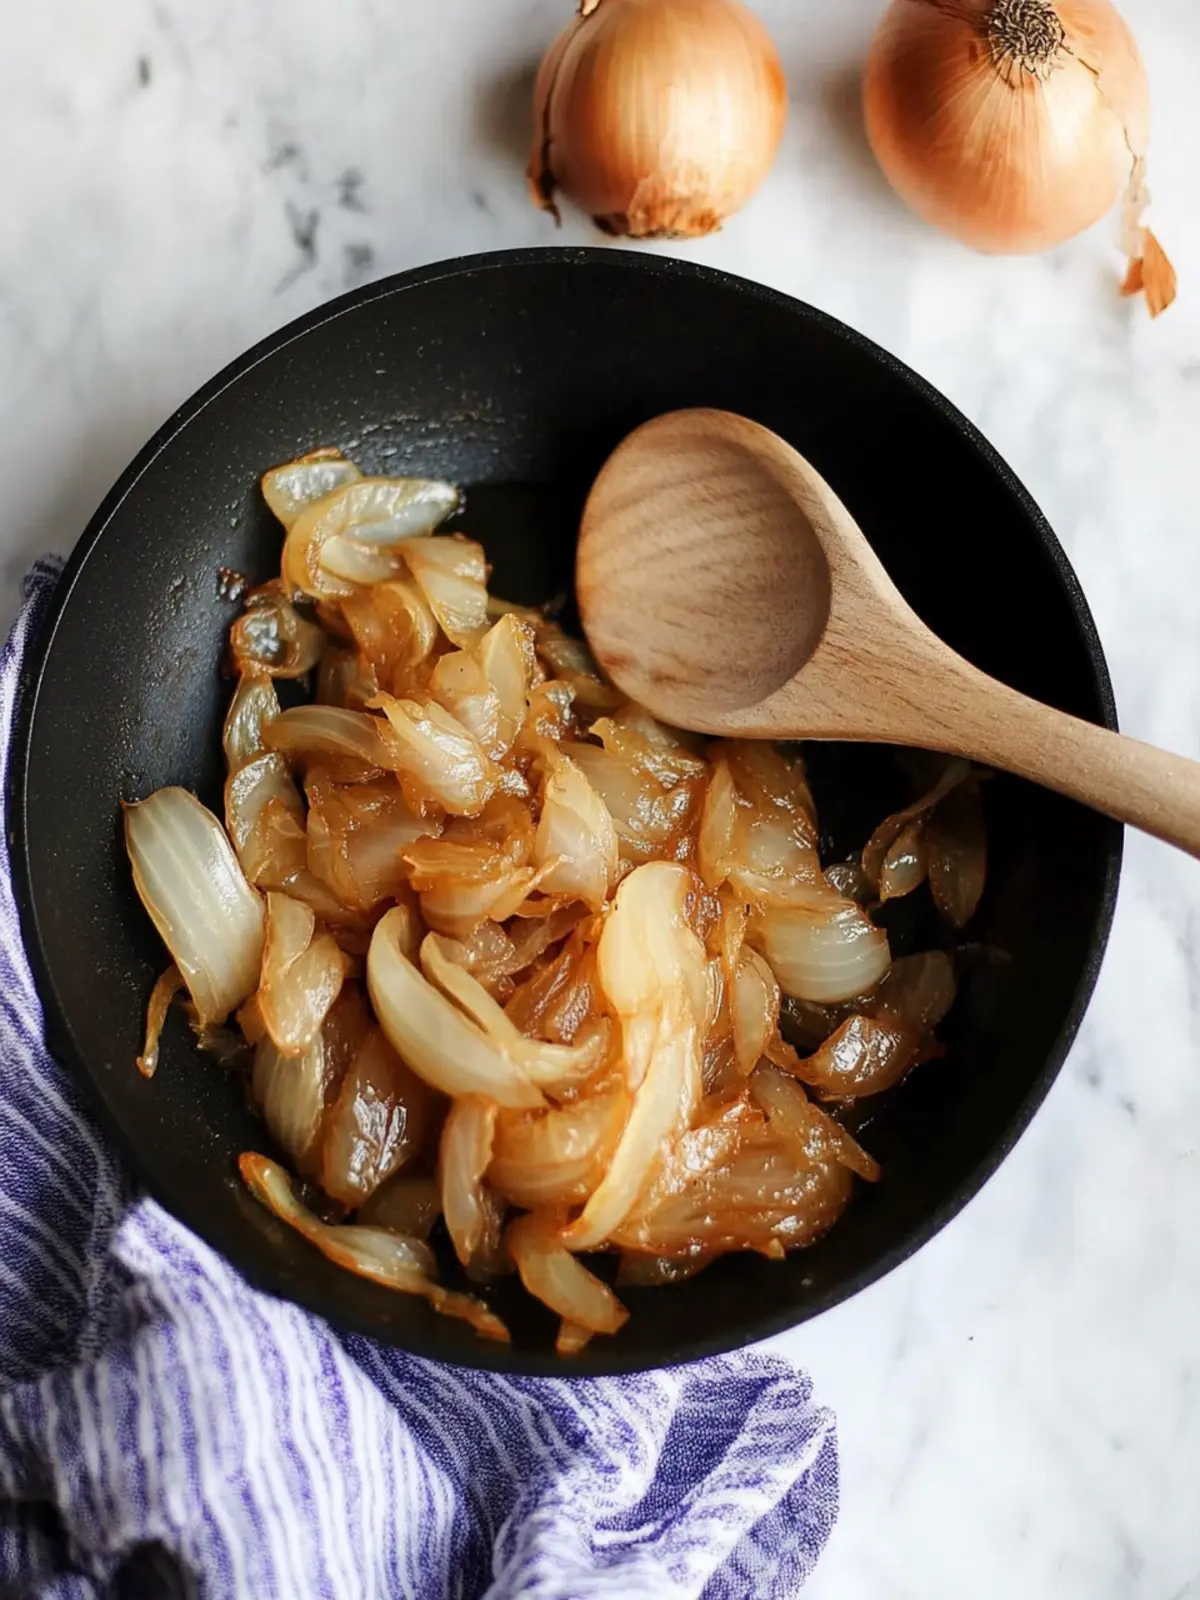
Finish Cooking: Your onions will be ready when they’re deeply soft and golden brown, with that luscious melt-in-your-mouth texture. Adjust the heat as necessary to prevent any burning, and enjoy the transformation!
Optional: Serve these delightful caramelized onions atop grilled steaks or mixed into creamy mashed potatoes.
Exact quantities are listed in the recipe card below.
What to Serve with Caramelized Onions?
Caramelized onions bring a luxurious depth to your meals, making each dish more vibrant and flavorful.
- Grilled Steak: The rich sweetness of caramelized onions beautifully balances savory, juicy steak, creating a restaurant-quality experience at home.
- Creamy Mashed Potatoes: Stir these sweet, silky onions into your mash for a comforting side dish that elevates traditional flavors. There’s nothing quite like the fusion of creamy and sweet!
- Roasted Vegetables: Toss roasted seasonal veggies with caramelized onions to bring out their natural sweetness, marrying flavors in a simple yet exquisite way.
- Pasta Dishes: Incorporate caramelized onions into your pasta sauces, such as Alfredo or marinara, for an unexpected depth that complements the dish splendidly.
- Savory Bread Pudding: Add caramelized onions to a savory bread pudding for a delightful contrast between crispy and tender textures, perfect for brunch or a cozy dinner.
- Salads with Goat Cheese: Combine caramelized onions with tangy goat cheese and mixed greens to introduce a burst of flavor, enhancing simple salads with gourmet flair.
- French Onion Soup: Use these luscious onions as the star ingredient in classic French onion soup, where their rich sweetness shines through beautifully.
- Charcuterie Board: Include caramelized onions as a spread alongside cured meats and cheeses, adding an elegant touch that guests will rave about.
- Red Wine: Sip a glass of rich red wine as you savor dishes adorned with caramelized onions; its tannins will complement the sweetness perfectly!
Expert Tips for Caramelized Onions
Patience Is Key: Don’t rush the caramelization process; low and slow is the secret to developing that rich, sweet flavor in your caramelized onions.
Avoid Covering the Pan: Keep your skillet uncovered to allow moisture to escape; this helps achieve that beautiful, golden brown color without steaming the onions.
Adjust for Skillet Size: If you’re using a smaller skillet, reduce the number of onions and oil proportionately to ensure even cooking.
Splash of Flavor: Enhance the depth of your caramelized onions by adding a splash of wine or whiskey during the final minutes of cooking for an extra layer of complexity.
Store for Convenience: Make a batch of caramelized onions in advance and store them in the refrigerator. They can last up to a week, making it easy to elevate your dishes any night of the week!
How to Store and Freeze Caramelized Onions
Room Temperature: It’s best not to store caramelized onions at room temperature, as they can spoil quickly. Always refrigerate or freeze them for longer freshness.
Fridge: Store caramelized onions in an airtight container in the refrigerator for up to 7 days. This keeps their rich flavor intact and ready for your next culinary creation.
Freezer: For longer storage, freeze caramelized onions in an airtight container or freezer bag for up to 3 months. Thaw them in the refrigerator overnight before reheating.
Reheating: Gently reheat in a skillet over low heat, adding a splash of water or broth if necessary to restore their silky texture. Enjoy the wonderful flavor of caramelized onions once again!
Make Ahead Options
These caramelized onions are perfect for meal prep enthusiasts! You can prepare a batch of caramelized onions up to 3 days in advance, storing them in an airtight container in the refrigerator. To maintain their rich, sweet flavor and texture, allow them to cool completely before refrigerating. When you’re ready to use them, simply reheat in a skillet over low heat until warmed through, ensuring they retain their delightful melty consistency. Not only does this save precious time on busy weeknights, but it also allows you to have these flavorful gems on hand for elevating any dish without the wait!
Caramelized Onions Variations
There’s so much joy in personalizing your caramelized onions to suit your taste and culinary style!
Butter Swap: Use butter instead of olive oil for a rich, creamy flavor that complements your onions beautifully. It adds a luscious touch that makes every bite irresistible.
Onion Variety: Experiment with red, white, or even shallots for different sweetness levels. Each type brings its own character, elevating your dishes in unique ways.
Herb Infusion: Add fresh herbs like thyme or rosemary while cooking for an aromatic twist. These herbs enhance the flavor profile and will fill your kitchen with delightful fragrances.
Sweeten Up: Mix in a teaspoon of brown sugar or balsamic vinegar for added sweetness. This creates a caramelized taste akin to candy, perfect for garnishing burgers or sandwiches.
Spice It Up: Add a pinch of cayenne or black pepper while sautéing for an unexpected kick. This spicy twist can elevate your caramelized onions into a whole new flavor territory.
Wine Enhancement: Incorporate a splash of red or white wine near the end of cooking. This adds depth, acidity, and an elegant touch that’s reminiscent of fine dining.
Fruity Addition: Toss in thinly sliced apples or pears as the onions begin to caramelize. This sweet-savory combo creates a delicious topping for pork or chicken.
With these delicious variations, your caramelized onions will never be ordinary! Embrace the delightful journey of flavor and make these savory gems your own.
Caramelized Onions Recipe FAQs
How do I choose the best onions for caramelizing?
Absolutely! The best onions for caramelizing are yellow onions, as they become sweet and richly flavored when cooked slowly. You can also use Vidalia onions for an extra sweet taste, or red onions if you prefer a milder flavor. Just ensure they’re firm and free from dark spots or blemishes!
How long can I store caramelized onions in the fridge?
Caramelized onions can be stored in an airtight container in the refrigerator for up to 7 days. Just make sure they are completely cooled before sealing. This keeps them fresh and ready to elevate any of your meals!
Can I freeze caramelized onions, and how?
Absolutely, freezing is a fantastic option! To freeze caramelized onions, let them cool completely first. Then, portion them into airtight containers or freezer bags, removing as much air as possible to prevent freezer burn. They can be stored for up to 3 months. When you want to use them, just thaw them in the fridge overnight and gently reheat in a skillet with a splash of water or broth.
What should I do if my onions start to burn while caramelizing?
If you notice your caramelized onions starting to burn, don’t worry! Simply reduce the heat immediately and stir them more frequently. If they’re really sticking, you can add a small splash of water or broth to deglaze the pan, which will lift any caramelized bits off the bottom and prevent burning.
Can my pets eat caramelized onions?
No, definitely not! Onions, including caramelized onions, are toxic to pets, especially dogs and cats. They can cause serious health issues like anemia. Always keep any dish with onions out of their reach, as their safety should always come first!
Are there any health benefits to eating caramelized onions?
Yes! Caramelized onions are low in calories and fat while providing a rich source of flavor without added sugars or unhealthy ingredients. Onions are also packed with vitamins, minerals, and antioxidants, making them a healthy addition to your meals. Plus, the slow cooking process helps to mellow their sharpness, making them easier on the stomach!
Savory Caramelized Onions: Elevate Your Dishes Instantly
Ingredients
Equipment
Method
- Start by slicing 4 medium yellow onions evenly.
- Heat 2 tablespoons of olive oil in a 12-inch cast-iron skillet over medium heat. Add the sliced onions.
- Let them cook for about 5 minutes, stirring frequently until they begin to soften and glisten.
- Reduce the heat to medium-low and sprinkle in ½ teaspoon of sea salt. Allow the onions to cook slowly for 50 to 80 minutes, stirring occasionally.
- Your onions will be ready when they’re deeply soft and golden brown.