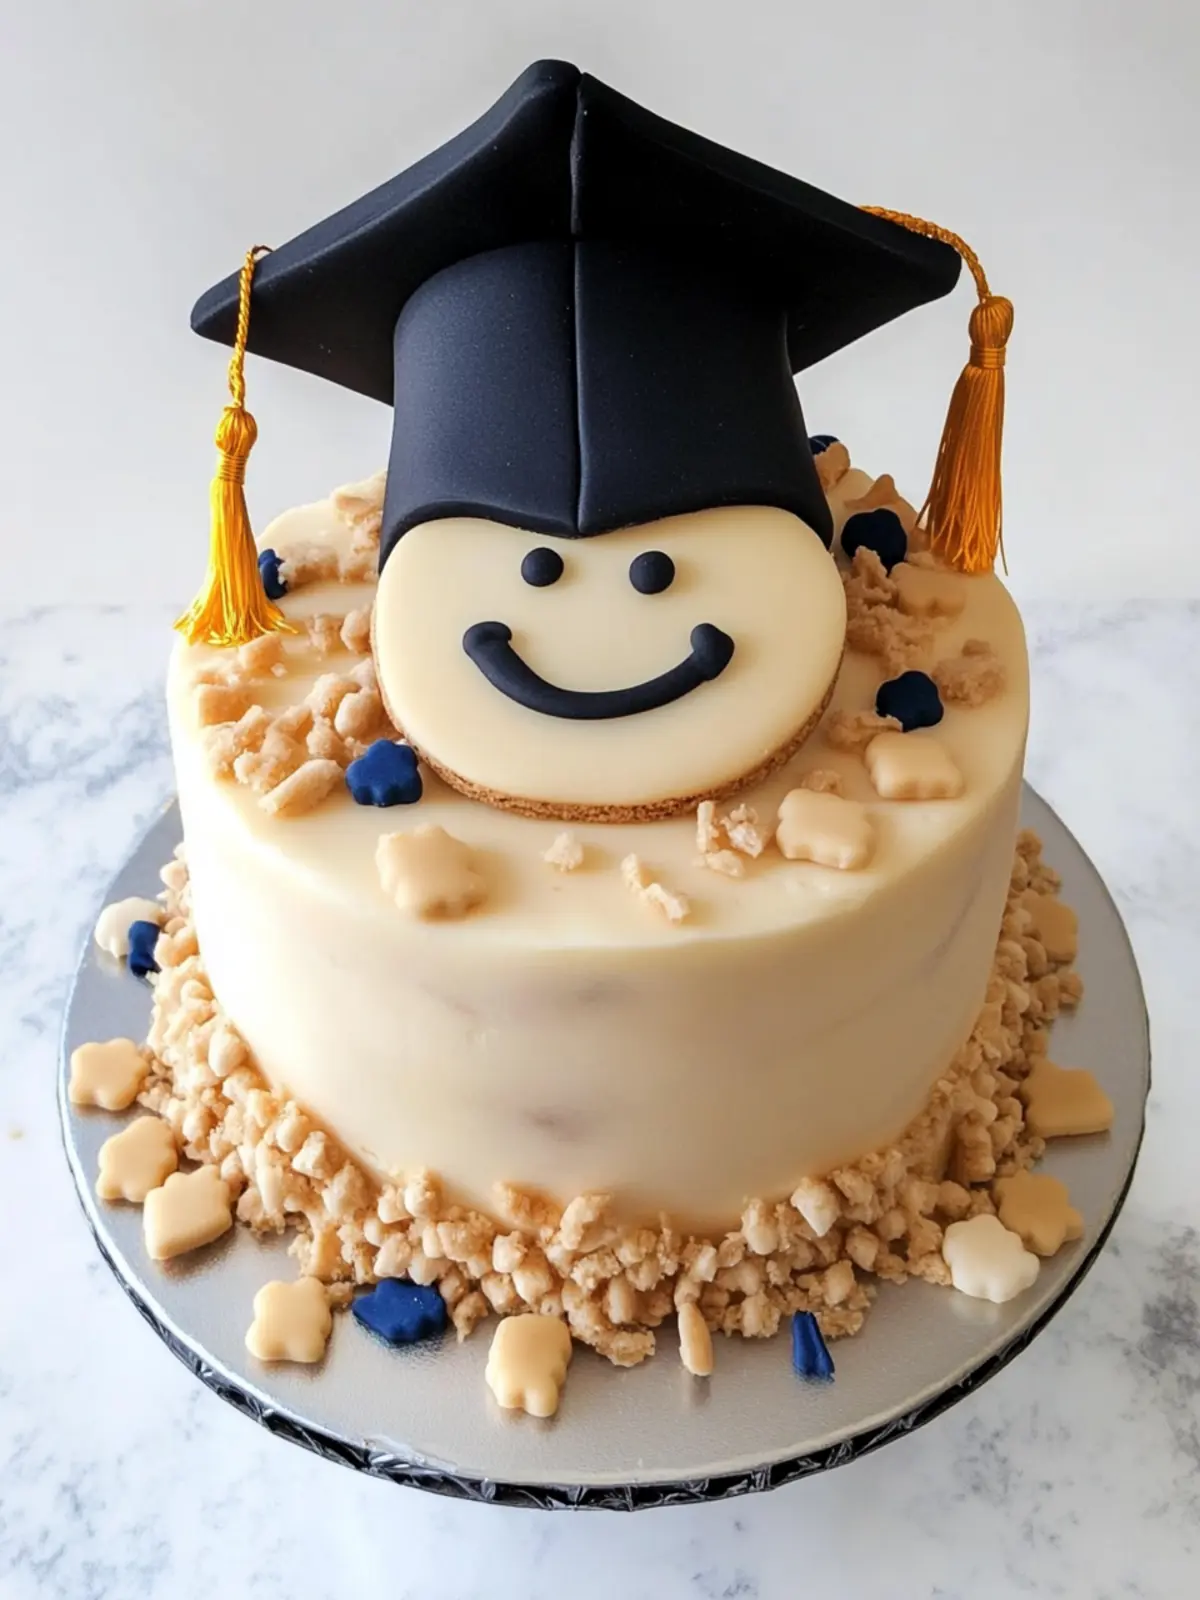
The moment I stepped into my kitchen with a mission, the excitement of my friend’s graduation was palpable. Instead of settling for a store-bought cake, I decided to craft something unique: Graduation Cookies that not only celebrate this special milestone but also bring a big smile to everyone’s face. The aroma of buttery dough and sweet vanilla filled the air, instantly lifting my spirits.
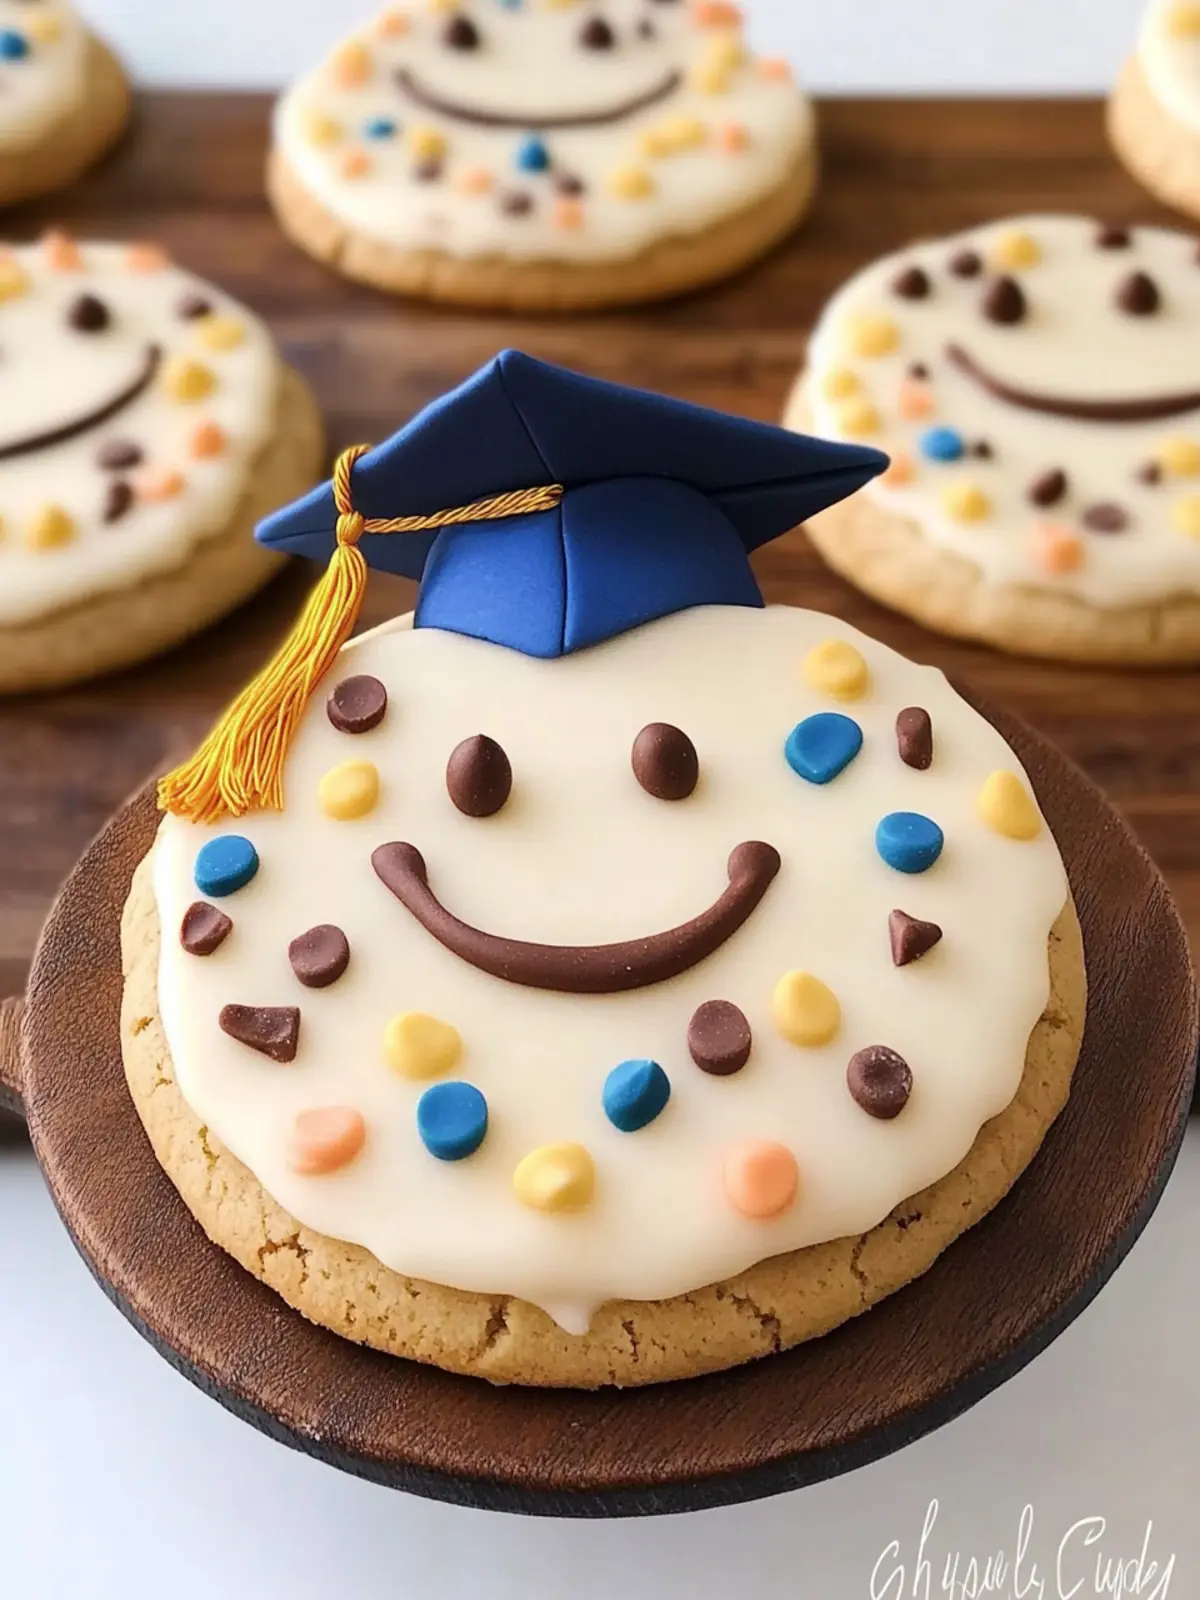
Picture this: golden-brown cookies shaped like graduation caps and diplomas, each bite bursting with flavor and charm. This Graduation Cookie Cake recipe is not just easy to whip up; it’s also a delightful way to add a personal touch to your celebration. With just a handful of ingredients and some creative decorating, you’ll transform ordinary cookies into a heartfelt tribute to achievement.
Gather your loved ones, roll up your sleeves, and let’s create a delicious treat that will make the graduation day even sweeter. Trust me, this fun and fabulous cookie creation is one that both guests and graduates will remember for years to come!

Why is this graduation cookie cake recipe special?
Uniqueness: These cookies offer a creative twist on traditional graduation celebrations, making them memorable and fun.
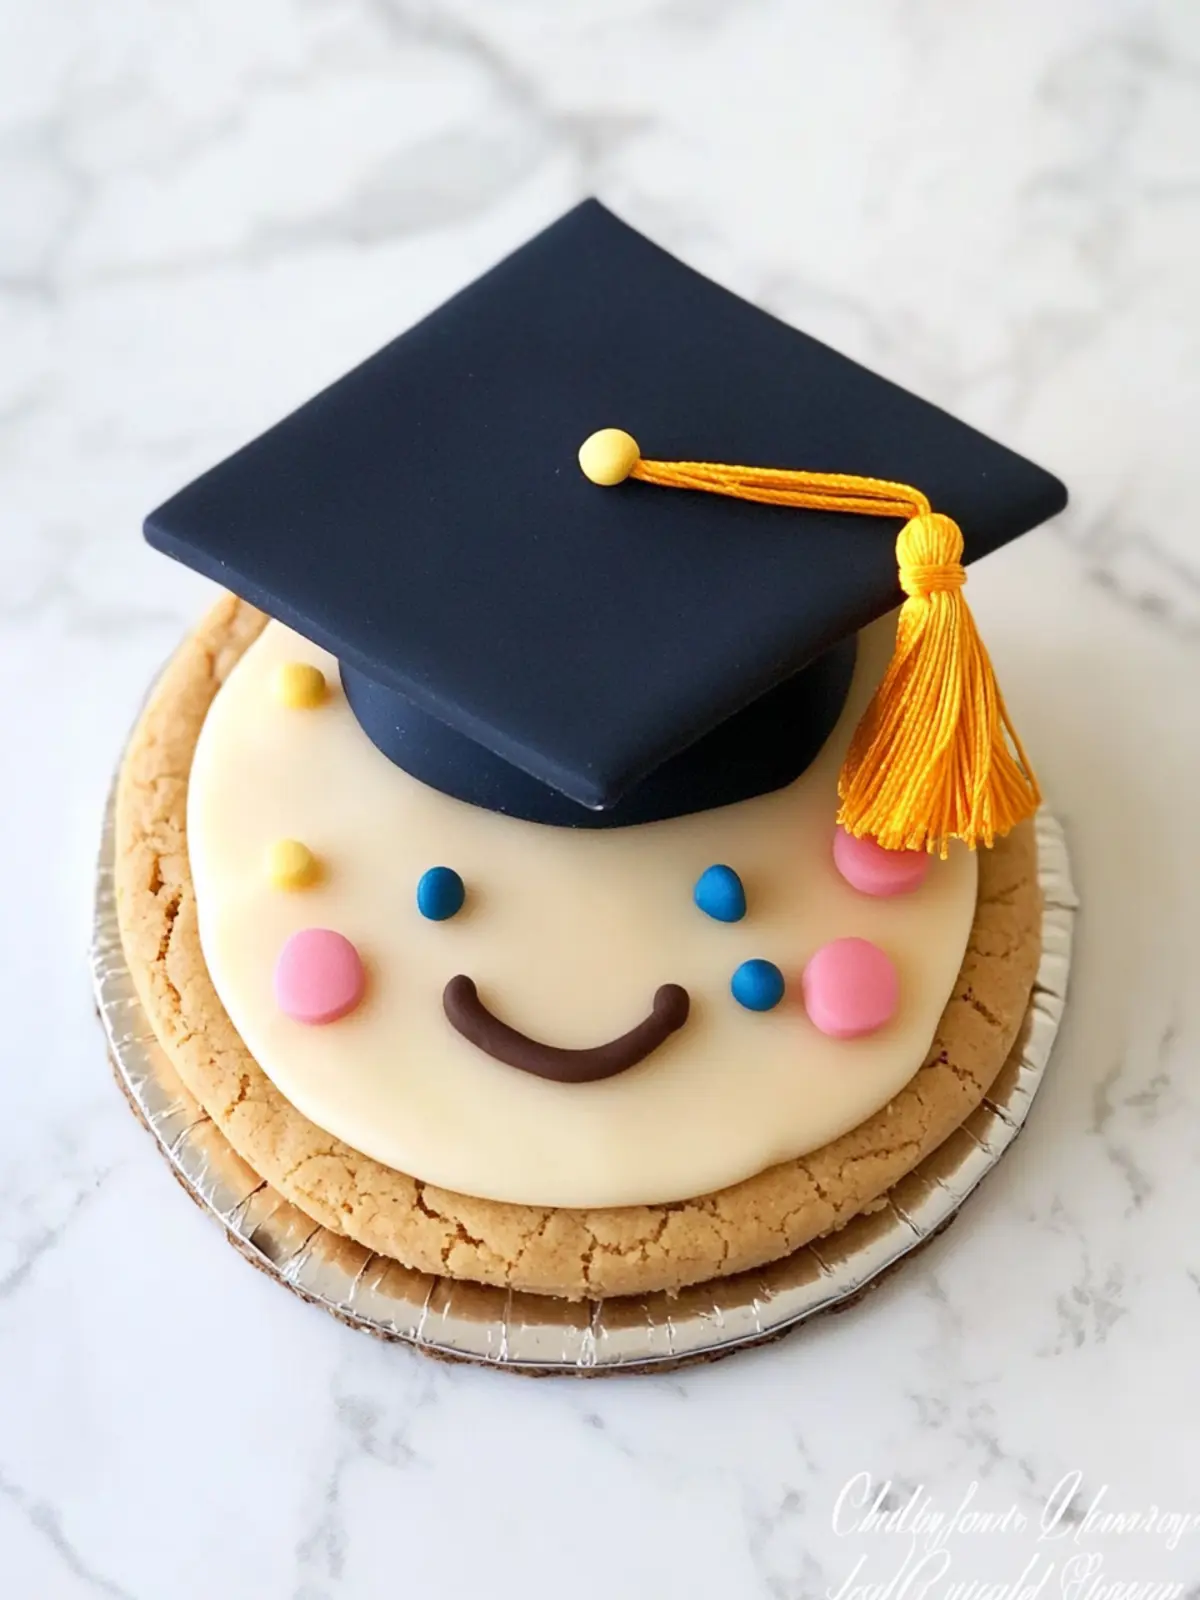
Adorable Designs: Shaped like caps and diplomas, they add charm to any graduation party.
Easy and Quick: With a total time of just 1 hour and 30 minutes, you can whip these up effortlessly!
Flavorful Delight: The buttery dough infused with vanilla and almond extracts will have everyone asking for seconds.
Crowd-Pleaser: Perfect for gatherings, this recipe will impress your friends and family, ensuring your celebration is a hit.
Creative Outlet: Decorate them any way you like; it’s a chance to showcase your artistic flair! For more festive ideas, check out this creative decorating guide.
Graduation Cookie Cake Ingredients
• Here’s everything you need for your graduation cookie cake recipe!
For the Cookie Dough
- 2 cups all purpose flour – a key base that ensures a sturdy cookie structure.
- ¼ teaspoon salt – enhances the sweetness and balances flavors beautifully.
- ¼ teaspoon baking powder – helps the cookies rise for a delightful texture.
- ½ cup butter – adds creaminess and richness to each bite.
- ¾ cups sugar – provides the perfect level of sweetness to counterbalance the dough.
- 1 large egg – acts as a binder to keep your cookies together.
- ¾ teaspoons pure vanilla extract – infuses a warm, sweet aroma that elevates flavor.
- ½ teaspoon almond extract – adds a nutty twist that complements vanilla perfectly.
For the Decorations
- 16 ounces white chocolate – this will be melted and used for decorating your graduation cookies.
- ⅓ cup light corn syrup – creates a sticky base for your cookie decorations and ensures they hold together.
- food coloring (flesh tone and other colors for grad caps) – let your creativity shine with fun and vibrant colors!
How to Make Graduation Cookies
Preheat the oven to 350°F. This ensures your cookies bake perfectly and rise beautifully.
Mix the flour, salt, and baking powder together in a bowl. Set them aside to combine flavors.
Cream the butter and sugar until light and fluffy. This process takes about 2-3 minutes, making your dough airy and sweet!
Stir in the egg, vanilla, and almond extract. The mixture should look smooth and inviting!
Add the dry ingredients and stir just until combined. If the dough is sticky, sprinkle in a small amount of flour to adjust.
Roll out the cookie dough on a floured surface to about ⅛ inch thickness. This allows for easy cutting and shaping.
Cut twelve 3-inch circles out of the cookie dough. These will be the base for your adorable graduation cookies.
Cut out twelve diamond-shaped grad caps from the dough. Get creative as you work—this is where the fun begins!
Utilize the diamond-shaped cookie cutter to cut a triangle-shaped notch out of each circle. This will help you attach the cap.
Brush two long edges of the diamond-shaped dough and insert it into the notch in the circle of dough. Press the seams together gently.
Bake for 10-14 minutes until the edges look set and the tops no longer look wet. Your kitchen will smell delightful!
Allow the cookies to cool completely before decorating. This step is crucial for a beautiful finish!
Reserve about 2 tablespoons of white modeling chocolate to color for the tassels. This will add an extra cute touch to your cookies.
Color about ⅔ of the white modeling chocolate using flesh tone food coloring. This creates the perfect look for your graduates!
Color the rest using the desired color for the grad caps. Let it rest at room temperature for about 30 minutes.
Roll out the flesh tone modeling chocolate to about 1/16 inch thickness and cut out twelve 3-inch circles.
Roll out the colored modeling chocolate to the same thickness and cut out twelve diamond-shaped grad caps.
Use the diamond cutter to cut a triangle-shaped notch from each circle. This allows for a smooth assembly later on.
Brush a light coating of corn syrup over a cookie. Place the circle and the diamond over the cookie, pressing the seams together firmly.
Roll modeling chocolate into a tube, insert into a clay extruder, and push through to create a single strand. Cut into twelve 1-inch pieces for the tassel top.
Brush a dot of corn syrup in the center of each grad cap and attach the single strand. This will hold the tassels securely in place.
Attach a multi-hole disc to the extruder, push through to make strands, and cut them to about ¾ inch for added detail.
Pinch together the strands on one end, attach to the single strand using corn syrup, and roll a small piece of modeling chocolate into a ball to flatten it in the center of the grad cap.
Optional: Decorate with sprinkles or edible glitter for an extra festive touch!
Exact quantities are listed in the recipe card below.
Graduation Cookie Cake Variations
Personalizing your graduation cookie cake recipe can make it even more delightful and special!
Gluten-Free: Substitute all-purpose flour with a 1:1 gluten-free flour blend for a lighter, allergy-friendly option. Everyone can enjoy the celebration!
Nut-Free: Omit almond extract and use extra vanilla if you’re catering to nut allergies. It keeps the flavor bright without compromising safety.
Vegan: Swap butter for coconut oil and use flax eggs instead of regular eggs. These plant-based alternatives keep the cookies soft and scrumptious!
Chocolate Lovers: Add ½ cup of cocoa powder to the flour mixture for a rich, chocolate-infused cookie. Chocolate caps can also make a cute design!
Add Sprinkles: Mix in colorful sprinkles to the dough before rolling out. These festive pops of color will brighten up your graduation treats.
Mini Graduation Caps: Make smaller versions by cutting the dough into smaller circles and diamonds. They’re perfect for bite-sized treats guests will adore!
Fruit Flavored: Incorporate citrus zest or extract, like lemon or orange, to give your cookies a refreshing twist. Each bite will surprise with its zesty flavor!
Spicy Kick: Add a pinch of cinnamon or nutmeg for a warm, spicy note that complements the sweet elements beautifully. It’s a cozy twist on a classic!
Make Ahead Options
These graduation cookies are perfect for meal prep enthusiasts! You can prepare the cookie dough up to 24 hours in advance by mixing the ingredients and wrapping it tightly in plastic wrap before refrigerating. Additionally, you can cut out the cookie shapes and place them on a baking sheet lined with parchment paper. Cover them with plastic wrap and store in the refrigerator for up to 3 days. When you’re ready to bake, all you’ll need to do is preheat the oven and arrange your cookies on a baking sheet. This way, you’ll have fresh, delicious graduation cookies with minimal effort on the big day, ensuring that they’re just as delightful for your celebration!
What to Serve with Graduation Cookies?
Nothing elevates a celebratory gathering quite like a thoughtful spread that perfectly complements your graduation cookies!
Elegant Fruit Platter: Bright, fresh slices of seasonal fruits like strawberries and melons provide a refreshing contrast, balancing the sweetness of the cookies.
Creamy Vanilla Ice Cream: A scoop of smooth vanilla ice cream adds a delightful creaminess that plays beautifully with the cookie’s texture and sweetness.
Sparkling Lemonade: A bubbly, citrusy drink is the perfect thirst quencher, adding a festive touch to your graduation celebration.
Rich Chocolate Ganache: Offer this silky topping on the side for those who want to dunk their cookies, creating a decadent dessert experience.
Cheese Board: A selection of mild cheeses can create a savory element that balances the sweetness. Include some mild cheddar and brie for variety.
Chocolate-Covered Strawberries: These delightful treats echo the cookie’s sweet profile while also bringing a pop of color to your table.
Coffee or Espresso: Serve up a strong cup of coffee to give your guests a little jolt, ensuring they stay energized through the celebrations.
When serving your graduation cookies, consider how these pairings bring out the best in your sweet creations, leaving everyone craving more!
Expert Tips for Graduation Cookie Cake Recipe
Chill the Dough: Refrigerate the cookie dough for about 30 minutes before rolling it out. This helps manage stickiness and makes shaping easier.
Precision Cutting: Use sharp cookie cutters for clean edges. Avoid squishing the dough, which can lead to uneven shapes in your graduation cookie cake.
Bake in Batches: If you’re making multiple trays, bake one at a time. It ensures even baking and prevents overcrowding, allowing all cookies to rise properly.
Let Cookies Cool: Allow the cookies to cool completely before decorating. This prevents melting of the decorations and ensures a clean finish with your frosting and chocolate.
Coloring Fun: Feel free to get creative with food coloring for the caps. Mixing colors can give you unique designs for each cookie while staying within the theme of the graduation cookie cake recipe!
How to Store and Freeze Graduation Cookies
Room Temperature: Store your decorated graduation cookies in an airtight container at room temperature for up to 3 days to retain freshness.
Fridge: If you anticipate needing more time, place the cookies in the fridge for up to 5 days. Ensure they’re covered to prevent drying out.
Freezer: For longer storage, freeze the cookies in a single layer on a baking sheet for about 1 hour, then transfer to a freezer bag. They can be stored for up to 3 months.
Reheating: When ready to enjoy, thaw the cookies at room temperature. If desired, warm them in a microwave for a few seconds for that freshly-baked allure.
Graduation Cookies Recipe FAQs
What type of flour should I use for my graduation cookies?
Absolutely! I recommend using all-purpose flour as it provides the right balance of structure and tenderness in your graduation cookies. If you’re looking for a gluten-free alternative, you can try a 1:1 gluten-free flour blend designed for baking.
How should I store the decorated cookies after making them?
To retain their freshness, store your decorated graduation cookies in an airtight container at room temperature for up to 3 days. If you make them in advance or want them to last longer, refrigerate them for up to 5 days, ensuring they are covered to prevent them from drying out.
Can I freeze my graduation cookies? If so, how?
Definitely! For longer storage, freeze your un-decorated cookies. Place them in a single layer on a baking sheet for about 1 hour to firm up. Then, transfer them to a freezer bag and they can be stored for up to 3 months. When you’re ready to enjoy, simply thaw them at room temperature!
What should I do if the dough is too sticky?
Very! If you find your cookie dough to be sticky, don’t worry! This often happens based on humidity and the moisture in your butter. Simply sprinkle in a little extra flour, just a tablespoon at a time, and gently knead it into the dough until you reach a manageable consistency.
Are there any allergy considerations I should keep in mind while making these cookies?
Absolutely! This recipe contains common allergens like butter, eggs, and flour. If you’re making these for someone with specific dietary restrictions or allergies, consider using dairy-free butter and egg replacements such as unsweetened applesauce or flax eggs. Always be sure to check with your guests before serving!
How can I ensure my cookie decorations look perfect?
One valuable tip is to allow your cookies to cool completely before decorating. If you miss this step, the melted chocolate can run and spoil your designs. Also, use sharp cookie cutters to achieve clean edges, and don’t rush—taking your time can make all the difference in the final look of your graduation cookies!
Delicious Graduation Cookie Cake Recipe to Celebrate Success
Ingredients
Equipment
Method
- Preheat the oven to 350°F.
- Mix the flour, salt, and baking powder together in a bowl.
- Cream the butter and sugar until light and fluffy.
- Stir in the egg, vanilla, and almond extract.
- Add the dry ingredients and stir just until combined.
- Roll out the cookie dough on a floured surface to about ⅛ inch thickness.
- Cut twelve 3-inch circles out of the cookie dough.
- Cut out twelve diamond-shaped grad caps from the dough.
- Utilize the diamond-shaped cookie cutter to cut a triangle-shaped notch out of each circle.
- Brush two long edges of the diamond-shaped dough and insert it into the notch in the circle of dough.
- Bake for 10-14 minutes until the edges look set.
- Allow the cookies to cool completely before decorating.
- Reserve about 2 tablespoons of white modeling chocolate to color for the tassels.
- Color about ⅔ of the white modeling chocolate using flesh tone food coloring.
- Color the rest using the desired color for the grad caps.
- Roll out the flesh tone modeling chocolate to about 1/16 inch thickness and cut out twelve 3-inch circles.
- Brush a light coating of corn syrup over a cookie. Place the circle and the diamond over the cookie.
- Roll modeling chocolate into a tube, insert into a clay extruder, and push through to create a single strand.
- Brush a dot of corn syrup in the center of each grad cap and attach the single strand.
- Attach a multi-hole disc to the extruder, push through to make strands.
- Pinch together the strands on one end, attach to the single strand using corn syrup.
- Decorate with sprinkles or edible glitter for an extra festive touch!