There’s a certain joy in gathering around a plate of loaded nachos that you just can’t replicate with takeout. The moment I slid this cheesy masterpiece out of the oven, the irresistible aroma of melted cheese and spices filled the air, igniting excitement in my kitchen. It became clear that nachos were no longer just a snack; they had transformed into the ultimate comfort food, perfect for sharing with loved ones during a game night or cozy movie marathon.
As I experimented with different toppings and layers—not to mention the right balance of crunch and gooeyness—I unearthed a recipe that ticks all the boxes: easy, customizable, and downright crowd-pleasing. Packed with flavors, texture, and each chip’s unique topping, this loaded nachos recipe is your ticket to culinary joy. Plus, whether you’re a carnivore, vegetarian, or dessert enthusiast, the variations are endless. Join me as we dive into creating nachos that not only satisfy your cravings but also bring everyone to the table for a delightful bite of happiness!

Why Are Loaded Nachos the Perfect Dish?
Deliciously Versatile: With countless topping variations, this loaded nachos recipe can cater to everyone—whether you crave BBQ pulled pork or a vegetarian feast, it’s truly customizable.
Quick and Easy: It comes together quickly, perfect for last-minute gatherings or cozy nights in. You’ll have sizzling nachos ready in no time!
Crowd-Pleaser: Everyone loves nachos! This dish sparks joy and excitement on any table, encouraging laughter and conversation as everyone digs in.
Satisfying Crunch: The contrast of crispy tortilla chips beneath a gooey cheese blanket adds that delightful crunch in every bite.
Joyful Experience: Sharing loaded nachos creates a sense of togetherness, making it more than just food—it’s about memories made and fun times shared.
For more ideas, don’t miss our variation ideas to spice up your nacho game!
Loaded Nachos Ingredients
• Get ready for your nacho adventure!
For the Chips
- Tortilla Chips – Choose thick-cut chips to better hold all the toppings.
For the Cheese
- Shredded Cheddar Cheese – Offers that classic nacho flavor; you can swap it for a Mexican blend if preferred.
- Monterey Jack Cheese – Freshly shredded will melt perfectly, adding delicious creaminess.
For the Protein
- Ground Beef or Chicken – Season well before cooking for maximum flavor.
- Black Beans – Don’t forget to drain and rinse them for the best texture.
For the Fresh Ingredients
- Diced Tomatoes – Feel free to use fresh or canned depending on the season.
- Red Onion – Chop finely so it adds flavor without overpowering.
- Jalapeño Peppers – Use them fresh or pickled for that perfect kick.
For Seasoning
- Taco Seasoning – Homemade is great for those looking to avoid additives; it really elevates your loaded nachos.
For Extra Flavor
- Olive Oil – Brush a light coat on chips to keep them crispy.
- Fresh Lime Juice – A splash of fresh-squeezed juice will brighten all those flavors!
For Toppings
- Sour Cream and Guacamole – Add your favorite herbs, like cilantro or green onions, for an extra flair.
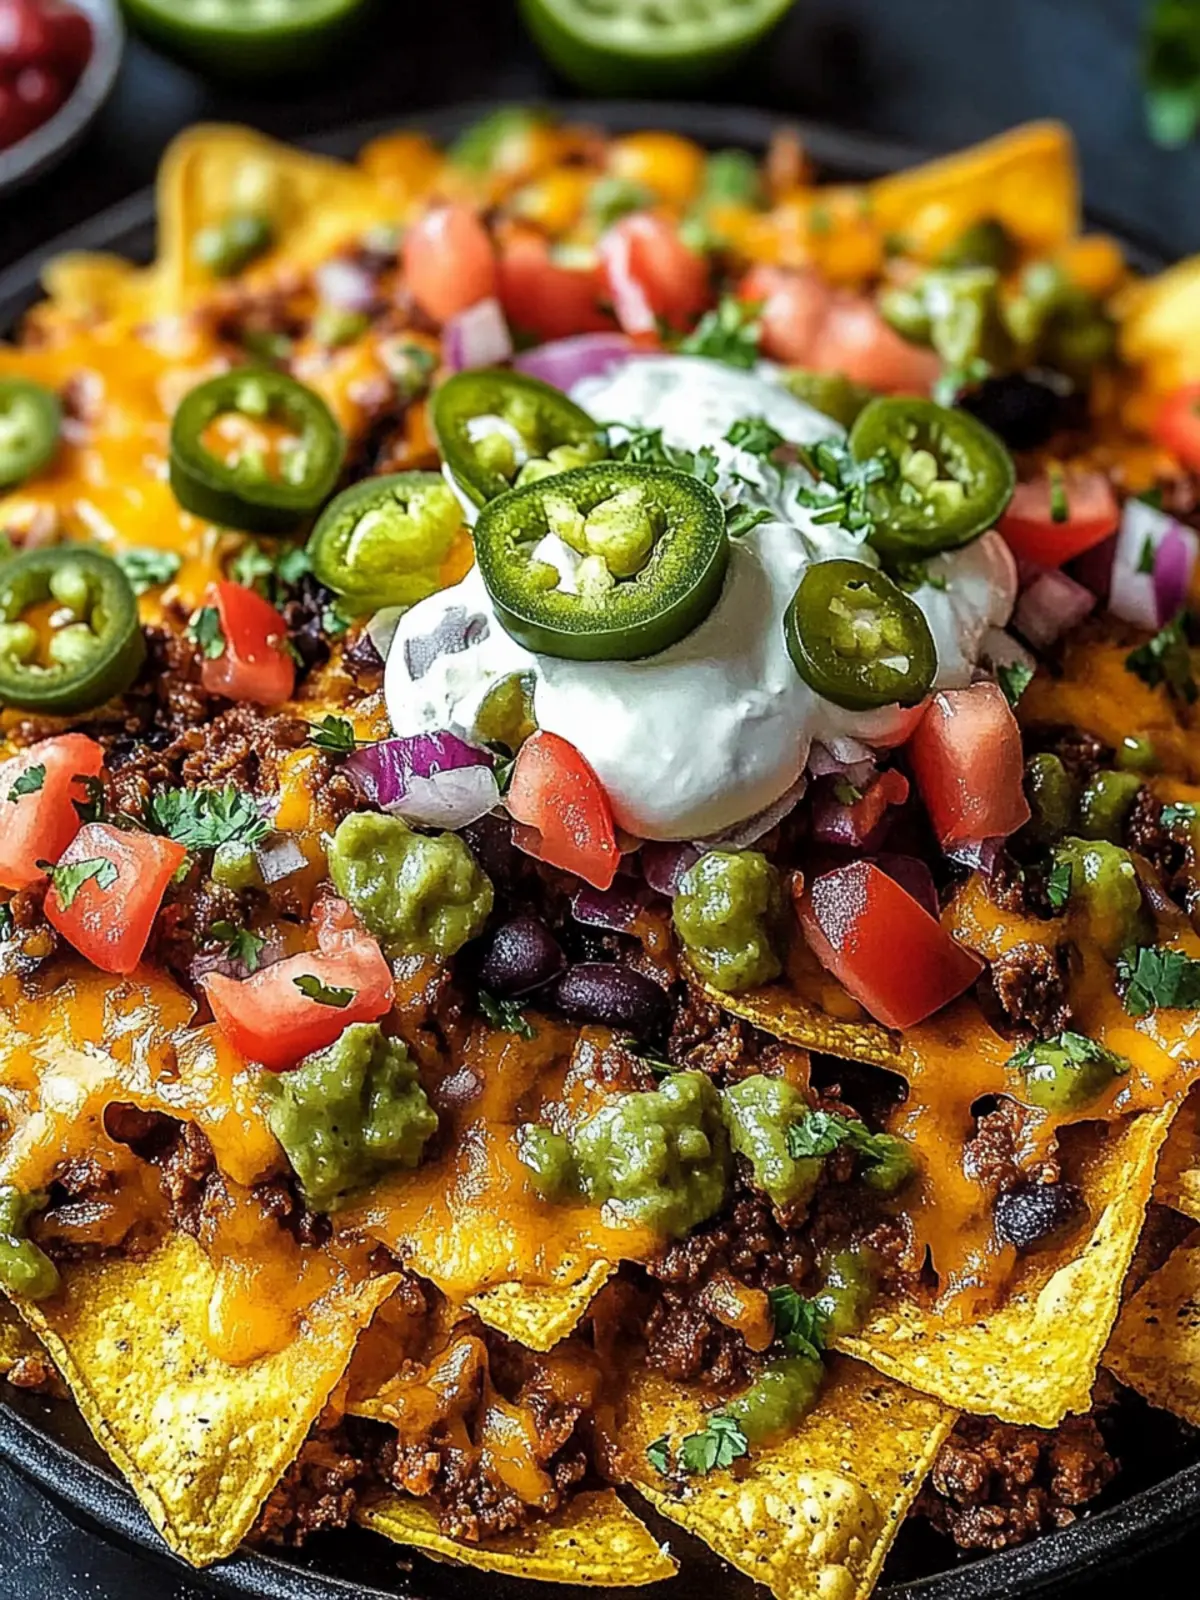
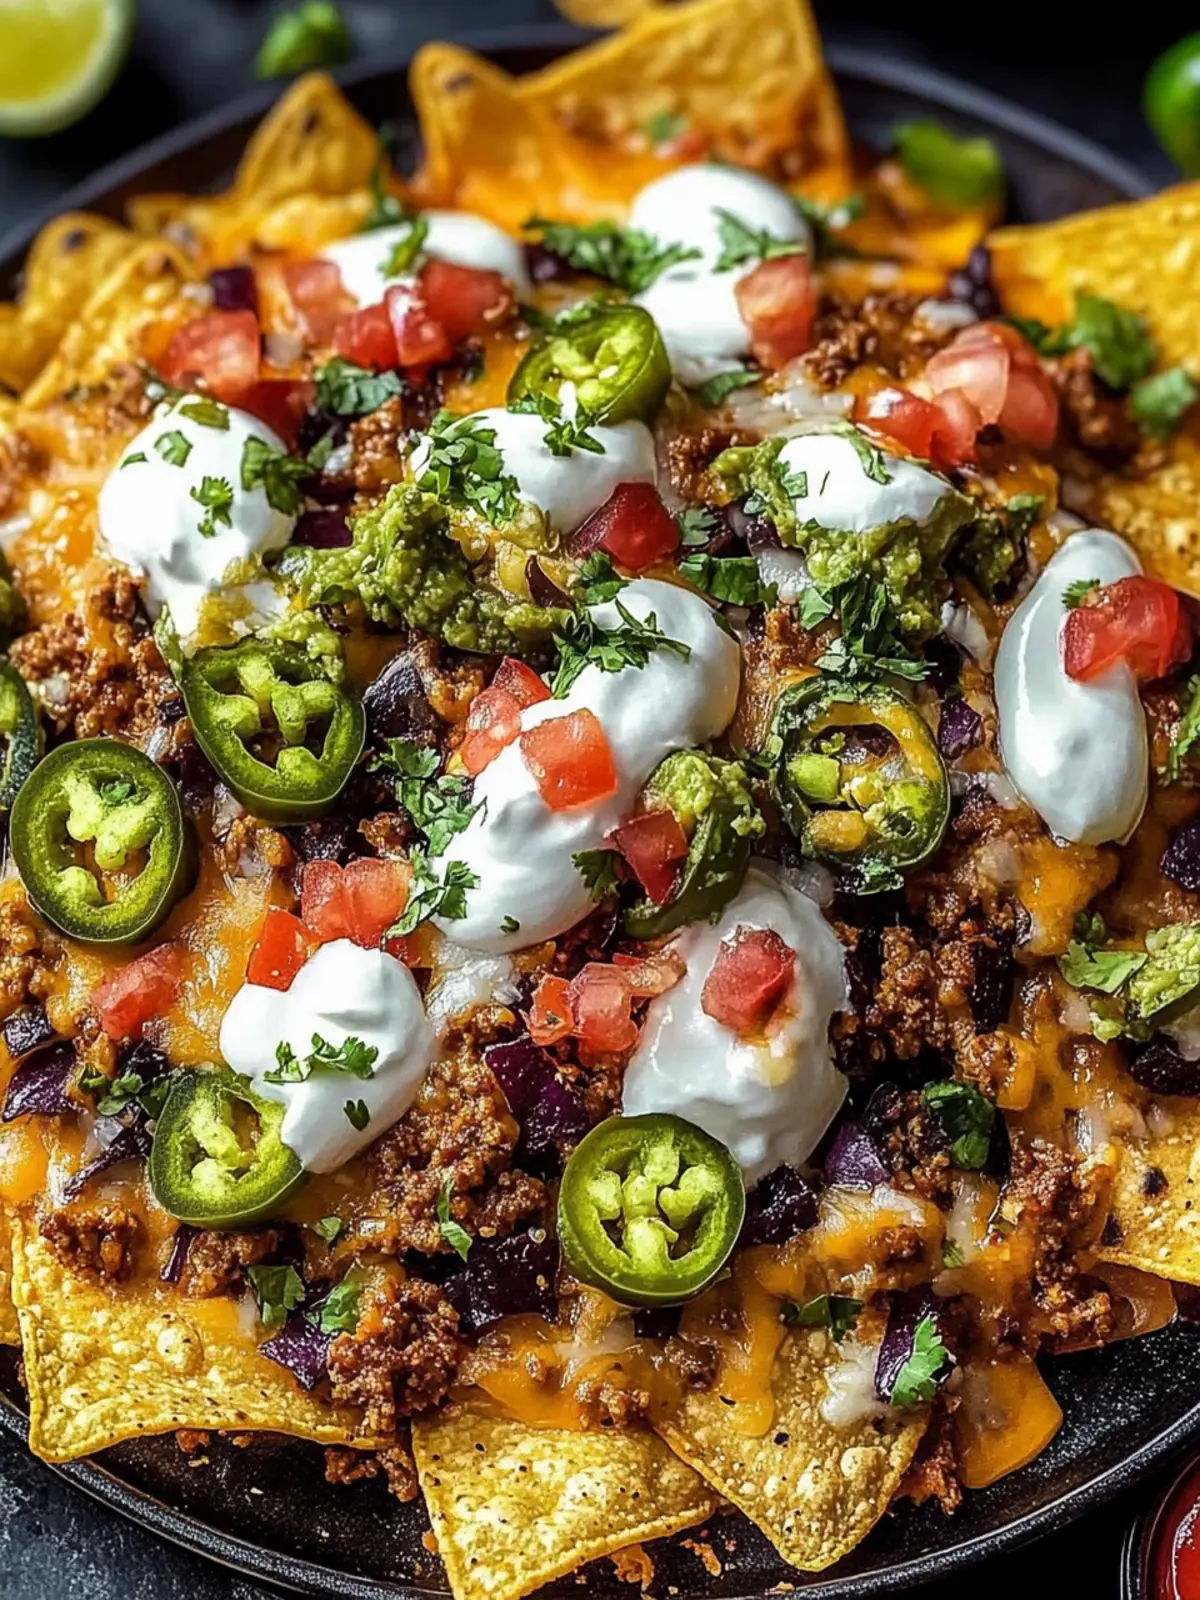
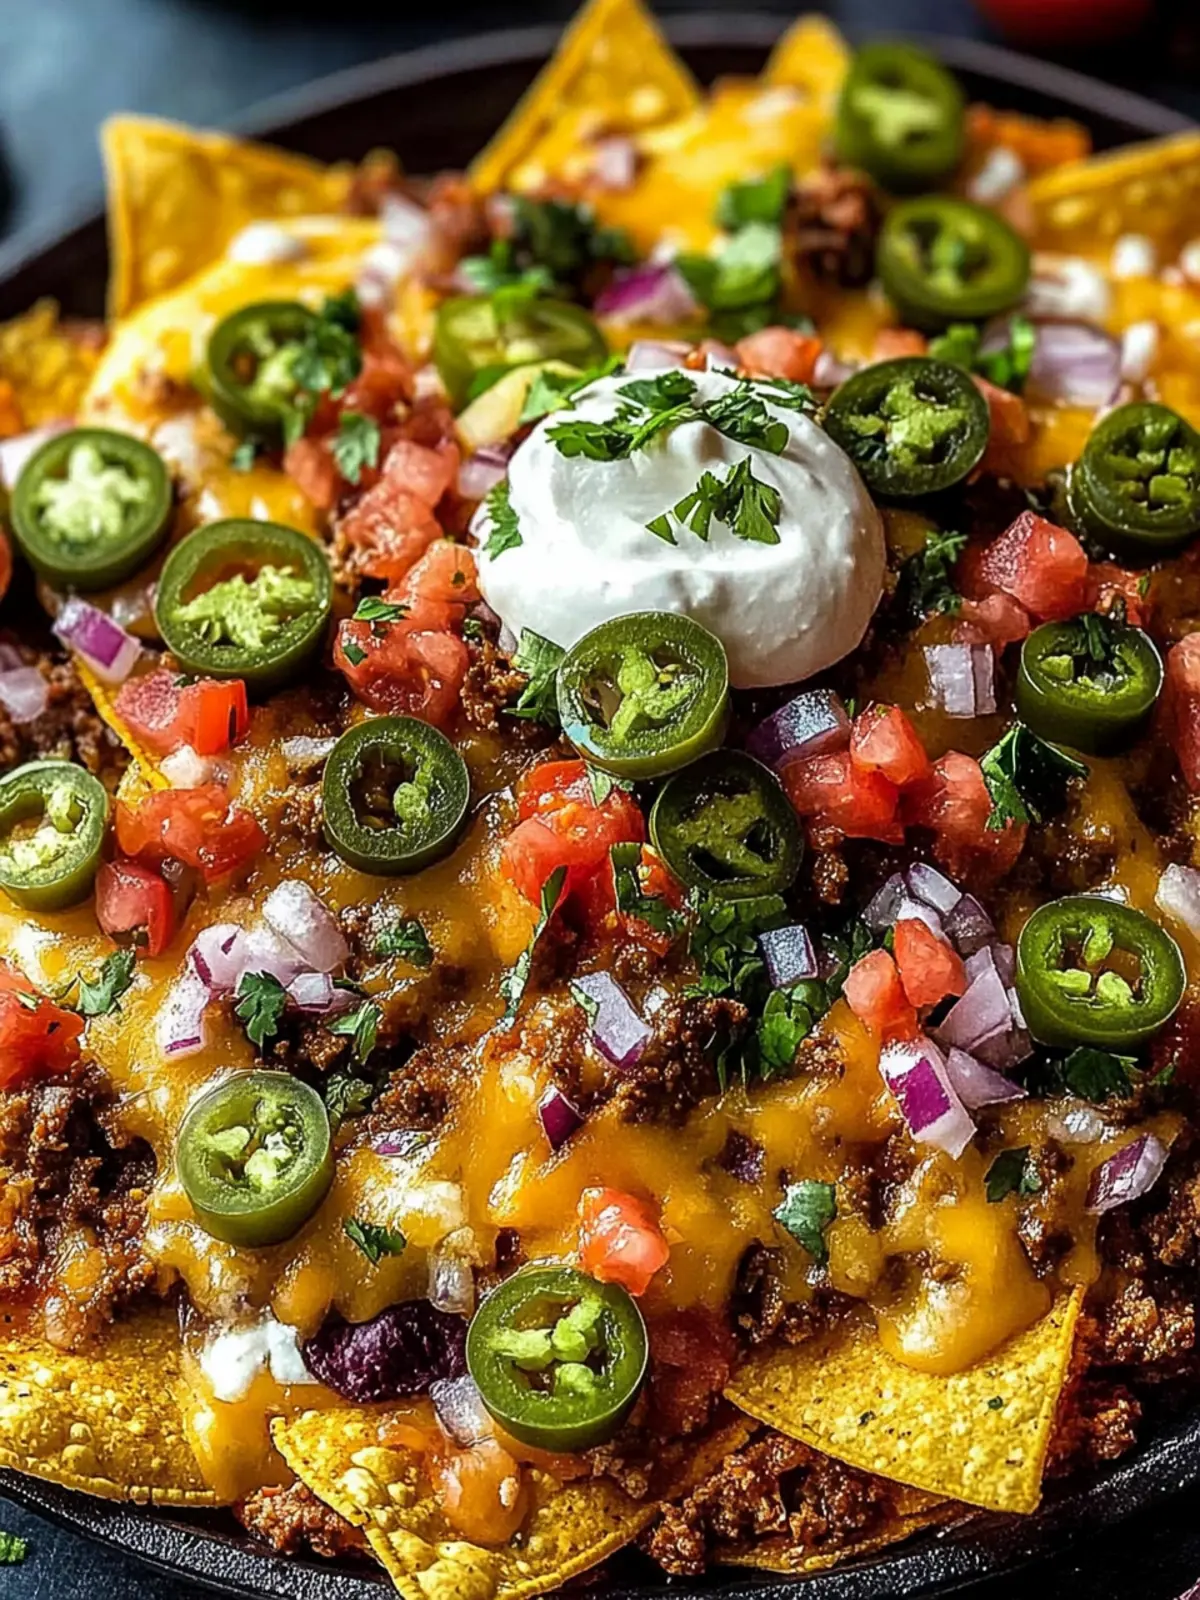
Dive into these loaded nachos, and you’ll soon discover why they are the ultimate comfort food!
How to Make Loaded Nachos
Preheat the oven to 425°F (220°C). Prepare a baking sheet by lining it with aluminum foil, making cleanup a breeze after you indulge in these delicious loaded nachos.
Cook the protein of your choice. In a skillet, combine ground beef or chicken with taco seasoning, garlic powder, cumin, and chili powder. Sauté until browned, allowing those fragrant spices to infuse the meat. Set aside and let the flavors mingle.
Chop the fresh ingredients. Dice the tomatoes and red onion, slice the jalapeños, and shred your cheeses. This preparation is crucial for a balanced flavor in every bite of your nachos!
Layer half of the tortilla chips on the prepared baking sheet. Lightly brush them with olive oil to keep them crispy, then sprinkle on half the cheese, followed by the seasoned meat and black beans.
Repeat the layering process. Add the remaining tortilla chips, more cheese, and the rest of the toppings. This method ensures each chip is overloaded with flavor and texture.
Bake for 8-10 minutes, allowing the cheese to melt and bubble. Keep a close eye to prevent overbaking; the goal is golden-brown perfection!
Top immediately with dollops of sour cream, guacamole, and a sprinkle of fresh herbs once you take the nachos out of the oven. These toppings add a creamy finish and vibrant colors ready for serving.
Optional: For an extra kick, drizzle some hot sauce over the loaded nachos before serving.
Exact quantities are listed in the recipe card below.
What to Serve with Loaded Nachos?
Gather your friends and family around a plate of decadently cheesy nachos, and let the fun begin!
Spicy Salsa: A zesty salsa brightens the flavors, adding freshness and a dash of heat that pairs beautifully with the rich cheese.
Creamy Guacamole: The smoothness of guacamole complements the crunch of nachos, creating a delightful balance that enhances each bite.
Chilled Margaritas: Sip on refreshing margaritas to cut through the savory flavors; the tangy citrus notes elevate your nacho night experience.
Black Bean Salad: A colorful, tangy black bean salad offers a healthy contrast and adds a refreshing crunch to your meal.
Pico de Gallo: This fresh salsa made with diced tomatoes, onions, and cilantro provides a burst of flavor that brightens up the loaded nachos.
Loaded Nachos Dessert Option: For a unique twist, consider dessert nachos drizzled with chocolate sauce and topped with fresh berries. It’s a playful way to round out the meal!
Corn on the Cob: Sweet, grilled corn on the cob brings a delightful crunch while complementing the savory attributes of the nachos.
Iced Tea: A lightly sweetened iced tea serves as a refreshing drink option, balancing the richness of your nacho feast.
Make Ahead Options
These loaded nachos are perfect for meal prep enthusiasts! You can prepare the seasoned meat and chop the fresh ingredients up to 3 days in advance; just store them in airtight containers in the refrigerator. To maintain quality, keep the chips separate until you’re ready to bake to prevent sogginess. On the day you plan to serve, layer the tortilla chips and cheese, then top with the prepped meat, beans, and veggies before baking. Simply pop them in the oven for 8-10 minutes until the cheese is melted and bubbly. With this prep-ahead strategy, you’ll enjoy delicious, crowd-pleasing loaded nachos with minimal last-minute effort!
Storage Tips for Loaded Nachos
Room Temperature: If you find yourself with leftover loaded nachos, let them cool slightly before storing. Ideally, eat within 2 hours to ensure freshness.
Fridge: Store leftover nachos in an airtight container in the fridge for up to 3 days. To maintain flavor and texture, cover them with plastic wrap or foil.
Freezer: For longer storage, freeze unassembled components (chips, cheese, toppings) in a freezer-safe container for up to 1 month. Assemble and bake fresh when ready to enjoy.
Reheating: To revive leftover loaded nachos, reheat in the oven at 350°F (175°C) for 10-15 minutes. This helps maintain their crunch and melty goodness.
Expert Tips for Loaded Nachos
Layer Wisely: Start with a solid base of chips and alternate layers of cheese, proteins, and toppings. This helps every chip get its fair share of flavor on your loaded nachos.
Avoid Sogginess: Lightly brushing each layer of chips with olive oil keeps them crispy. Avoid using too many wet toppings which can make the chips soggy.
Choose the Right Cheese: For the best melt and flavor, mix cheddar and Monterey Jack. Freshly shredded cheese creates that gooey texture everyone loves.
Mind the Baking Time: Keep an eye on your nachos while they bake! You want that cheese to melt and bubble—too long in the oven can lead to burnt edges and tougher chips.
Customization is Key: Feel free to switch up toppings according to your taste. From veggie-loaded options to BBQ pulled pork, these loaded nachos can fit everyone’s preferences.
Serve Immediately: For the ultimate nacho experience, serve them right out of the oven. The fresh and crispy chips paired with warm toppings make all the difference!
Loaded Nachos Variations & Substitutions
Feel free to get creative with your nachos and try these delightful twists. Each variation promises a unique taste experience!
Breakfast Nachos: Swap in scrambled eggs, crispy bacon, and fresh salsa for a delightful morning twist. Start your day with this savory treat!
BBQ Pulled Pork: Replace the protein with tender BBQ pulled pork, adding tangy coleslaw on top. This variation brings a smoky, hearty flavor!
Buffalo Chicken: Use shredded buffalo chicken, drizzling ranch dressing on top for a zesty kick. Perfect for spice lovers seeking that extra heat!
Hawaiian Style: Add diced ham and juicy pineapple chunks for a sweet and savory combo. This tropical twist is sure to impress at any gathering!
Vegetarian Option: Skip the meat and load up on extra black beans, corn, peppers, and avocado. A hearty and fulfilling choice without sacrificing flavor!
Dessert Nachos: Use cinnamon sugar tortilla chips topped with melted chocolate and fresh berries. A creative way to satisfy your sweet tooth!
Spicy & Smoky: Incorporate sliced jalapeños and smoked paprika for those who love a little extra heat. This alteration awakens the spices in every bite!
Cheesy Garlic: Mix in roasted garlic with your cheese blend for an aromatic twist. Your nachos will radiate an irresistible savory aroma!
Loaded Nachos Recipe FAQs
What type of tortilla chips should I use for loaded nachos?
Absolutely! Thick-cut tortilla chips are recommended for loaded nachos because they provide better support for all the toppings and prevent breaking when piled high. Look for sturdy brands that boast a good crunch, ensuring each chip holds up to the gooey goodness you’ll be layering on.
How do I store leftover loaded nachos?
Very important! Let your leftover loaded nachos cool slightly and then store them in an airtight container in the fridge for up to 3 days. You can also cover the dish tightly with plastic wrap or aluminum foil to maintain freshness. If you want to keep them longer, consider freezing the unassembled components (chips, cheese, proteins) separately in a freezer-safe container for up to 1 month.
Can I freeze loaded nachos?
Sure thing! While it’s best to freeze the unassembled components for optimal texture, you can freeze leftover nachos too—just remember they won’t be quite as crispy after reheating. To do this, let them cool completely, place them in a freezer-safe container, and enjoy within 1 month. When you’re ready to feast, reheat them in the oven at 350°F (175°C) until warmed through.
What can I do if my nachos turn soggy?
No worries! If you find your nachos turning soggy, it might be due to using wet toppings or not layering properly. To improve next time, lightly brush each layer of chips with olive oil and ensure to use a balance of moist and dry toppings. Additionally, serve them immediately after baking for that irresistible crunch.
Are loaded nachos suitable for vegetarians?
Absolutely! Loaded nachos are wonderfully customizable for dietary preferences. Simply omit the meat and load up on beans, fresh veggies, and additional cheese. You can also explore exciting toppings like sautéed mushrooms or roasted bell peppers for extra flavor without the meat.
What are some creative variations I can try with my loaded nachos?
Very fun! There are endless variations you can try! Consider making breakfast nachos with scrambled eggs and salsa, BBQ pulled pork nachos topped with coleslaw, or even dessert nachos using cinnamon sugar tortilla chips topped with chocolate and berries. Each twist will offer a new taste adventure that will wow your taste buds!
Loaded Nachos That Will Wow Your Taste Buds Every Time
Ingredients
Equipment
Method
- Preheat the oven to 425°F (220°C). Prepare a baking sheet by lining it with aluminum foil, making cleanup a breeze after you indulge in these delicious loaded nachos.
- Cook the protein of your choice. In a skillet, combine ground beef or chicken with taco seasoning, garlic powder, cumin, and chili powder. Sauté until browned, allowing those fragrant spices to infuse the meat. Set aside and let the flavors mingle.
- Chop the fresh ingredients. Dice the tomatoes and red onion, slice the jalapeños, and shred your cheeses. This preparation is crucial for a balanced flavor in every bite of your nachos!
- Layer half of the tortilla chips on the prepared baking sheet. Lightly brush them with olive oil to keep them crispy, then sprinkle on half the cheese, followed by the seasoned meat and black beans.
- Repeat the layering process. Add the remaining tortilla chips, more cheese, and the rest of the toppings. This method ensures each chip is overloaded with flavor and texture.
- Bake for 8-10 minutes, allowing the cheese to melt and bubble. Keep a close eye to prevent overbaking; the goal is golden-brown perfection!
- Top immediately with dollops of sour cream, guacamole, and a sprinkle of fresh herbs once you take the nachos out of the oven. These toppings add a creamy finish and vibrant colors ready for serving.