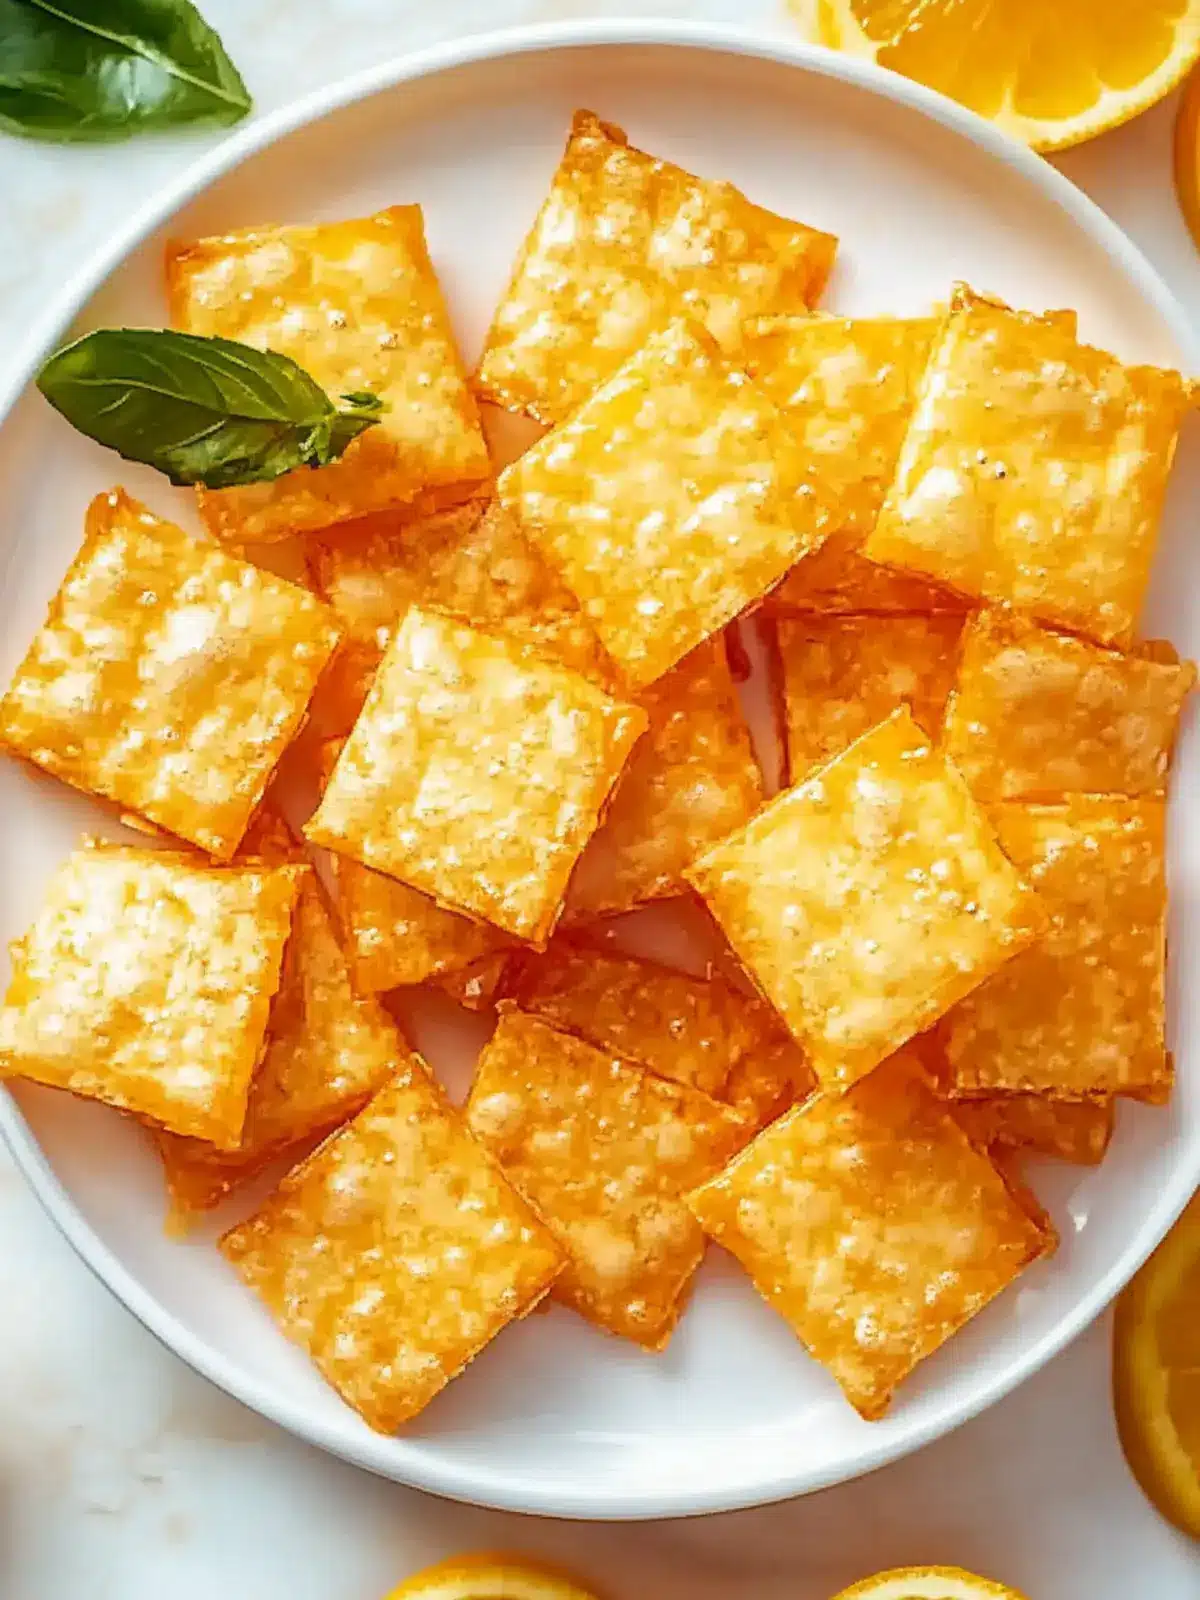
When the craving for a crunchy snack hits, my mind immediately jumps to the delightful memory of homemade Cheez It’s. Just imagining the cheesy aroma wafting through the kitchen brings a warm smile to my face. With just five straightforward ingredients, crafting these golden nuggets of goodness has become a cherished weekend ritual in my home. Not only are they a healthier alternative to the store-bought version, but making them is also a fun activity that the kids adore.
As I roll out the dough, we often find ourselves experimenting with different cheeses and spices, turning each batch into a new flavor adventure. Perfect for family movie nights or unexpected guests, these homemade crackers are more than just a snack; they’re a doorway to quality time spent together. Join me as we dive into this quick and easy Cheez It recipe that will soon become a favorite in your household!

Why is this cheezit recipe a must-try?
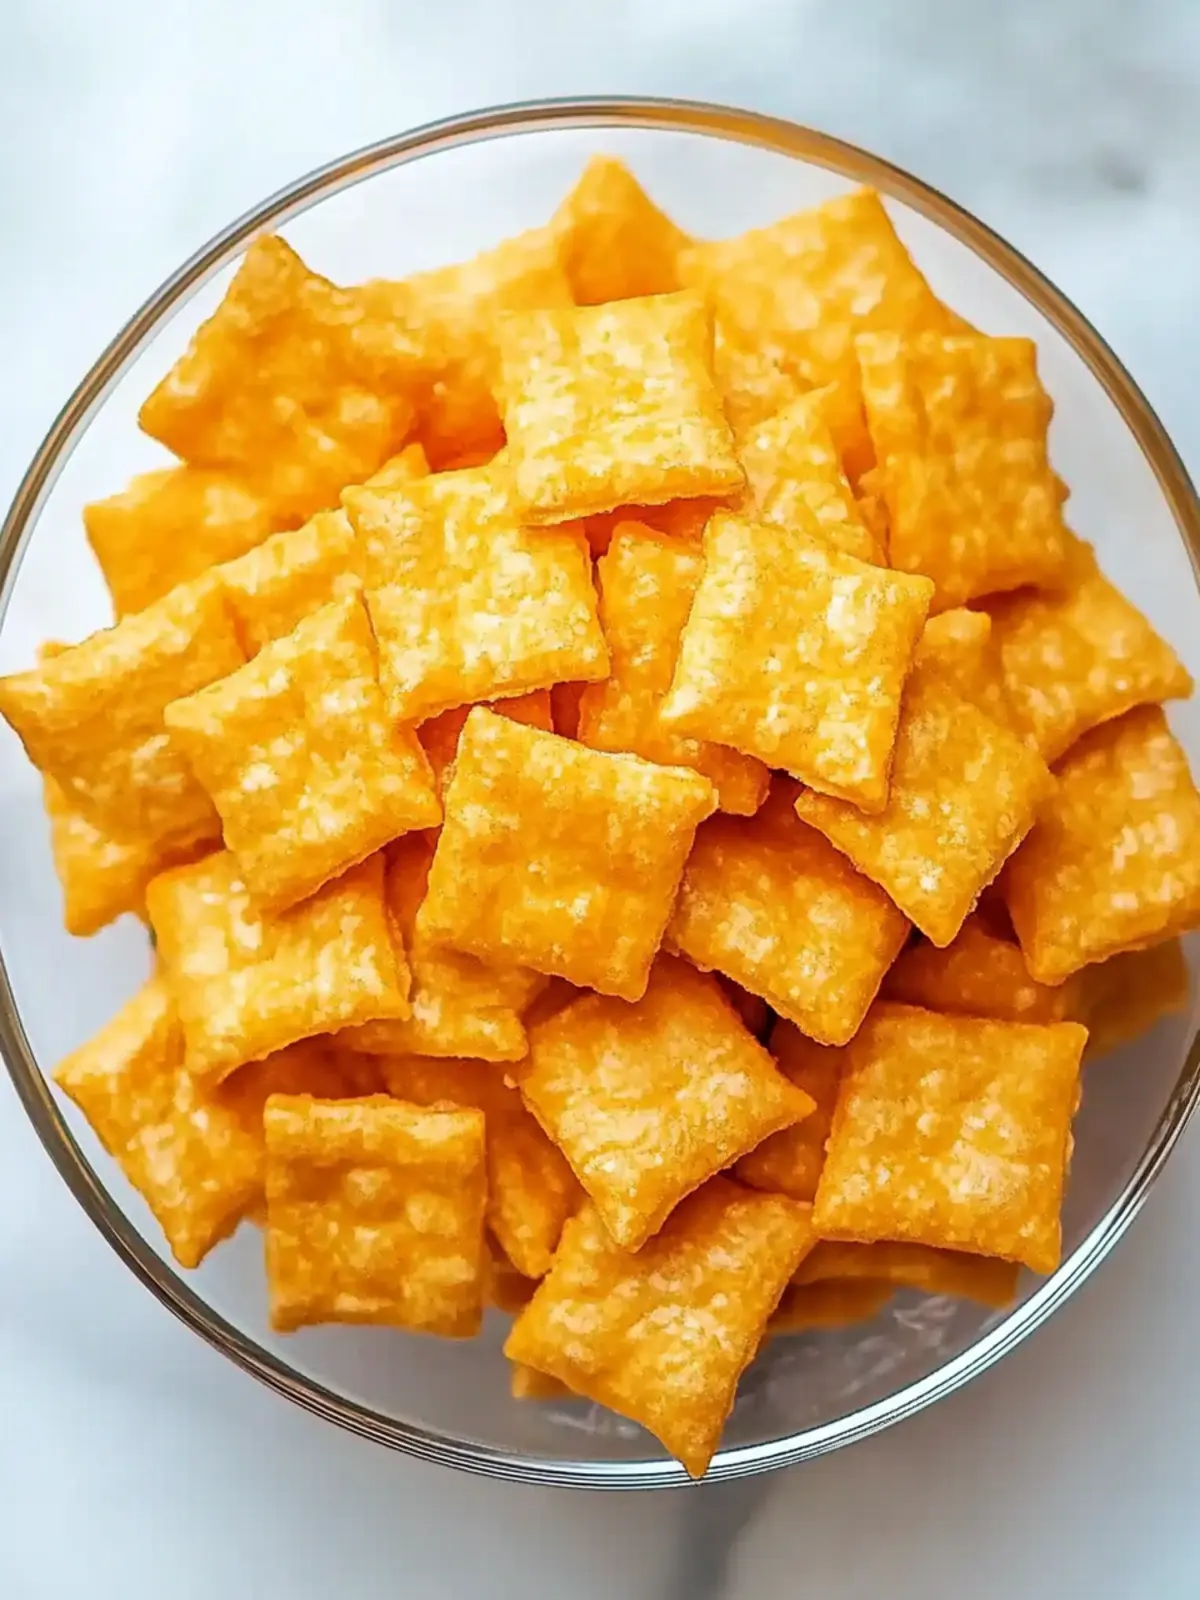
Deliciously addictive: The homemade version of Cheez It’s delivers a burst of cheesy flavor that will have everyone reaching for more!
Simple ingredients: With just five pantry staples, you’ll create a snack that everyone can enjoy in no time.
Endless variations: Customize with your favorite cheeses, spices, or herbs to keep things exciting, making it a fun kitchen experiment.
Kid-friendly fun: Involve the little ones in the preparation for a delightful family bonding experience that instills culinary skills.
Healthier choice: Skip the preservatives and enjoy a wholesome snack that you can feel good about serving. Dive into this cheezit recipe that transforms snack time into a cherished family tradition!
Cheez It Recipe Ingredients
For the Dough
- Butter – Adds richness and a flaky texture; substitute with dairy-free margarine for a vegan option.
- Sharp Cheddar Cheese – Provides bold cheesy flavor; swap for Gouda or Parmesan for a different twist.
- Salt – Elevates the overall flavor of the crackers.
- All-Purpose Flour – Serves as the foundation for the dough; can be replaced with gluten-free flour if desired.
- Cold Milk or Water – Moistens the dough; opt for milk for creaminess, or water for a lighter texture.
Optional Flavor Variations
- Spices – Consider adding paprika, cayenne, or garlic powder for an extra kick!
- Herbs – Incorporate finely chopped herbs like rosemary or thyme for a fragrant touch.
- Sweet Dusting – For a fun twist, sprinkle with powdered sugar or cinnamon post-baking.
Explore this cheezit recipe and delight in your homemade creations!
How to Make Cheez It’s
- Mix Ingredients: In a mixing bowl, beat softened butter, grated cheddar, and salt together until creamy and well combined. Gradually incorporate the flour until the mixture resembles coarse crumbs.
- Add Liquid: Pour in the cold milk or water, mixing until a cohesive dough forms. Shape the dough into a disc, wrap it in plastic, and refrigerate for at least 1 hour to firm up.
- Prepare for Baking: Preheat your oven to 350°F (175°C) and line two baking sheets with parchment paper for easy cleanup.
- Roll Out Dough: On a lightly floured surface, roll out the chilled dough to about 1/8-inch thickness. The thinner the dough, the crispier your crackers will be!
- Cut Crackers: Use a sharp knife or pizza cutter to slice the dough into 1-inch squares. Poke a small hole in the center of each square using a chopstick or toothpick.
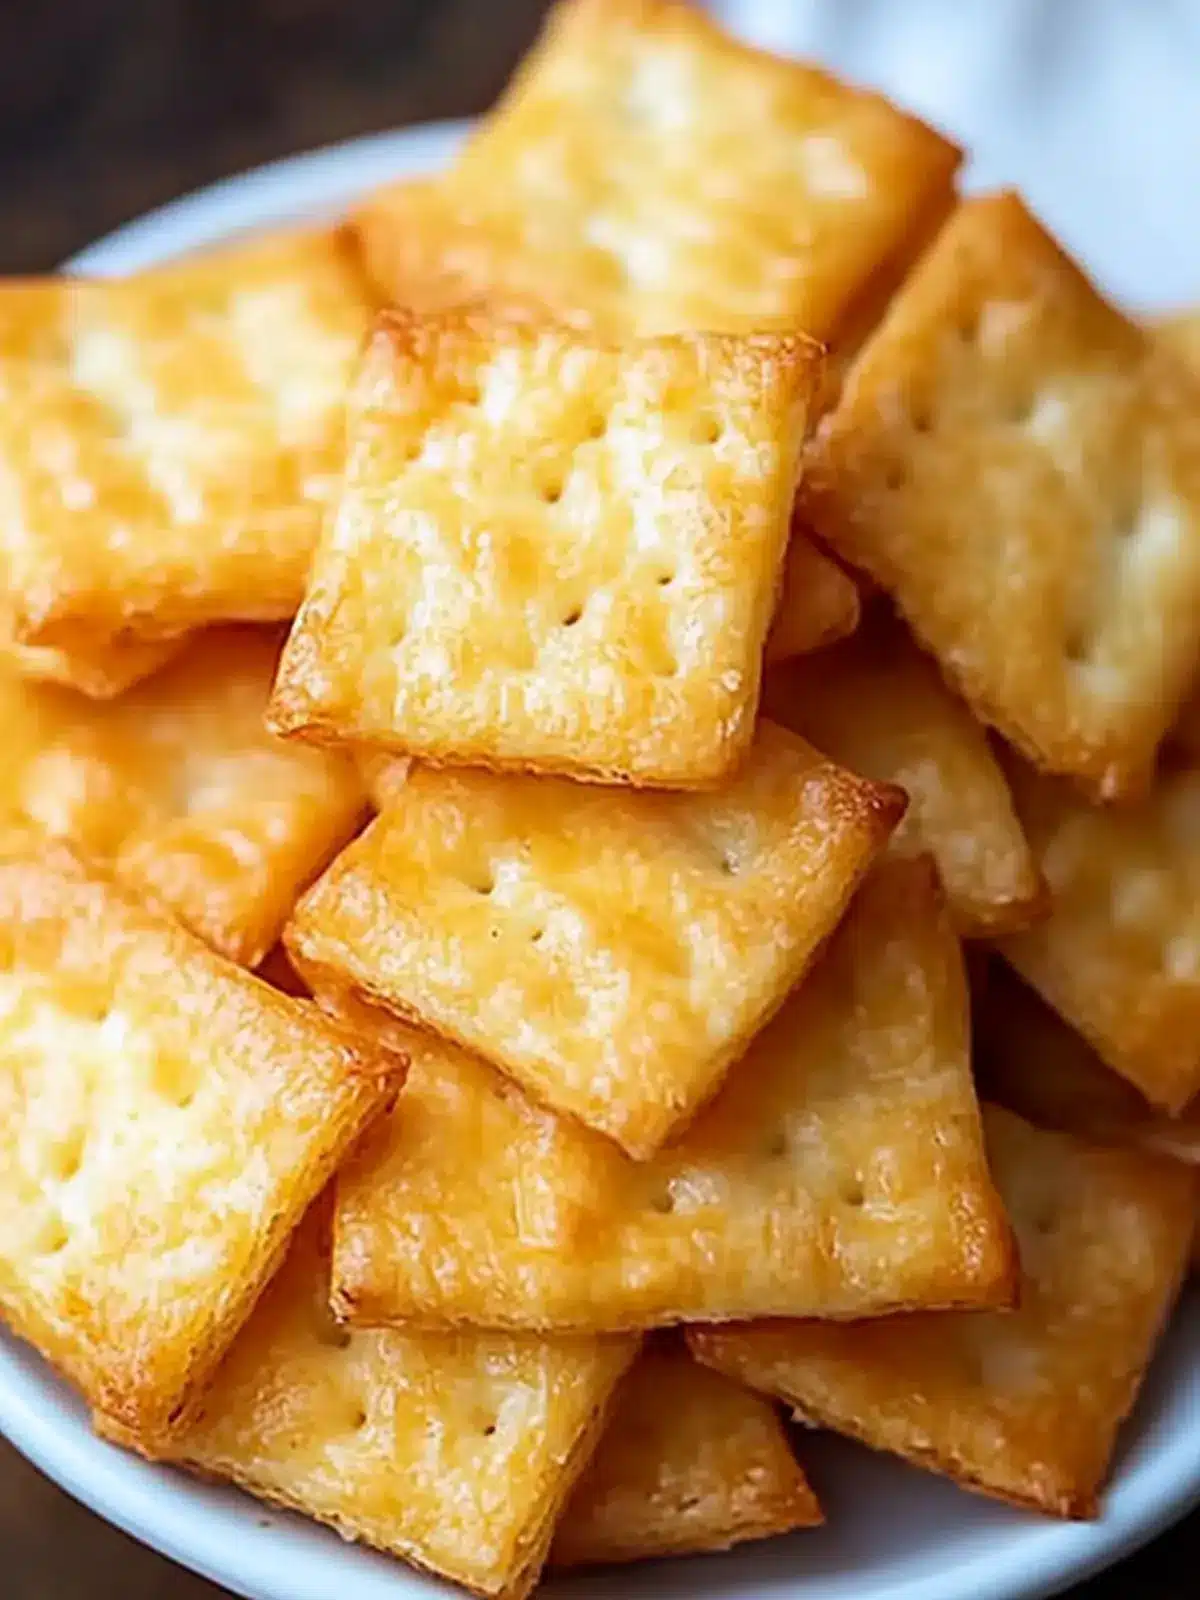
- Bake: Place the cut crackers on the prepared baking sheets, and bake for 15 minutes or until you see them turning a golden brown, crisping up beautifully.
- Cool and Store: Remove the crackers from the oven, letting them cool on the sheets for a few minutes before transferring them to a wire rack. Store in an airtight container to keep them fresh.
Optional: Sprinkle with extra cheese or herbs before baking for an added flair.
Exact quantities are listed in the recipe card below.
How to Store and Freeze Cheez It’s
Room Temperature: Store homemade Cheez It’s in an airtight container at room temperature for up to 1 week to maintain their crunch.
Fridge: For an extended life, refrigerate in an airtight container for up to 2 weeks. The crackers may soften slightly, but they will still be delicious.
Freezer: For long-term storage, freeze the crackers in a single layer in a freezer-safe bag for up to 3 months.
Reheating: To restore their crispy texture, reheat frozen Cheez It’s in a preheated oven at 350°F (175°C) for about 5-7 minutes, keeping an eye on them to prevent burning.
Cheez It Recipe Variations
There’s always room for creativity in the kitchen, so let your imagination run wild with these delightful twists!
Cheese Swap: Replace sharp cheddar with creamy Gouda or tangy Parmesan for a new flavor experience. Every cheese brings its unique character, so don’t be afraid to experiment.
Spice It Up: Incorporate paprika, cayenne, or garlic powder into the dough for a kick of heat. This is a fun way to make your Cheez It’s stand out and excite the palate.
Herb-Infused: Add finely chopped fresh herbs like rosemary or thyme to the dough. This infusion brings a garden-fresh taste, making your crackers aromatic and inviting.
Sweet Dusting: For a surprisingly delightful contrast, sprinkle with powdered sugar or cinnamon after baking. Imagine the sweet and savory dance on your taste buds!
Mini Versions: Use smaller cutters to create bite-sized versions perfect for kids’ lunches or parties. These mini Cheez It’s are adorable and perfect for little hands.
Whole Wheat Flour: Swap all-purpose flour with whole wheat for added fiber and a nutty flavor. This twist gives your crackers a wholesome boost without sacrificing taste.
Nutritional Yeast: Add a tablespoon of nutritional yeast for a cheesy flavor without extra dairy. It’s a great choice for vegan or dairy-free snacking.
Pepper Flakes: Toss in some red pepper flakes for an extra touch of heat. A subtle spiciness will tantalize heat lovers and keep everyone reaching for more!
Make Ahead Options
These Homemade Cheez It’s are perfect for meal prep enthusiasts! You can prepare the dough up to 24 hours in advance by following the initial mixing steps and shaping it into a disc. Simply wrap the dough tightly in plastic wrap and refrigerate. You can also cut the crackers and place them on a baking sheet before refrigerating for up to 3 days; just remember to cover them with a clean kitchen towel to prevent drying out. When ready to bake, follow the final steps of preheating your oven and baking until golden and crispy. With these make-ahead options, you’ll enjoy fresh, homemade Cheez It’s with minimal last-minute effort!
Expert Tips for Cheez It Recipe
- Roll Thin: Ensure the dough is rolled to 1/8-inch thickness for a perfectly crunchy texture; thicker dough may result in chewy crackers.
- Keep an Eye: Watch your crackers closely while baking to prevent over-browning, which can lead to hard and unappetizing results.
- Poke Holes: Don’t skip the holes in the center for each cracker; this allows steam to escape, ensuring even baking.
- Cool Completely: Allow crackers to cool on a wire rack to retain their crunch; storing warm crackers will create moisture and make them soggy.
- Airtight Storage: Store in an airtight container to maintain freshness and crunchiness; this homemade cheezit recipe deserves to stay crisp!
What to Serve with Homemade Cheez It’s?
Elevate your snacking experience with delightful pairings that complement these cheesy, crunchy nuggets of goodness.
Creamy Guacamole: The creamy, fresh flavors of guacamole contrast beautifully with the crispy texture of Cheez It’s, creating a satisfying bite.
Herbed Yogurt Dip: This light and tangy dip adds a refreshing touch, making it perfect for scooping with your crunchy crackers.
Fresh Veggie Platter: Bright, crispy vegetables such as carrots and bell peppers add a burst of color and crunch, making for a wholesome munching experience.
Cheese Board: Pair with additional cheeses like Gouda or Brie to create a cheesy feast that matches the cheezit recipe’s savory goodness.
Fruit Salsa: A sweet twist with diced mango and lime offers a refreshing contrast that enhances the rich flavors of the Cheez It’s.
Sparkling Water or Lemonade: Refreshing drinks like sparkling water with lemon or a zesty lemonade balance out the snack, keeping your palate energized.
Popcorn: Add a bit of crunch with perfectly popped popcorn seasoned with your favorite spices for a fun, multi-textured snack experience.
Chocolate-Dipped Pretzels: Sweet and salty chocolate-dipped pretzels create a playful pairing that satisfies diverse cravings.
Mix and match these combinations to transform your homemade Cheez It’s into a delightful, interactive snacking adventure!
Cheez It Recipe FAQs
How do I choose the right cheese for this cheezit recipe?
Absolutely! Selecting the right cheese is key to achieving the perfect flavor. Sharp cheddar offers a bold, tangy taste, while Gouda provides a creamy sweetness. For a more complex flavor, consider using aged Parmesan. If you’re feeling adventurous, blend different cheeses for a unique twist!
How should I store my homemade Cheez It’s?
For optimal freshness, store your crunchy Cheez It’s in an airtight container at room temperature for up to 1 week. If you’d like to keep them longer, refrigerate them in an airtight container for up to 2 weeks. While they may soften slightly in the fridge, they’ll still be delicious!
Can I freeze Cheez It’s, and how?
Yes! For longer storage, freeze your homemade Cheez It’s. First, arrange the cooled crackers in a single layer on a baking sheet and place them in the freezer until completely firm (about 1 hour). After that, transfer them to a freezer-safe bag or container and store for up to 3 months. When you’re ready to enjoy, reheat in a preheated oven at 350°F (175°C) for about 5-7 minutes to restore their delightful crunch.
What should I do if my crackers are too chewy?
If your homemade Cheez It’s turned out chewy, don’t worry—there are a few tricks to improve them! Ensure you’ve rolled the dough to the recommended thickness of 1/8-inch for a crispier texture. Additionally, keep a close eye on them while baking; over-baking can also cause them to become hard and unappetizing. For next time, aim for thinner rolls and bake until they are just golden brown and crisp.
How can I adapt this recipe for dietary preferences?
Very easily! For a gluten-free option, simply replace all-purpose flour with a gluten-free flour blend. If you’d like it dairy-free, swap out butter for dairy-free margarine or coconut oil and choose a suitable vegan cheese. With these adjustments, everyone can enjoy this fantastic cheezit recipe!
Can I use different spices or herbs in my Cheez It’s?
The more the merrier! Feel free to experiment with spices and herbs to personalize your homemade crackers. Adding a pinch of paprika or cayenne can give them a delightful kick, while fresh herbs like rosemary or thyme can impart a lovely aroma. Just remember to customize according to your family’s taste preferences—baking is all about creativity!
Cheez It Recipe: Homemade Crunchy Delights Your Family Will Love
Ingredients
Equipment
Method
- In a mixing bowl, beat softened butter, grated cheddar, and salt together until creamy and well combined. Gradually incorporate the flour until the mixture resembles coarse crumbs.
- Pour in the cold milk or water, mixing until a cohesive dough forms. Shape the dough into a disc, wrap it in plastic, and refrigerate for at least 1 hour to firm up.
- Preheat your oven to 350°F (175°C) and line two baking sheets with parchment paper for easy cleanup.
- On a lightly floured surface, roll out the chilled dough to about 1/8-inch thickness. The thinner the dough, the crispier your crackers will be!
- Use a sharp knife or pizza cutter to slice the dough into 1-inch squares. Poke a small hole in the center of each square using a chopstick or toothpick.
- Place the cut crackers on the prepared baking sheets, and bake for 15 minutes or until you see them turning a golden brown, crisping up beautifully.
- Remove the crackers from the oven, letting them cool on the sheets for a few minutes before transferring them to a wire rack. Store in an airtight container to keep them fresh.