There’s something incredibly satisfying about whipping up a snack that not only nourishes the body but also tantalizes the taste buds. When I first experimented with no-bake protein balls, I was on a mission to find a quick and healthy treat for my busy afternoons. The delightful combination of creamy peanut butter, sweet honey, and a touch of chocolate transformed what could have been a mundane snack into a true delight.
These protein-packed bites are incredibly versatile and perfect for anyone looking to break free from the monotony of fast food or unhealthy snacks. With just a few pantry staples, you can create these chewy, energy-boosting balls that pack a nutritious punch. Whether you’re gearing up for a workout, need a post-lunch pick-me-up, or simply want a wholesome treat to enjoy, you’ll love how easy and satisfying these little gems are to make. Let’s dive into the recipe and start creating some delicious no-bake protein balls!

Why Are No-Bake Protein Balls a Must-Try?
Simplicity: Whip these up in no time! With just a few pantry staples, you can create a delightful snack that’s both nutritious and satisfying.
Rich, Nutty Flavor: The combination of creamy peanut butter and honey makes for an irresistible treat that tantalizes your taste buds.
Versatile: Mix it up! Swap ingredients to tailor these protein balls to your liking or dietary needs – try almond butter or add dried fruits!
Health Boost: Each bite packs a protein punch, making these snacks perfect for a pre- or post-workout boost.
Crowd Pleaser: Not just for you; these protein balls are a hit with kids and adults alike, making them great for sharing!
No-Bake Protein Balls Ingredients
For the Base
• Whole Rolled Oats – Provide structure and fiber; ensure you use gluten-free oats if needed.
• Creamy Natural Peanut Butter – Adds richness and healthy fats; try almond or cashew butter for alternatives.
• Ground Flaxseed – Boosts fiber and omega-3s; can be swapped with chia seeds in a 1:1 ratio.
• Honey – Acts as a sweetener and binds ingredients; maple syrup serves as a vegan alternative.
• Protein Powder – Increases protein content; unflavored or vanilla plant-based protein works well for different flavors.
For Flavoring
• Vanilla Extract – Enhances flavor; optional for a purist version if desired.
• Mini Chocolate Chips – Adds a delightful sweetness; substitute with dried fruits or nuts for a healthier option.
For Balancing
• Sea Salt – Balances sweetness; adjust to taste as per your preference.
Get ready to make your own indulgent no-bake protein balls and enjoy a healthy snack that’s easy to prepare and sure to satisfy!
How to Make No-Bake Protein Balls
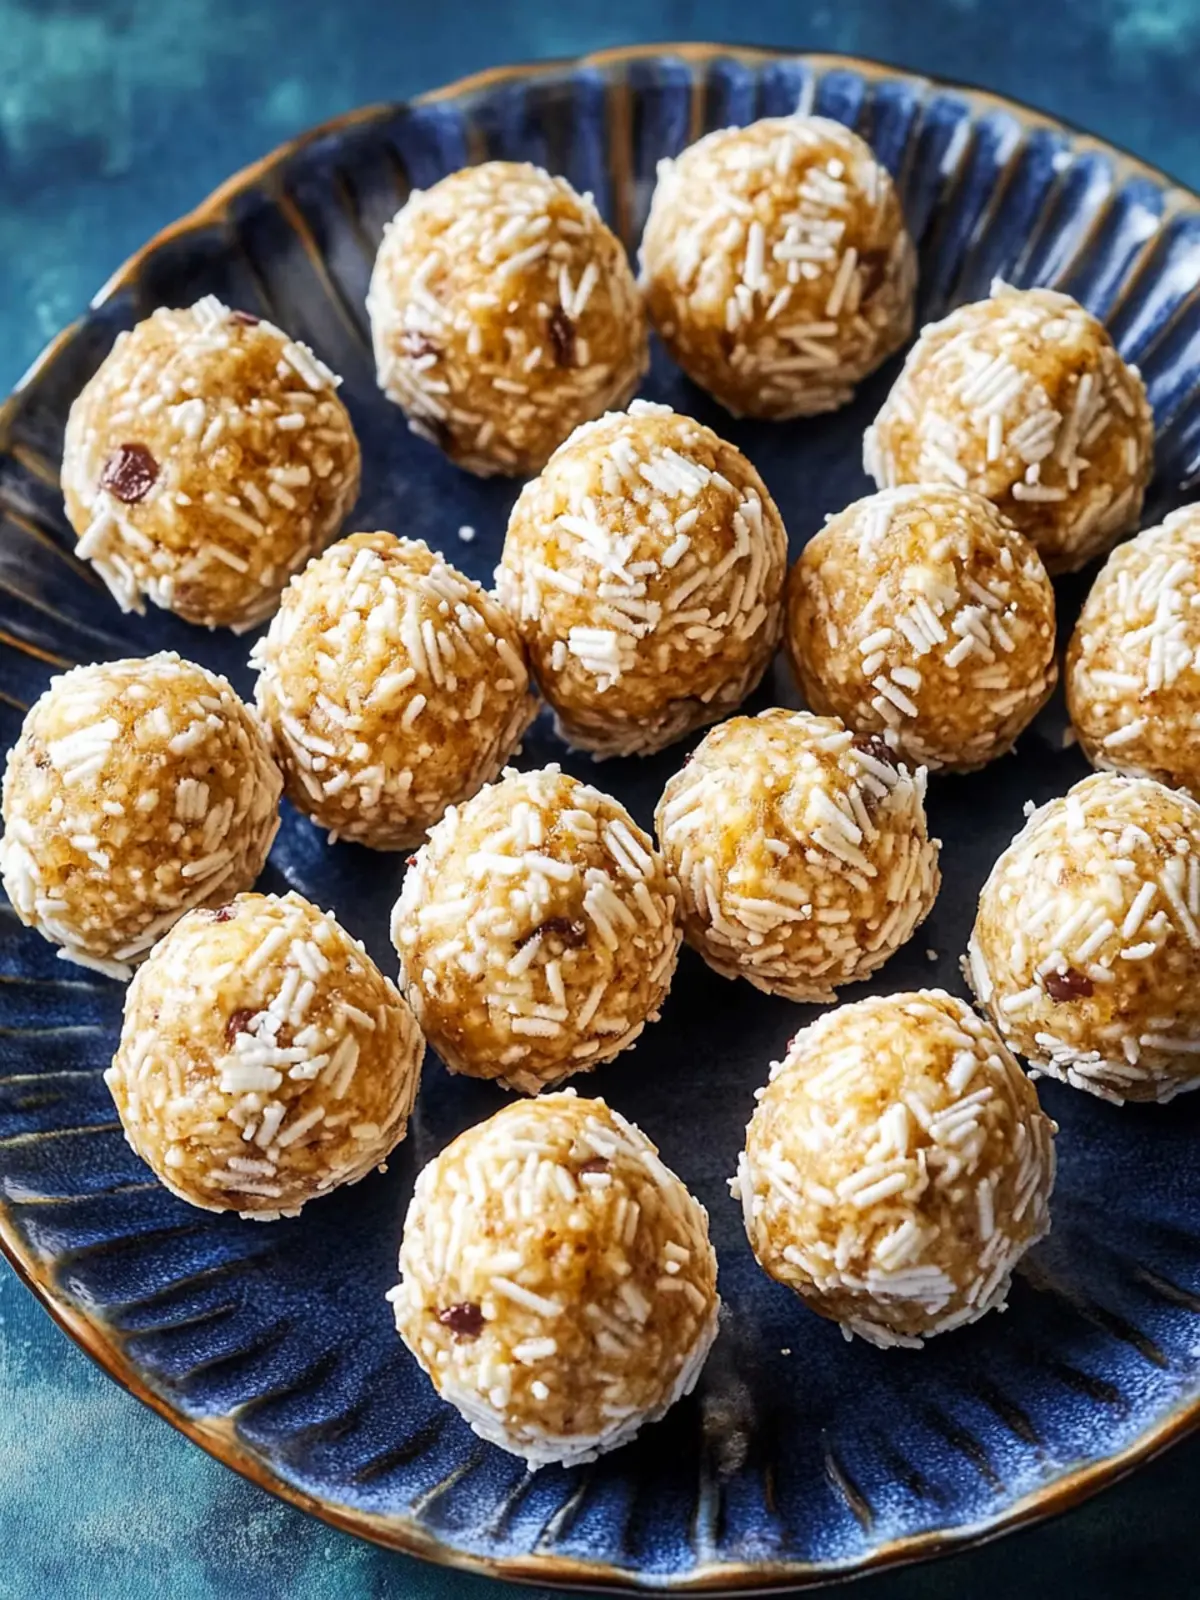
Combine Ingredients: In a large bowl, mix together the rolled oats, creamy peanut butter, ground flaxseed, honey, protein powder, optional vanilla extract, and mini chocolate chips. Stir until everything is well combined; the mixture will be thick and slightly sticky—this means you’re on the right track!
Form Balls: Use a 2-tablespoon cookie scoop or your hands to portion the mixture. Roll each piece into balls by gently rolling it between your palms until smooth and evenly shaped.
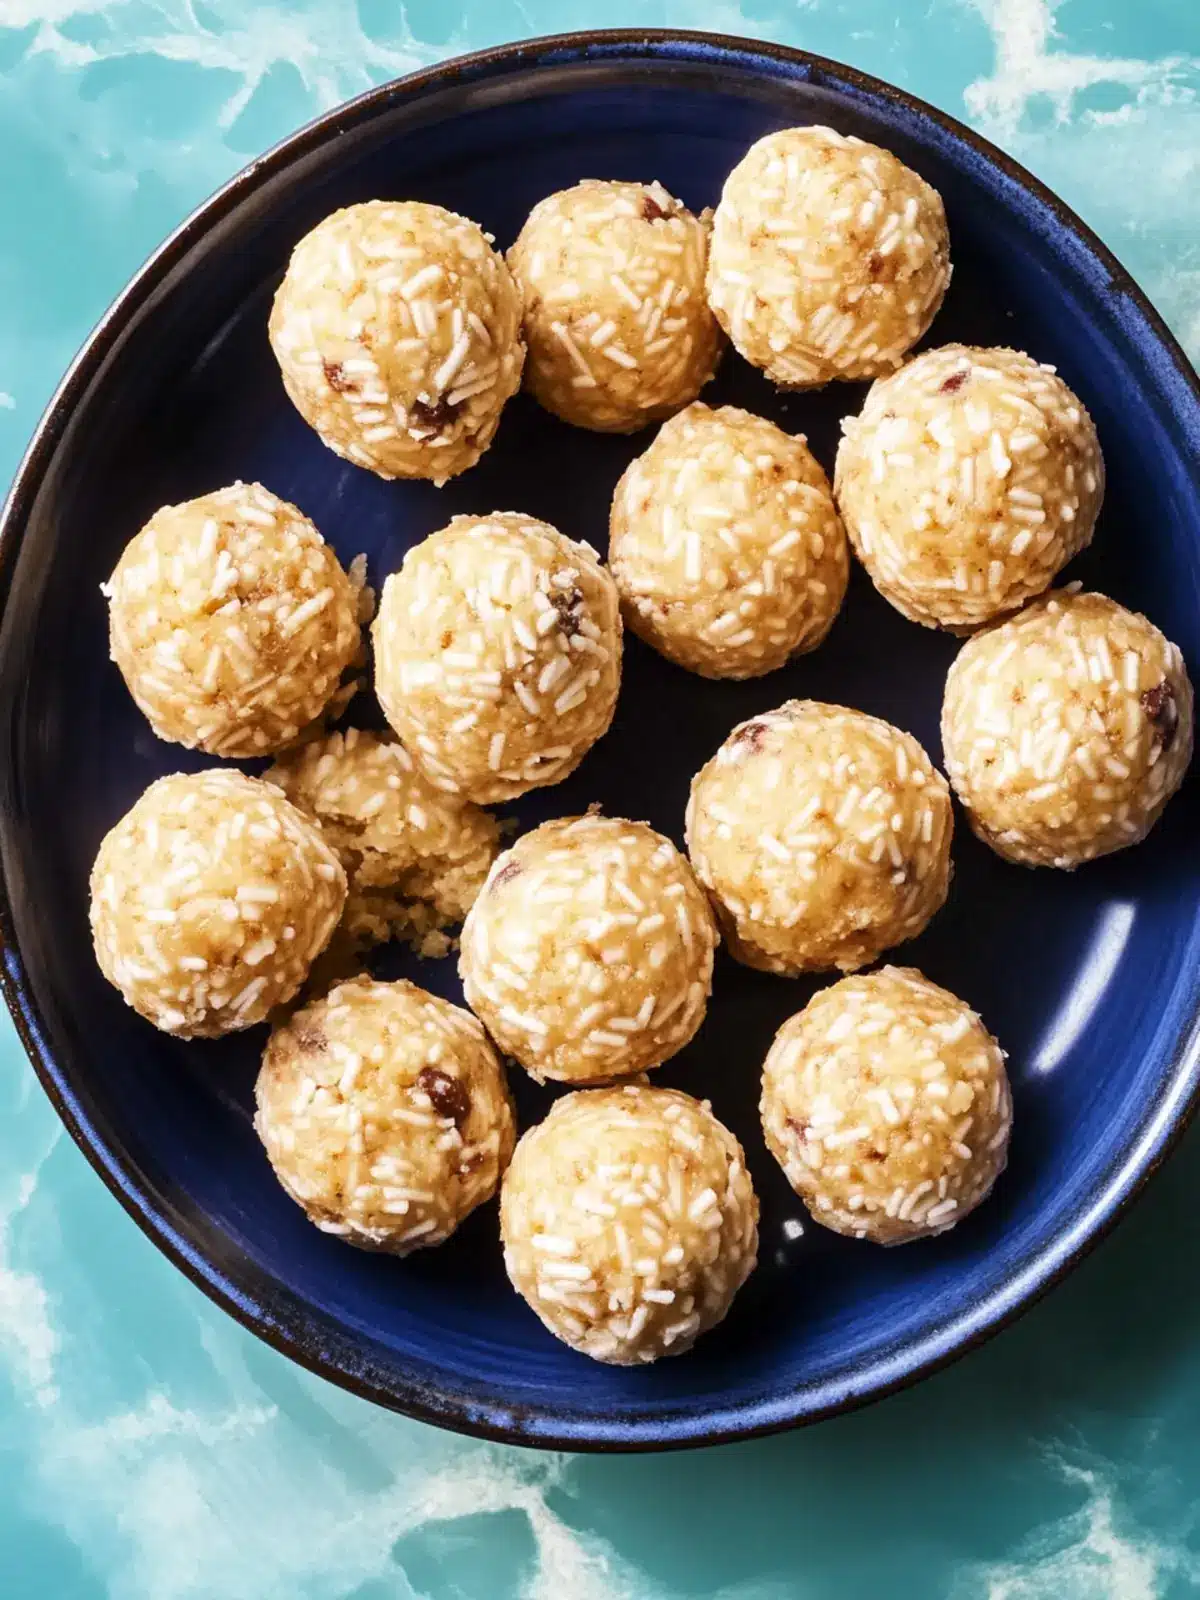
Chill: Place the formed protein balls in a single layer on a plate or baking sheet. Chill them in the refrigerator for 1 to 2 hours until they firm up and are perfectly bite-sized.
Store: Once chilled, transfer the protein balls to an airtight container. They can be kept in the fridge for about a week or frozen for up to 3 months, ready to grab whenever you need a healthy snack!
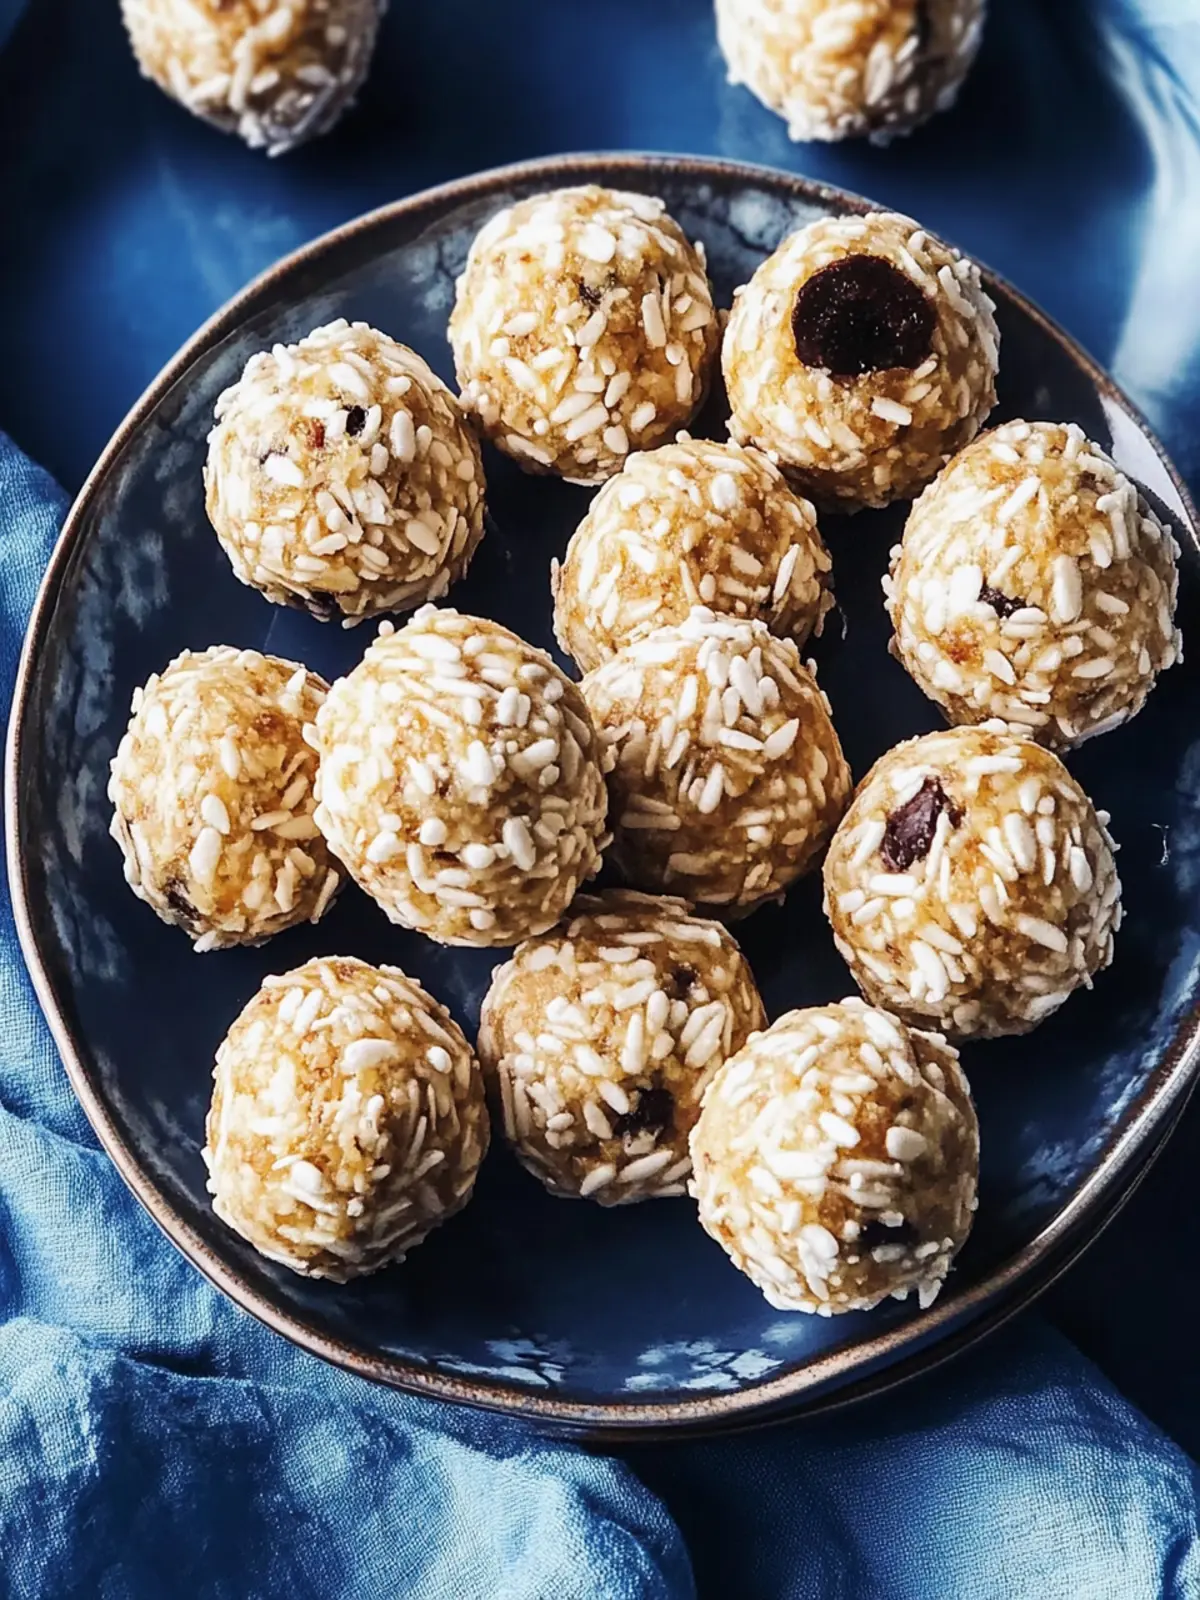
Optional: Drizzle with chocolate or roll in shredded coconut for a fun twist!
Exact quantities are listed in the recipe card below.
Make Ahead Options
These no-bake protein balls are perfect for meal prep enthusiasts looking to save time! You can mix the ingredients and form the balls up to 24 hours in advance. Simply combine oats, peanut butter, flaxseed, honey, protein powder, and your add-ins in a bowl, then roll them into balls and chill them in the refrigerator. For longer storage, these delicious bites can be frozen for up to 3 months; just ensure they’re in an airtight container to maintain quality. When you’re ready to enjoy them, there’s no need to thaw—just grab and go for a quick, healthy snack anytime!
How to Store and Freeze No-Bake Protein Balls
Room Temperature: Keep the protein balls in a cool, dry place for up to 2 days in an airtight container if you plan to enjoy them right away.
Fridge: Store your no-bake protein balls in an airtight container in the refrigerator for up to 1 week for optimal freshness and flavor.
Freezer: For longer storage, freeze the protein balls in a single layer on a baking sheet, then transfer to an airtight container or freezer bag for up to 3 months.
Reheating: No need to thaw; simply enjoy the frozen no-bake protein balls straight from the freezer or allow to sit at room temperature for a few minutes before devouring!
Expert Tips for No-Bake Protein Balls
Keep It Cool: Chill for success: Don’t skip the chill time! It ensures your no-bake protein balls firm up nicely and hold their shape.
Manage Stickiness: Damp Hands: Lightly dampen your hands before rolling to keep the mixture from sticking, making the process smoother.
Measurement Matters: Even Sizes: Use a cookie scoop for uniform balls; this ensures consistent size and makes for perfect portion control every time.
Ingredient Swaps: Be Flexible: Feel free to substitute ingredients based on your preferences or dietary needs—think almond butter or different protein powders for your no-bake protein balls!
Flavor Boost: Spicy Twist: Add spices like cinnamon or cocoa powder to give your protein balls an extra flavor dimension that’s sure to delight.
No-Bake Protein Balls Variations
Feel free to explore exciting twists on this recipe and create your perfect snack!
Nutty Alternatives: Swap creamy peanut butter for almond or sunflower seed butter to suit your taste or dietary needs.
Sweet Swap: Replace honey with maple syrup for a vegan-friendly option that still binds the ingredients together beautifully.
Different Flavors: Use flavored protein powders like chocolate or mocha for an extra taste boost that brings new life to your no-bake protein balls.
Fruity Twist: Substitute mini chocolate chips with dried cranberries, raisins, or chopped dates to add a burst of fruity goodness.
Texture Play: Mix in some crushed nuts or seeds for added crunch and to elevate the protein content even further.
Spice It Up: Don’t shy away from flavor! A dash of cinnamon or cocoa powder can transform these protein balls into a delightful treat with warm undertones.
Heated Kick: Add a pinch of cayenne pepper or chili powder for a surprising spice that wakes up your taste buds in each bite!
Savory Option: Experiment with a savory twist by using tahini instead of nut butter and adding a touch of garlic powder for a unique snack experience.
What to Serve with No-Bake Peanut Butter Protein Balls?
When you’re ready to pair these delicious protein bites, consider these satisfying accompaniments that elevate your snacking experience.
Fresh Fruit Platter: Juicy berries and vibrant slices of apple or banana add a refreshing contrast to the nutty protein balls. The natural sweetness of the fruit enhances your snack time!
Greek Yogurt Dip: This creamy dip not only complements the flavors of the protein balls but also adds a tangy kick. It’s a delightful way to incorporate more protein into your snack.
Nutty Granola: Served alongside, crunchy granola adds a fantastic texture that perfectly balances the chewiness of the protein balls. It’s perfect for those craving an extra crunch.
Dark Chocolate Squares: If you’re in the mood for a chocolate indulgence, pairing these bites with dark chocolate makes for a rich and satisfying duo. The bitterness of the chocolate balances the sweetness of the protein balls.
Smoothie: Blend up your favorite fruits with spinach or kale for a vibrant smoothie on the side. The creamy texture and nutrients will keep your energy levels high!
Herbal Tea: A warm cup of chamomile or mint tea can provide a soothing balance, making these protein balls an ideal afternoon pick-me-up. It’s a thoughtful and cozy pairing!
No-Bake Protein Balls Recipe FAQs
How do I choose the right oats for this recipe?
You should use whole rolled oats for the best texture and flavor. If you need a gluten-free option, look for certified gluten-free oats at your local grocery store. They provide essential fiber and structure, so I recommend sticking with this specific type for optimal results!
How can I store no-bake protein balls, and how long do they last?
Store your no-bake protein balls in an airtight container in the refrigerator for up to 1 week. They’ll maintain their chewy texture and taste best in the first few days. If you want to enjoy them longer, freeze the balls in a single layer on a baking sheet for a few hours before transferring them to a freezer-safe bag or container. They’ll keep well for up to 3 months!
Can I freeze no-bake protein balls, and what’s the best way to do it?
Absolutely! To freeze, place your formed protein balls in a single layer on a baking sheet lined with parchment paper. Once they’re solid, transfer them to an airtight container or a ziplock bag. Don’t forget to label it with the date! These little gems can stay good in the freezer for up to 3 months. You can enjoy them straight from the freezer or let them sit for a few minutes at room temperature before indulging.
What should I do if my no-bake protein balls are too crumbly?
If your mixture feels too dry or crumbly, simply add a little more peanut butter or honey. Start with a tablespoon at a time, mixing well until the mixture holds together properly. This will help ensure you can form your balls easily without them falling apart.
Are these no-bake protein balls suitable for kids or those with dietary restrictions?
Definitely! These no-bake protein balls can be enjoyed by kids and adults alike, making them a fantastic healthy snack option. If you’re mindful of allergies, consider substituting peanut butter with almond or sun butter. For lactose intolerance or vegan diets, just replace honey with maple syrup, and make sure to use a plant-based protein powder!
How can I customize the flavor of my no-bake protein balls?
Feel free to get creative! You can mix in spices like cinnamon or cocoa powder for an extra flavor kick. Swapping the mini chocolate chips for dried fruits, nuts, or alternates like sunflower seeds can also give a unique twist! The more variety, the merrier, and there are endless combinations to satisfy your cravings!
Easy No-Bake Protein Balls for a Healthy Snack Boost
Ingredients
Equipment
Method
- In a large bowl, mix together the rolled oats, creamy peanut butter, ground flaxseed, honey, protein powder, optional vanilla extract, and mini chocolate chips until well combined.
- Use a 2-tablespoon cookie scoop or your hands to portion the mixture into balls.
- Place the formed protein balls in a single layer on a plate or baking sheet and chill in the refrigerator for 1 to 2 hours.
- Once chilled, transfer the protein balls to an airtight container.