Graduation season brings a whirlwind of joy, celebrations, and, of course, delicious treats! As the cap tosses soar and cheers fill the air, I can’t help but think about the little sweet delights that make this moment even more special. I discovered these charming Graduation Cap Brownies while searching for a festive dessert that celebrates hard work and achievement without the fuss.
The simple act of transforming ordinary brownies into delightful miniature caps is not just fun; it also brings a smile to everyone who sees them. With just a few ingredients—like Pamela’s rich brownie mix, colorful frosting, and vibrant M&Ms—you’ll create these impressive treats that taste as delightful as they look.
Whether you’re hosting a graduation party or just want to surprise your favorite scholar, this Graduation Brownies recipe is bound to be a hit. Say goodbye to fast food and hello to homemade goodness! Let’s dive into crafting these easy, crowd-pleasing delights that will have everyone celebrating your baking skills as much as the grad’s accomplishments.

Why are Graduation Brownies Recipe a Must-Try?
Fun and Festive: These playful cap-shaped brownies are perfect for adding a sprinkle of joy to your graduation celebrations!
Easy to Make: With just a few ingredients and straightforward steps, you can whip these up in no time.
Crowd-Pleasing Delight: Both kids and adults will love the whimsy and deliciousness of these treats.
Customizable: Use your choice of toppings and colors to match the graduate’s school or personal style.
Perfect for Parties: These brownies make for picture-perfect additions to any graduation party spread.
Say Goodbye to Fast Food: Nothing beats homemade treats that are both fun and flavorful! Try this Graduation Brownies Recipe today and celebrate with a sweet touch!
Graduation Brownies Recipe Ingredients
For the Brownies
- Brownie Mix – 1 bag (16 oz) of Pamela’s Chocolate Brownie Mix offers a rich, fudgy base for your cap creations.
- Chocolate Squares – 24 chocolate squares will serve as the graduation caps that elevate your brownies.
For the Frosting
- Colored Frosting – Use pre-made frosting gels to easily add a pop of color and fun designs to your caps.
For the Toppings
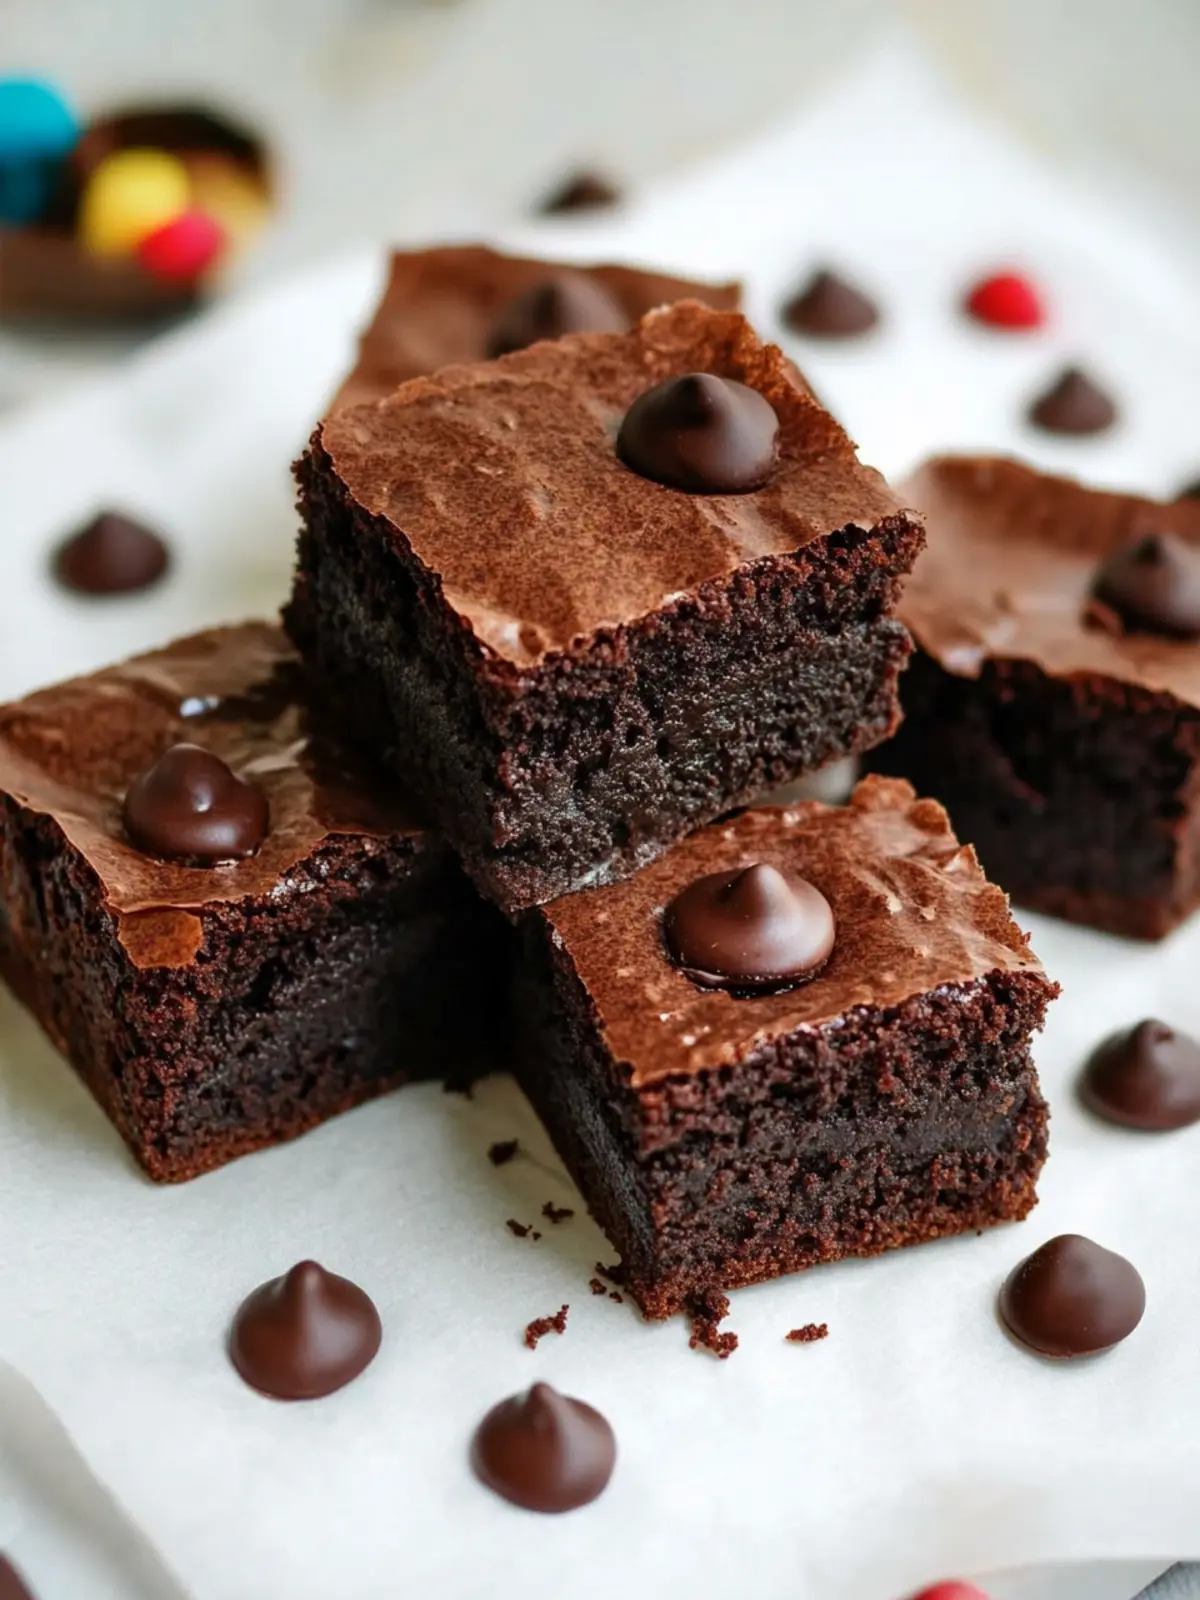
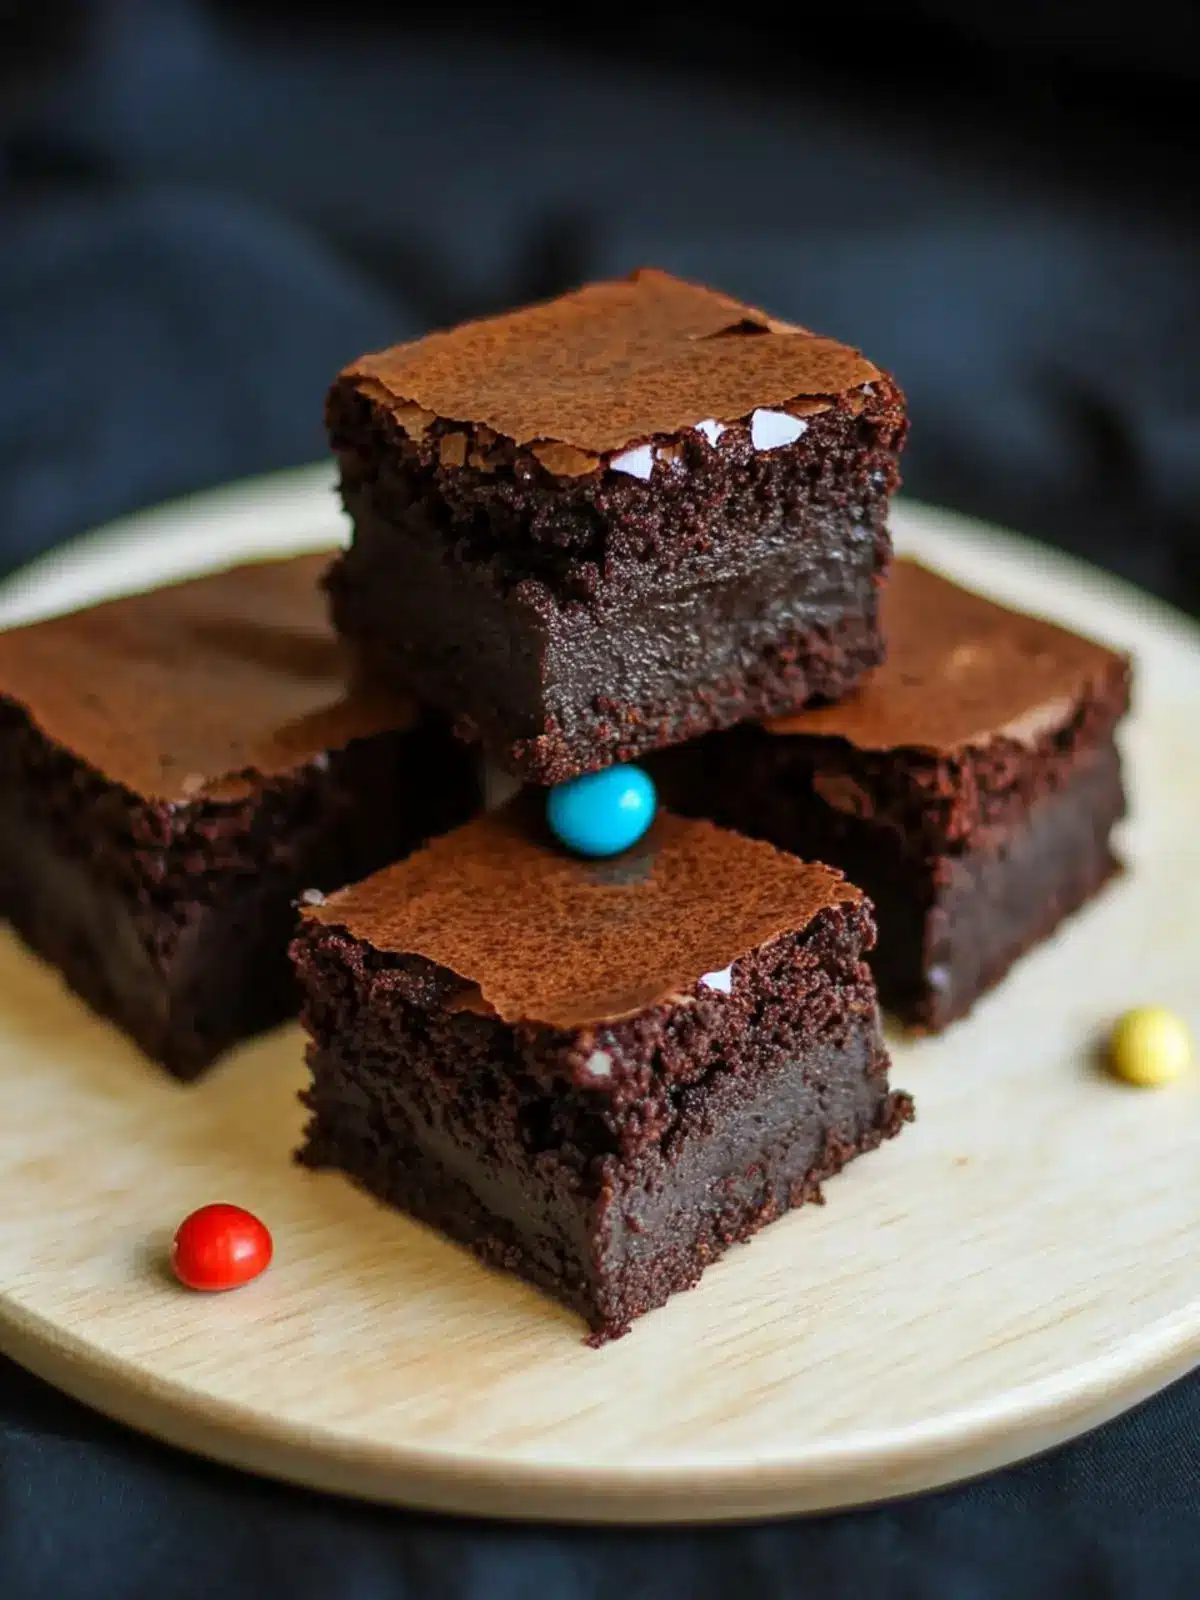
- Mini M&Ms – Colored mini M&Ms or similar-shaped candy will add a playful touch to your graduation caps, making them even more festive.
These simple yet delightful ingredients ensure your Graduation Brownies recipe becomes a cherished centerpiece for your celebration!
How to Make Graduation Brownies
Prepare the brownie mix according to the package instructions. This will be your delicious base. Make sure to set your oven to 350°F (175°C) for that perfect bake!
Bake the brownie batter in mini muffin pans, ensuring that you fill each cup evenly. Bake until a toothpick inserts cleanly, typically around 20-25 minutes. The tops should look slightly crispy.
Cool the brownies completely on a wire rack. Once cooled, take a sharp knife and carefully trim the tops to create flat surfaces for your caps. This will give them a polished look!
Tilt your brownies if desired! Trim a little off the back to let those chocolate square caps sit at a charming angle—just like real graduation caps!
Glue on the chocolate squares using the frosting or sparkle gel. Press them down gently to secure, making sure they stick well. Let them sit until the frosting firm up.
Decorate by drawing a tassel with the frosting from the center of the chocolate square to the edge. Press a mini M&M into the center for a lovely finishing touch.
Optional: Sprinkle some edible glitter on top for added sparkle!
Exact quantities are listed in the recipe card below.
What to Serve with Graduation Brownies Recipe?
Celebrate the sweet triumphs of graduation with more delightful treats that complement every bite of your charming brownies!
Vanilla Ice Cream: A scoop of creamy vanilla ice cream adds a delightful contrast to the fudgy texture of the brownies. It’s the perfect cool treat to balance the sweetness.
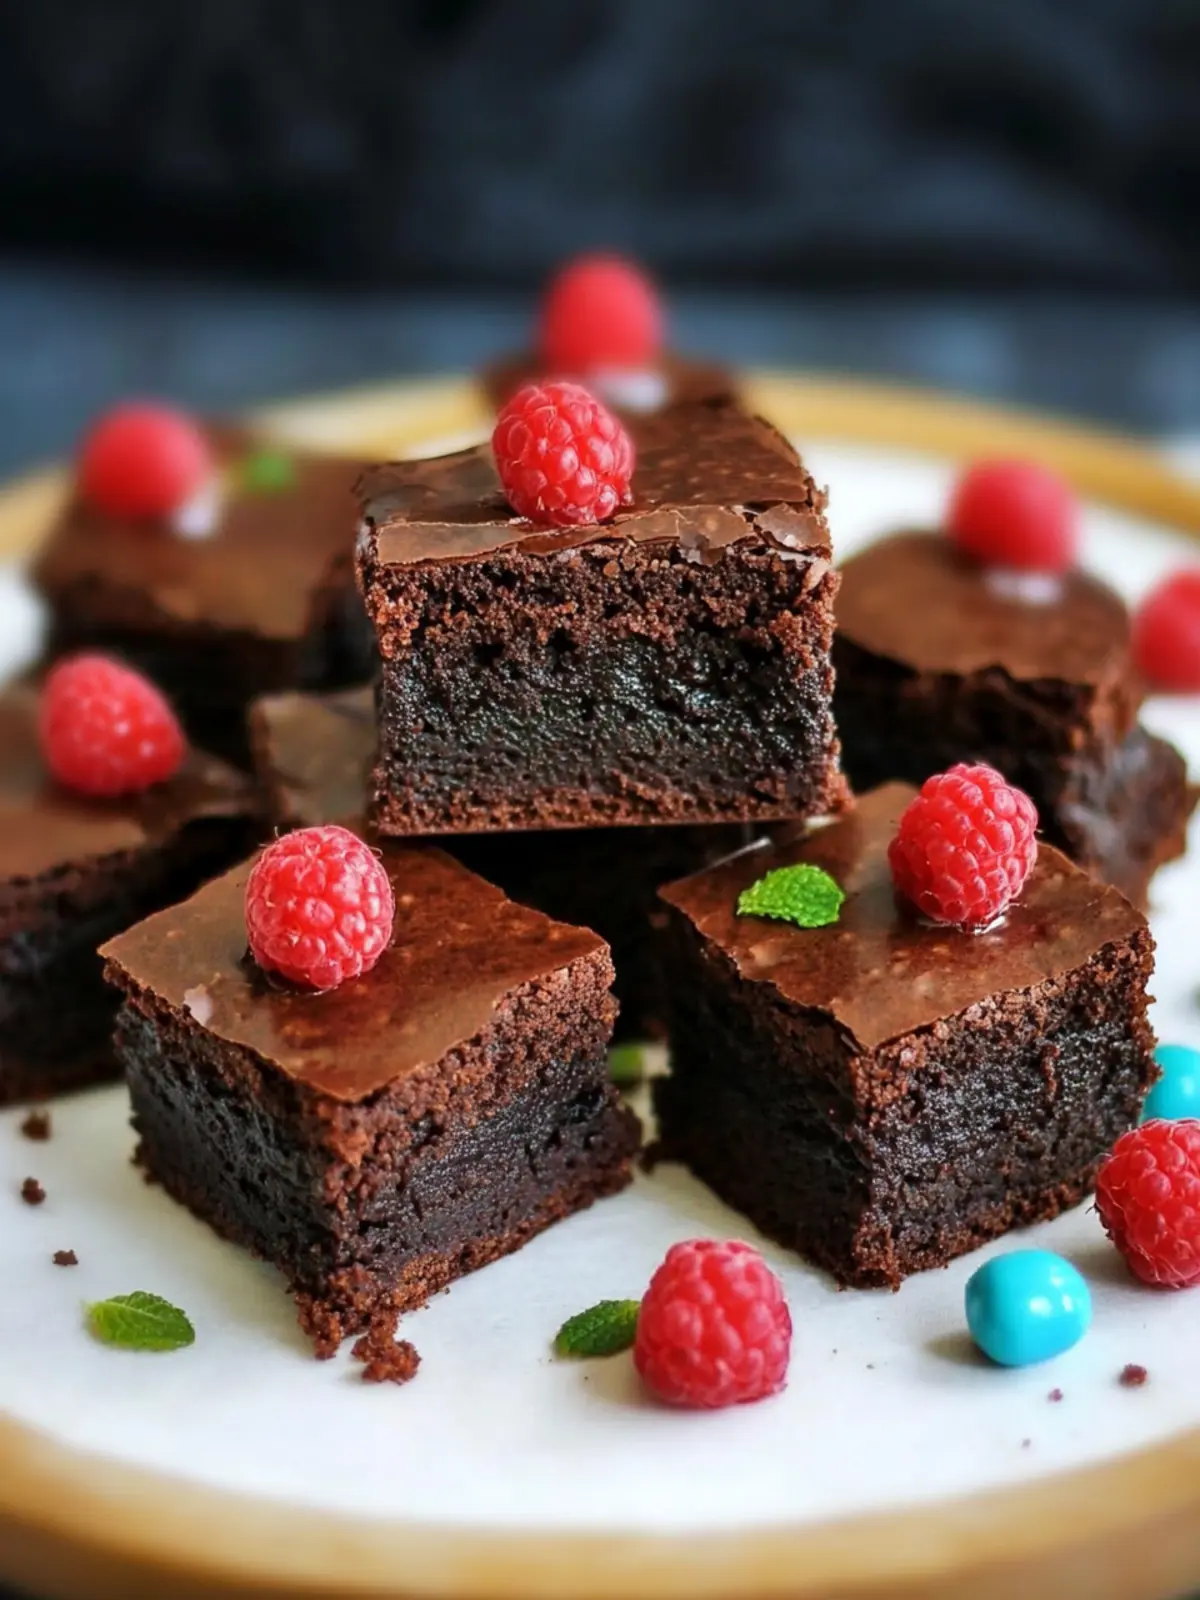
Fresh Berries: Juicy strawberries, raspberries, or blueberries provide a refreshing tartness that beautifully brightens up your dessert spread. Their vibrant colors will add an additional festive touch!
Chocolate Milkshake: Indulge in the classic pairing of a thick, rich chocolate milkshake. The chocolatey goodness enhances the brownie experience while bringing nostalgia to your celebration.
Party Punch: A fruity party punch blends well with the sweetness of the brownies. The bubbly freshness will keep everyone feeling refreshed during the celebrations.
Coffee or Latte: A warm cup of coffee or a frothy latte harmonizes with the cocoa flavors of the brownies, making it an excellent choice for the adult guests at your gathering.
Chocolate Dipped Fruit: Provide a sweet and elegant option by serving skewers of chocolate-dipped strawberries or banana slices. They introduce a lightness to counterbalance the richer brownie flavors.
Decorated Cupcakes: Match the festive mood with colorful cupcakes decorated in the same theme as your graduation brownies. These will be a playful addition to the dessert table that everyone will adore.
By pairing these delightful additions with your Graduation Brownies recipe, you’ll craft a full, joyous spread that reflects the celebration of achievement!
Tips for the Best Graduation Brownies
Bake Evenly: Make sure to fill your mini muffin pans evenly to ensure consistent baking. Overfilled pans can lead to messy cap shapes!
Let Cool Properly: Allow the brownies to cool completely before trimming. Warm brownies can crumble, ruining your cap design and affecting the overall presentation.
Trim Carefully: Use a sharp knife for trimming the brownie tops. This helps achieve clean, flat surfaces for your chocolate square caps and prevents uneven edges.
Secure with Frosting: Don’t skimp on the frosting when gluing the chocolate squares. A good amount will ensure they stick well and create stability for your graduation brownies recipe.
Customize Colors: Get creative with frosting colors to match the graduate’s school colors or personal favorites. This adds a special touch that everyone will appreciate.
Store Properly: Keep leftover brownies in an airtight container at room temperature for a few days. This keeps them fresh and ready for guests or midnight treats!
Make Ahead Options
These delightful Graduation Brownies are perfect for meal prep, allowing you to focus on celebrating without the last-minute rush! You can prepare the brownies up to 24 hours in advance by baking them and storing them in an airtight container at room temperature. Once cooled, trim the tops for that flat cap look, and then refrigerate the unassembled brownies for up to 3 days. When you’re ready to serve, simply “glue” on the chocolate squares and add the frosting decorations. This approach ensures your Graduation Brownies remain just as delicious and fresh while saving you precious time on the big day. Enjoy these sweet treats with ease!
Graduation Brownies Recipe Variations & Substitutions
Feel free to play around with these ideas to make your graduation brownies uniquely yours!
Nutty Crunch: Add chopped nuts or chocolate-covered peanuts into the brownie mix for an added crunch that complements the fudgy base beautifully.
Gluten-Free: Substitute with a gluten-free brownie mix to accommodate guests with dietary restrictions while still maintaining that rich taste.
Vegan Option: Use a dairy-free brownie mix and replace eggs with applesauce or flaxseed meal mixed with water—delicious and cruelty-free!
Fruity Twist: Incorporate chopped fresh strawberries or raspberries into the brownie batter for a burst of natural sweetness that pairs wonderfully with chocolate.
Caramel Drizzle: Drizzle melted caramel sauce over the assembled brownies for a decadent finish that adds a delightful gooey texture.
Spicy Kick: Add a pinch of cayenne pepper or espresso powder to the brownie mix for a surprising depth of flavor that elevates your brownies!
Decorative Toppers: Experiment with different candies for the top, such as gummy bears or chocolate stars, to create a fun theme-specific look.
Cheesecake Layer: Spread a layer of cream cheese frosting or cheesecake mix on top of the brownies before adding the chocolate caps for a rich and creamy finish!
How to Store and Freeze Graduation Brownies
Room Temperature: Store the brownies in an airtight container at room temperature for up to 3 days to keep them fresh and tasty.
Fridge: If you want to extend their life, place the brownies in the refrigerator, where they can last for about a week. Just remember to seal them well to avoid drying out.
Freezer: For longer storage, freeze the brownies individually wrapped in plastic wrap and then placed in a freezer bag. They can last up to 3 months this way—perfect for future celebrations!
Reheating: To enjoy the brownies again, thaw them in the fridge overnight and warm them gently in the microwave for 10-15 seconds before serving. This helps restore their fudgy goodness!
Graduation Brownies Recipe FAQs
How do I choose the right brownie mix?
Absolutely! For the best results, I recommend using Pamela’s Chocolate Brownie Mix. It’s gluten-free and provides a rich, fudgy texture that perfectly complements the festive cap design. You can also check the ingredients list to ensure that it meets any dietary needs.
How should I store leftover brownies?
To keep your brownies fresh, store them in an airtight container at room temperature for up to 3 days. If you prefer, you can refrigerate them, and they’ll last about a week. Just be sure to seal them well to prevent drying out.
Can I freeze Graduation Brownies?
Yes! To freeze your delightful Graduation Brownies, wrap each one individually in plastic wrap and place them in a freezer bag. They can be stored in the freezer for up to 3 months. When you’re ready to enjoy them, simply thaw overnight in the fridge and warm for 10-15 seconds in the microwave for that fresh-baked taste!
What if my brownies are too crumbly during trimming?
Very! If your brownies are crumbling, it may be that they weren’t cooled completely. Make sure to let them cool thoroughly on a wire rack before trimming. If they still crumble, try applying a little more frosting as glue to help hold the cap together.
Are there any allergies to consider?
Definitely! Always check the ingredients for allergens, especially if the brownies will be served to guests. Pamela’s Chocolate Brownie Mix is gluten-free, but it may contain nuts or dairy. Consider using dairy-free frosting and candy if you’re accommodating those with allergies. Always make sure to inform your guests!
Can I customize the toppings of my Graduation Brownies?
The more the merrier! Yes, feel free to get creative with your toppings. You can use different colored frostings to match the graduate’s school colors or even chocolate chips, sprinkles, or edible glitter to add extra flair to your caps. This customization really adds a personalized touch to your celebrations!
Graduation Brownies Recipe: Celebrate with Sweet Graduation Caps
Ingredients
Equipment
Method
- Prepare the brownie mix according to the package instructions. Set your oven to 350°F (175°C).
- Bake the brownie batter in mini muffin pans, filling each cup evenly. Bake until a toothpick comes out clean, about 20-25 minutes.
- Cool the brownies completely on a wire rack. Trim the tops with a knife to create flat surfaces for the caps.
- Tilt your brownies if desired by trimming the back to allow the chocolate square caps to sit at an angle.
- Glue on the chocolate squares using the frosting. Press down gently to secure and let them sit until the frosting firms up.
- Decorate by drawing a tassel with frosting and pressing a mini M&M into the center.
- Optional: Sprinkle edible glitter for added sparkle!